
This caramel sauce recipe turns out perfectly every time! Creamy, rich, and the perfect consistency for drizzling over everything!
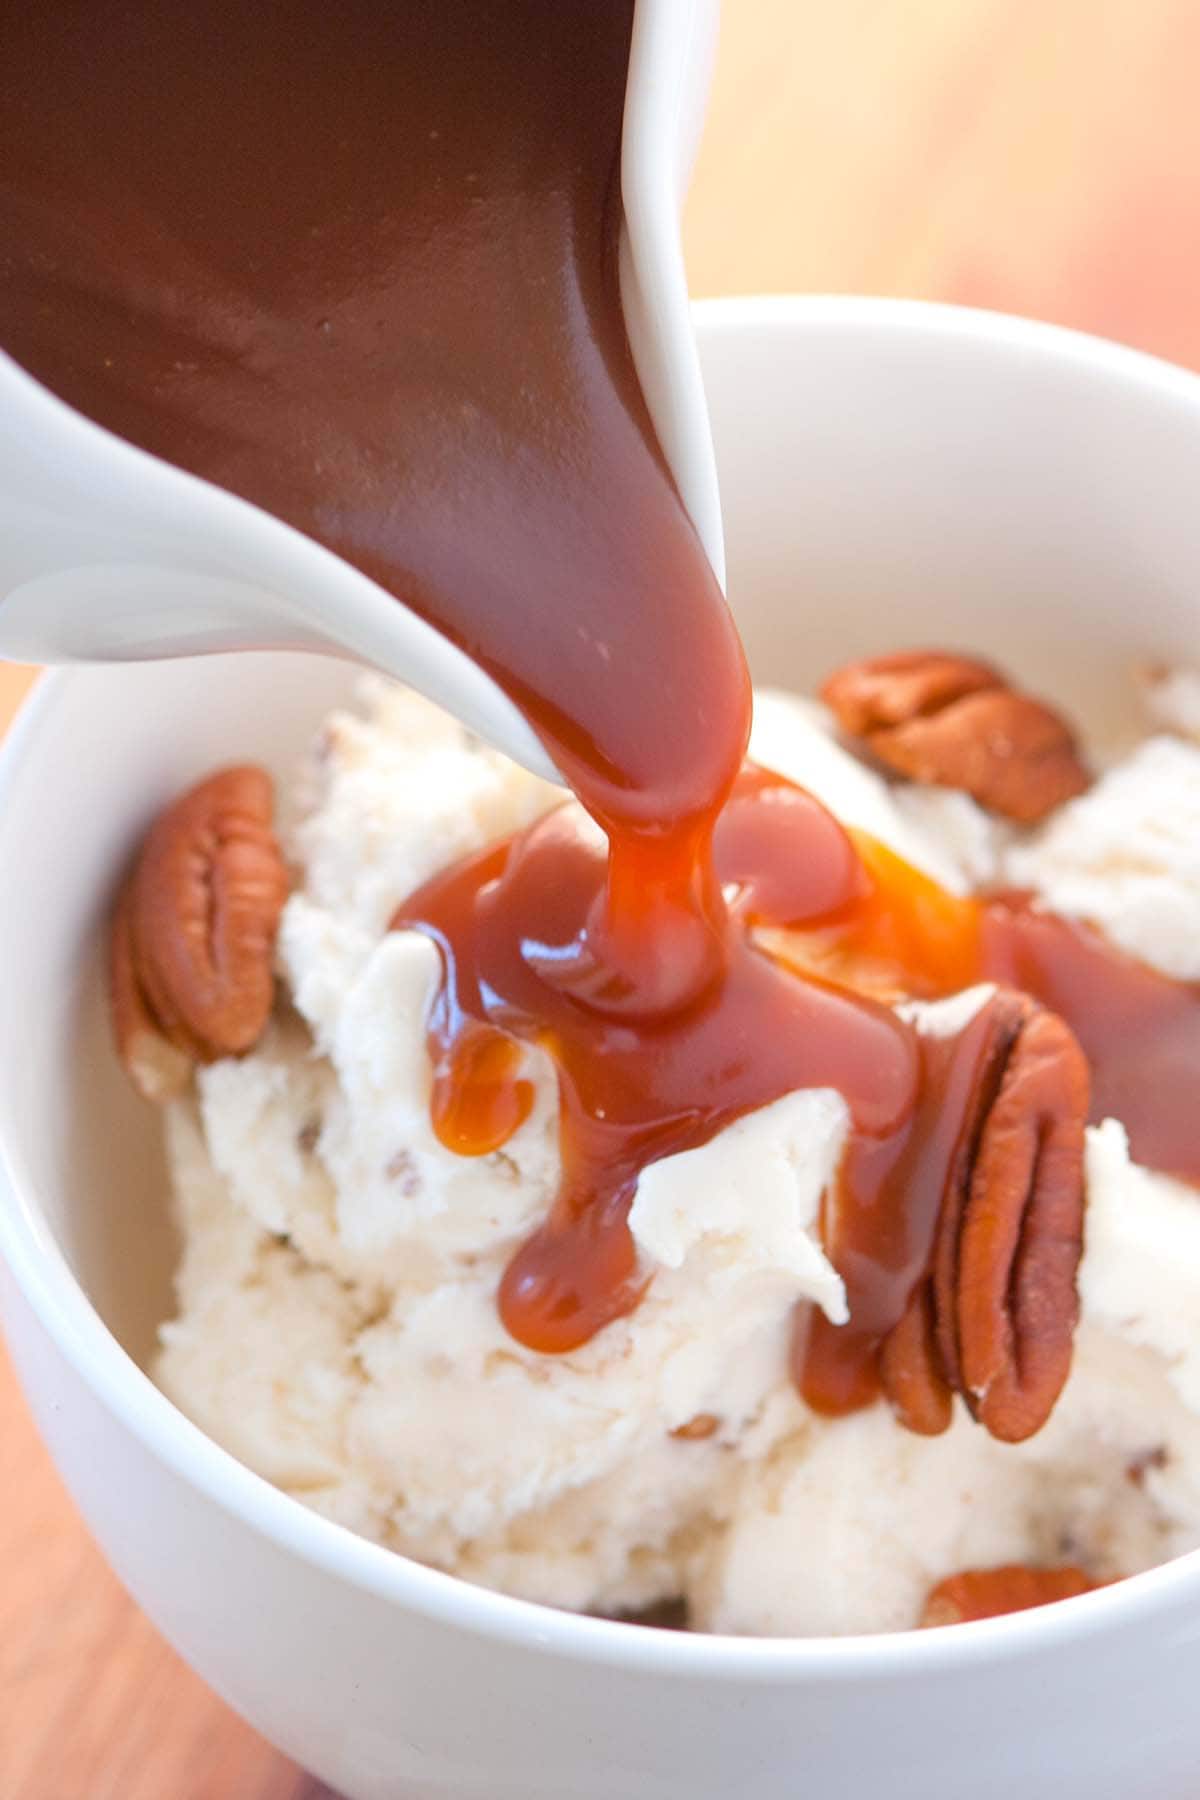
If you’ve never made caramel before, trust me when I say that homemade caramel sauce is 100% doable, especially with our favorite recipe.
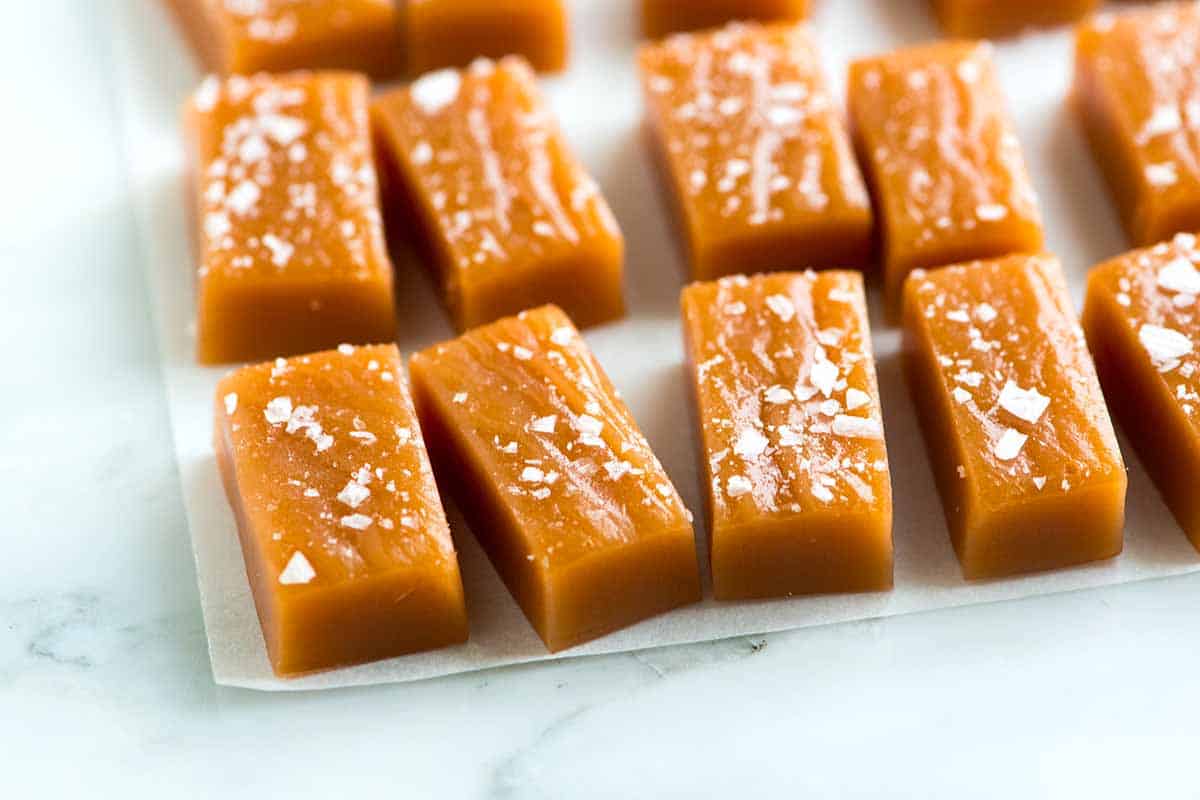
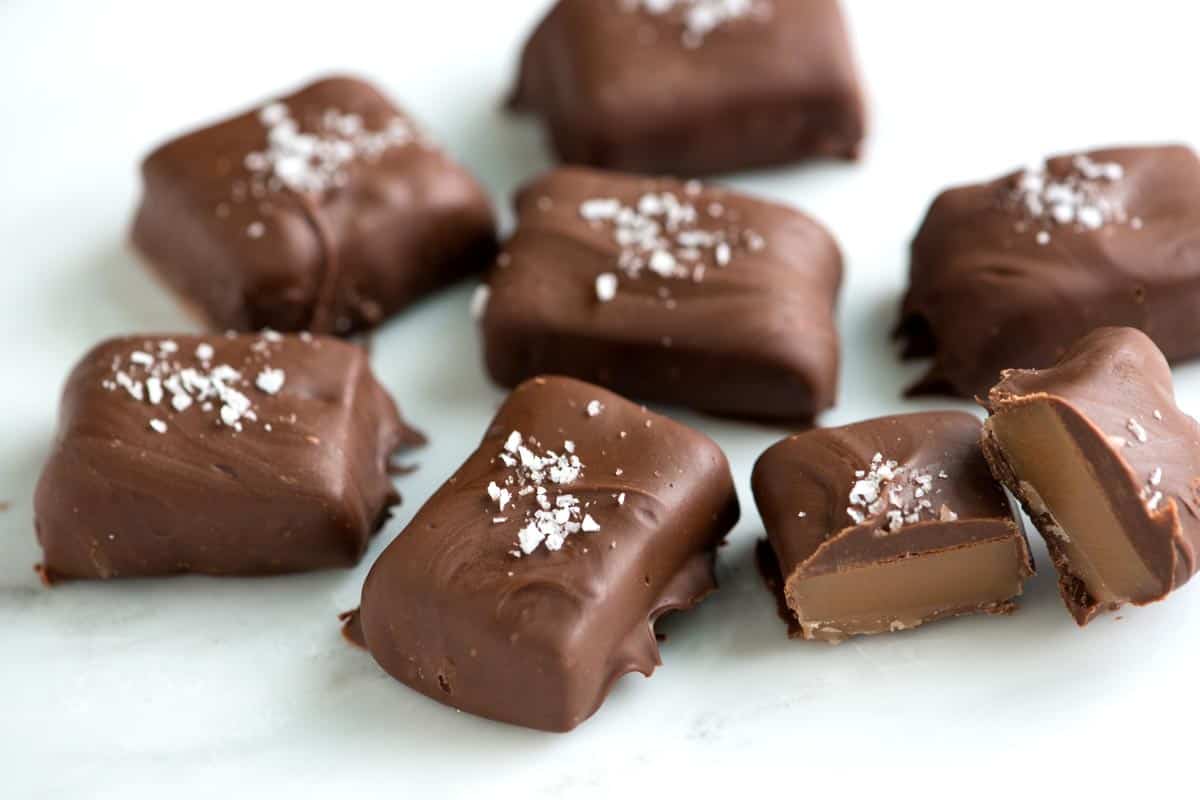
Skip the pricey store-bought jars, because this caramel tastes so much better! Plus, it lasts up to 3 weeks in the fridge! For more, see how to make caramels and these chocolate covered caramels.
Key Ingredients
- Sugar: Use plain granulated sugar for the best caramel sauce.
- Heavy Cream: The richer the cream, the better the sauce. Use heavy cream or heavy whipping cream with at least 36% butterfat. In the UK or Australia, look for double cream or thickened cream with at least 35% fat.
- Vanilla: This is crucial for enhancing the caramel flavor. Please don’t skip it!
- Salt: To create a salted caramel sauce, stir in some flaked or gray sea salt at the end.
Find the full recipe with measurements below.
Equipment
- Saucepan: A medium-sized, heavy-bottomed saucepan will prevent scorching and guarantee even cooking.
- Candy Thermometer (recommended): While not strictly necessary, a candy thermometer helps guarantee consistent results and takes any guesswork out of the process.
My Tips for Making the Best Caramel Sauce
Tip 1: Stay close and pay attention to color. Caramel can go from perfect to burnt in a flash, so don’t walk away from the stove. Watch the sugar mixture’s color and temperature closely. Using a candy thermometer makes it easy to know when to move to the next step, but we provide visual cues in the recipe if you do not have one.
Tip 2: Know what to look for. Making caramel sauce boils down to two main steps:
- Cook the sugar and water until the mixture turns a dark golden color or reaches 350°F. You can see the color you are looking for in the photo below.
- Turn off the heat and slowly pour in the cream and vanilla. (If you have an electric oven, you want to take the saucepan off the heat as the burners can remain hot.)
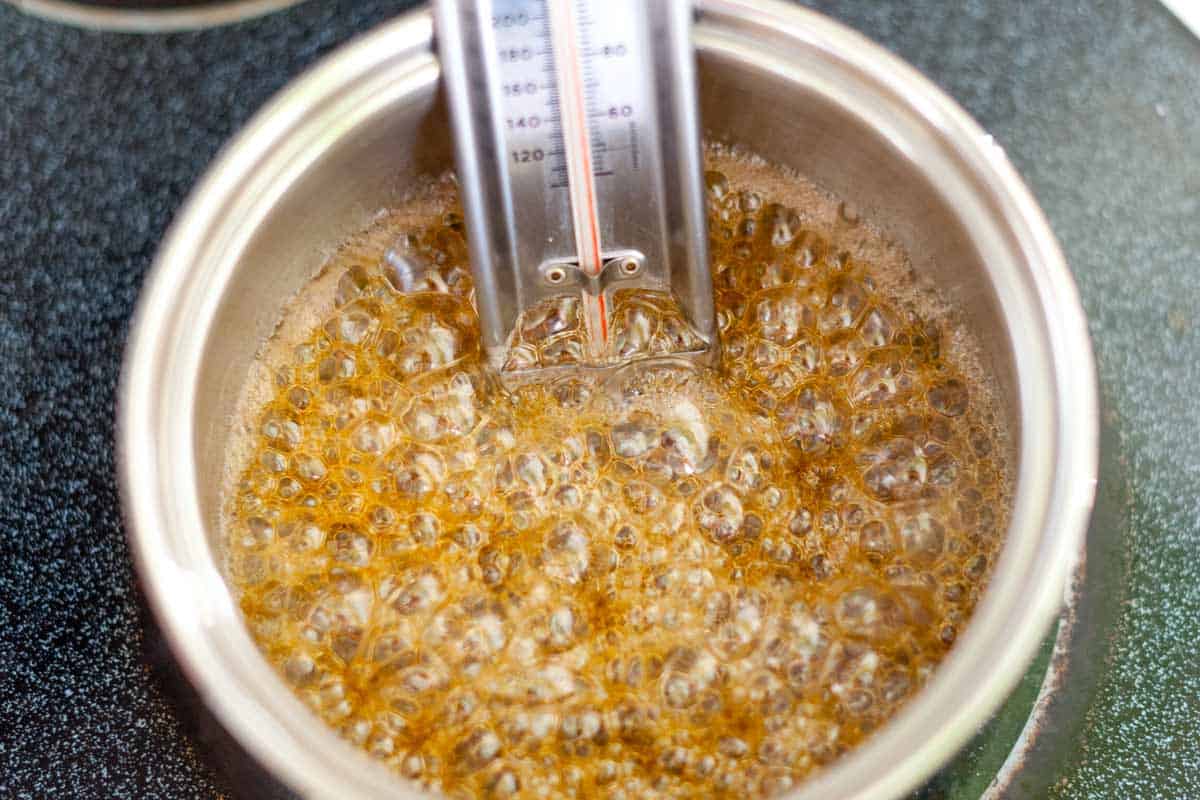
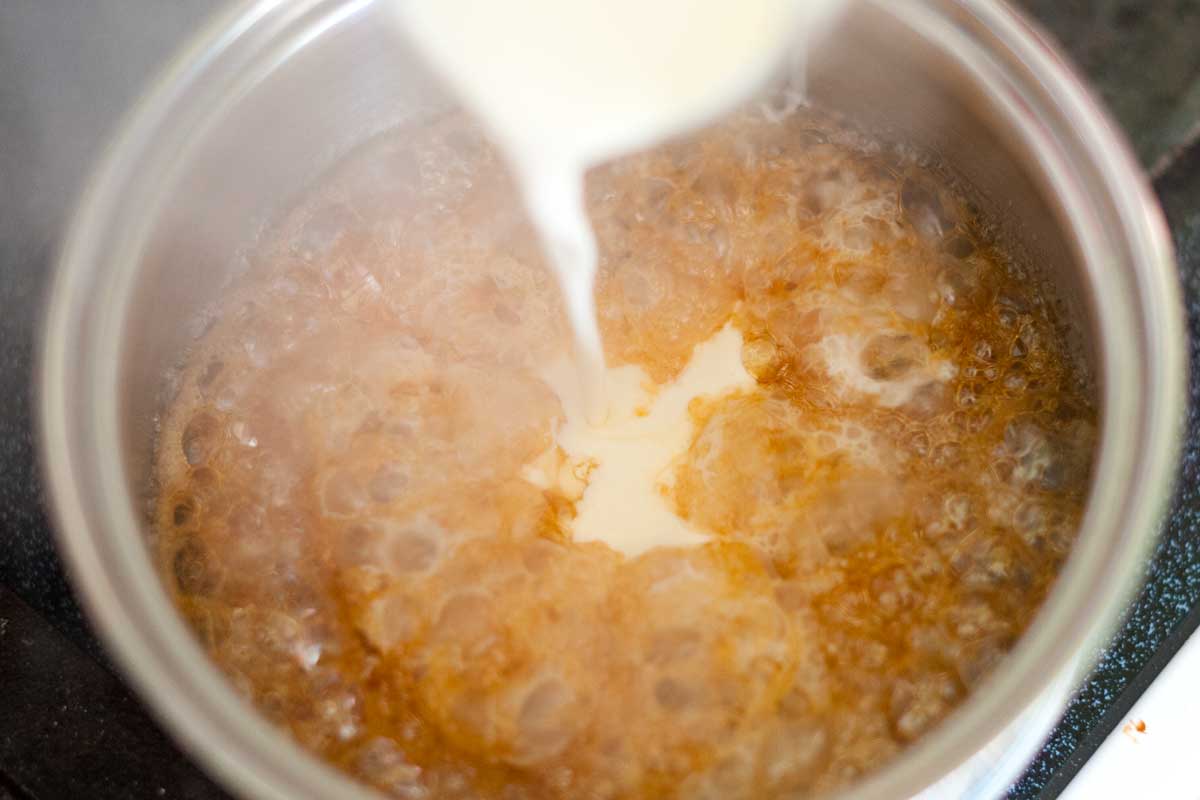
Tip 3: Prepare for bubbling. When you add the cream to the hot sugar, it will bubble up violently. This is normal, so don’t be alarmed! Pour the cream in cautiously, being mindful of the very hot mixture. On a similar note, don’t try to taste the caramel at this point; it’s way too hot!
Tip 4: Cleaning up. Making caramel at home is easy, but it is sticky! For easy cleanup, pour the caramel into a jar, then fill your dirty saucepan with water and bring it to a simmer. The hot water will dissolve any caramel clumps stuck to the pan. You can submerge the bottom of your thermometer, too.
Serving Suggestions
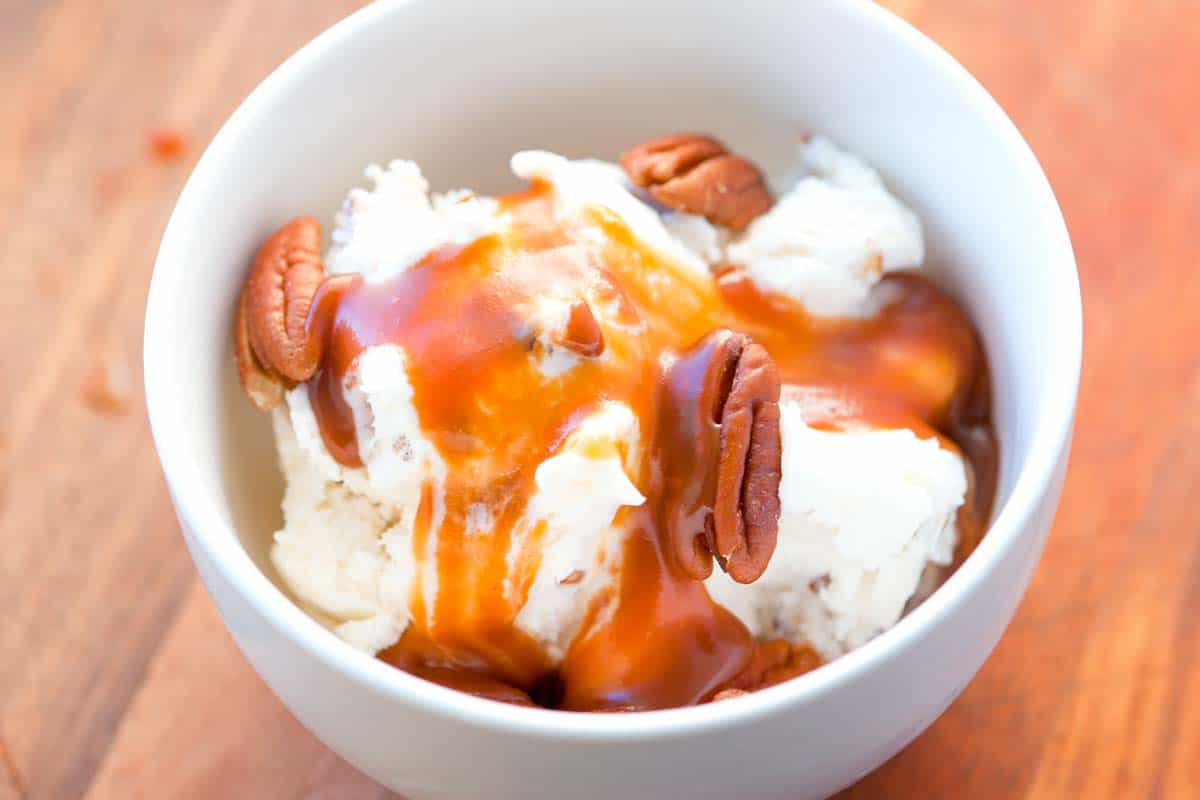
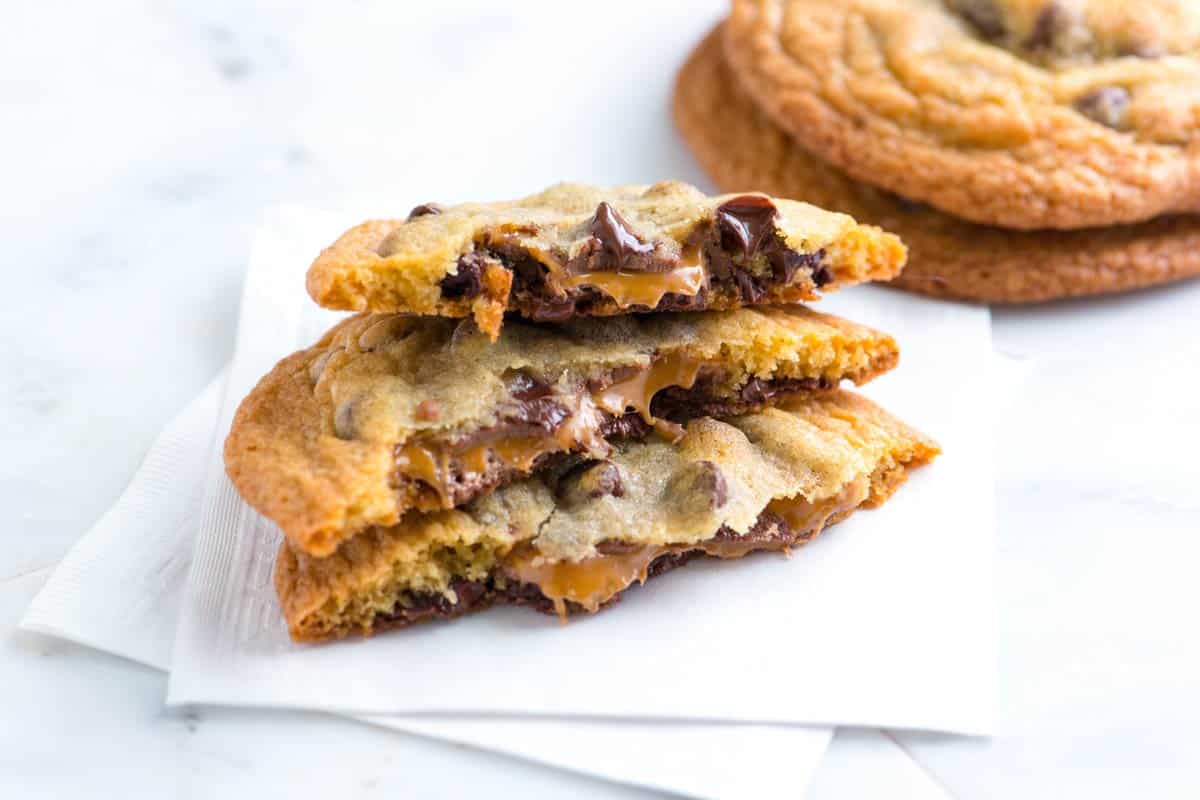
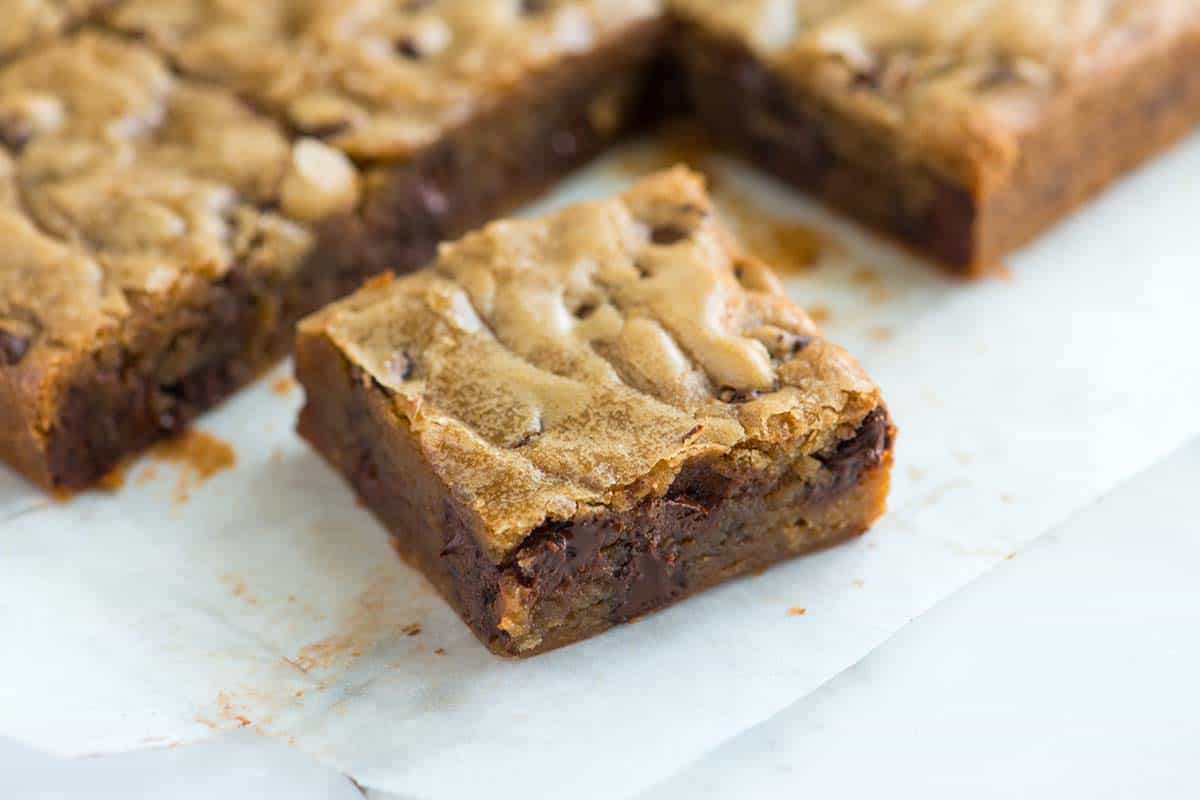
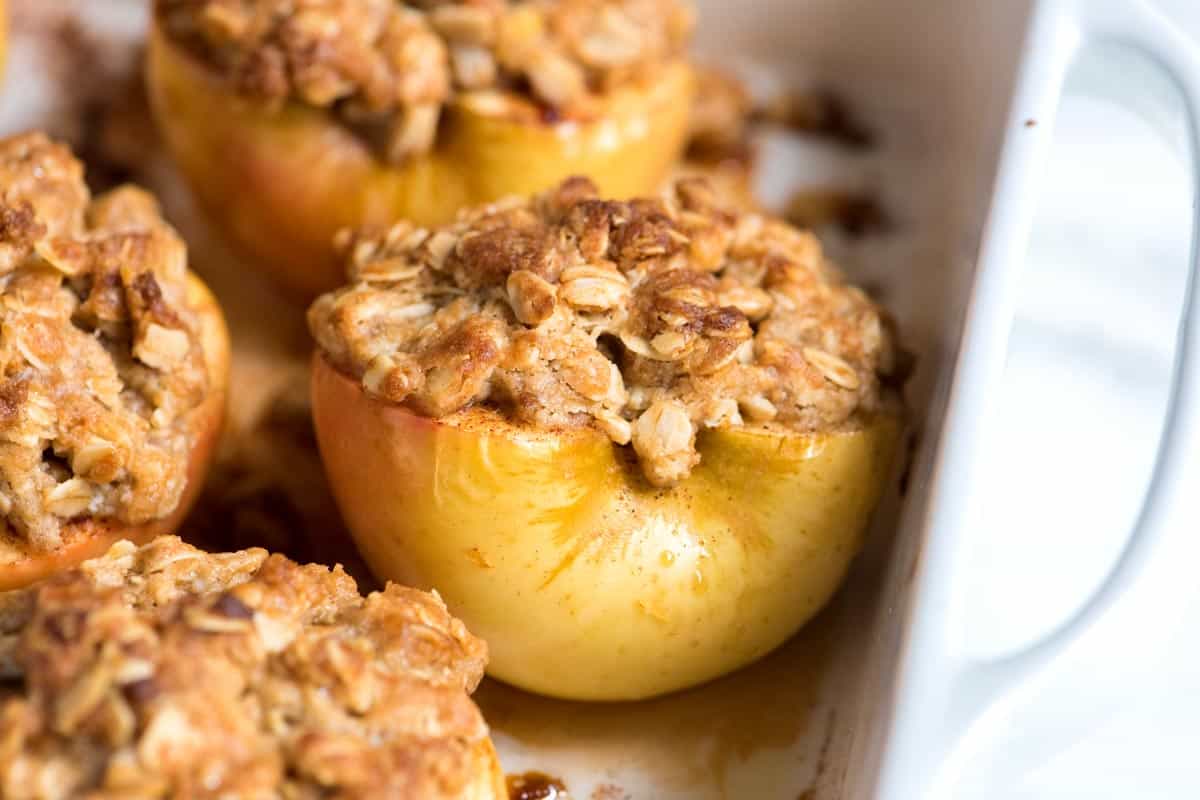
This caramel sauce tastes much better than store-bought! Drizzle it over ice cream and your favorite desserts. I love it with homemade brownies, baked apples, banana cream pie, homemade apple pie, cheesecake, and so much more! It’s also lovely as a dip with cookies and apple slices!
Perfect Homemade Caramel Sauce
- PREP
- COOK
- TOTAL
My favorite caramel sauce recipe is so easy! For the best results, use a medium stainless steel saucepan with a heavy bottom, as this will ensure even heating and prevent scorching. While you can rely on intuition and the color of the caramel to gauge its readiness, a candy thermometer removes the guesswork and provides more consistent results. I love turning this into salted caramel sauce and adding the sea salt at the end.
You Will Need
1 ¼ cups heavy cream (295ml)
1 teaspoon vanilla extract
1 ½ cups granulated sugar (300g)
⅓ cup water (78ml)
¼ teaspoon sea salt, plus more for salted caramel sauce, see tips
Directions
1Melt the sugar: Combine the sugar and water in a heavy-bottomed medium saucepan. Cook over medium-low heat until the sugar dissolves completely and the mixture is clear. Do not stir. Cover the saucepan with a lid for 1 minute. This creates steam, which helps prevent sugar crystals from forming on the sides of the pan.
2Caramelize the sugar: Remove the lid and clip a clean candy thermometer to the side of the saucepan. Increase the heat to medium and cook, without stirring, until the sugar mixture reaches 350°F (177°C) and turns a rich amber color (see photo in article for reference). This usually takes 5 to 8 minutes. You can gently tilt the pan to distribute heat, but avoid stirring.
3Add the cream: Once the caramel reaches 350°F (177°C), immediately remove the saucepan from the heat. Slowly and carefully pour in the cream mixture. Be cautious, as the caramel will bubble and splatter. If the caramel hardens, don’t worry, it will melt back into a smooth sauce as you continue.
4Continue to cook: Return the saucepan to low heat and cook for 2 to 3 minutes, stirring constantly, until the hardened caramel dissolves and the sauce is smooth and silky. Stir in the salt for salted caramel sauce.
5To finish: Allow the caramel to cool completely to room temperature. Once cool, taste and adjust with additional salt as needed. Be sure to let it cool enough to taste safely, as it may be very hot.
Adam and Joanne's Tips
- Storing: Transfer the cooled caramel sauce to a glass jar or an airtight container. Store it in the refrigerator for 2 to 3 weeks. The caramel sauce will thicken in the fridge, but you can gently reheat it in the microwave or on the stovetop to make it pourable again.
- Vegan caramel sauce: Substitute the cream for full-fat canned coconut milk (use the thickest, white part of the can).
- This recipe is inspired by Ina Garten.
- The nutrition facts provided below are estimates.







Was looking for a recipe to use the apples left from apple-picking and your Baked Apple recipe is perfect! Of course, it led me to the Salted Caramel sauce, yum. Not sure if it is too late to ask a question (possibly an odd question, but have never made this before!), but what type of spoon works best for the stirring part of the recipe for this sauce? Would a rubber spatula or wooden spoon be ok? Or metal spoon–won’t be using nonstick. Looking forward to making both, they look amazing! Thanks in advance
Hi Cat, Either a wooden spoon or rubber spatula will be fine. If they are hard to clean after making the caramel, you can add them to a pot of boiling water, which will quickly dissolve any caramel stuck to them.
I made this yesterday to make my own caramel frappes, and it’s delicious!! It true your patience waiting for the sugar to dissolve without stirring it but it’s so worth the wait! As it cooled down I kept going back for another taste lol. Thank you for sharing this great recipe!
This is my absolute favorite caramel recipe. I was wanting to use it to make some chocolate caramel tartlets, but it’s not thick enough. Is there anyway I can make this caramel a tiny bit thicker so it will hold up in the tart shells?
Hi there, I’m so happy you enjoy the recipe! This is the texture of sauce. For a thicker caramel, we’d need to do some more experimenting.
So I was looking for something to make for my grandmothers 61st birthday and she LOVES salted caramel and bread pudding so I made the bread pudding and then the salted caramel she is super ready to eat it now add I won’t let her till the party tonight!
I just wondered if you’ve heard of anyone making this with coconut cream, or other non dairy product? In search of a good non dairy caramel sauce. 🙂
Hi kay, We have never tried this, although it is a great idea to try out!
Are you sure the temperature is supposed to be 350F?
When using a candy thermometer 350F is way past hard candy stage.
I’ve made this before using the same ingredients somewhere else but can’t recall the cooking temperature.
Yes, 350 is correct.
Does this freeze well, and if so, for how long?
While we have not done this ourselves, the sauce should freeze well. Freeze it in an airtight container (not glass). When you want to use it, let it thaw overnight in the refrigerator then gently warm it up.
OMG! I have never made caramel sauce before and really wanted to try. I had my sister and her husband over for dinner and decided to give it a go. There was none left!! I did exactly as you instructed. I poured it warm over home churned vanilla bean ice cream and fudgy pecan brownies. It was so delicious that my sister (who has a sweet tooth)suspiciously volunteered to clear some of the dishes from the table. When I entered the kitchen, she ate what was left of the caramel with large spoon!!! I have laminated this recipe into my personal (and private) cook book where it shall remain for the rest of my cooking days. Thank you so much for this recipe!
So glad you loved it!!
I was about to give up on making caramel altogether! It seemed half the times I made it without hassle, but the others always ended unsuccessfully.
Watching your video was key! — as I learned: not to stir the sugar; add cream slowly without slowing down the boil; it is imperative to buy & use correctly a candy thermometer; etc…
Equipped with this new information, along with the lemon juice hint, I’m ready to try again. Thanks!
Hi Joanne,
I happened to chance upon your blog and am so so glad I did.
I love the one bowl concept you work with-it completely agrees with me. Your write-ups, videos and illustrations are very constructive. Please do keep up the great work you are doing. I am now hooked to your blog so the impeaching!
Looking forward to your updates.
Naiyya
Thank you so much!
I followed exactly the steps, and it DID NOT WORK! So disappointed! when i added the cream, it ended being just a big ball of hardened sugar, and some diluted cream. Really frustrated about wasting so much cream and sugar.
Bummer – so sorry it didn’t work. When you add the cream, the sugar will come into a ball at first, but then should melt back down into a caramel sauce after a minute or so.
Thank you for this recipe! I’ve tried numerous caramel sauces trying to find the right blend of flavors and ease of preparation. This one is great! I wanted an extra salty sauce to top a cheesecake, so I upped the salt to one tablespoon. It might sound like a lot, but if you like sweet/salty this is decadent!
I was super excited to try this… and I did… and I burned sugar… really bad. For some reason my candy thermometer failed to let me know I had passed 350 until the caramel started smoking… My house smells like burned sugar and I almost got molten sugar everywhere. Make sure your thermometer actually works correctly before attempting this.
That stinks, Emily. Sometimes, even with the right equipment, it is best to keep an eye and trust your gut when cooking. Next time, if you start to smell burning or if you think the caramel looks too dark, take it off the heat. It should smell sweet and a little nutty and should be amber in color.
Just one word: BEAUTIFUL. Rich flavor of caramel will melt in your mouth. I didn’t have a candy thermometer, but the pictures were very easy to follow so I had no problem in guessing the right temperature. I made turtle cake with it and I know it will be delicious. I will keep you posted. Thank you!
Oh, a turtle cake … Yum! So glad you enjoyed it.
This is my favorite easy caramel sauce recipe. I put it over ice cream, spiced apples, and love it in my coffee in the morning, so I make it A LOT…. and wanted to share a few tips. 1. Make sure the cream is room temperature. The first time I put cold cream in the hot mixture it curdled. 2. Use the candy thermometer, even if you think you know what the sugar mixture looks like when it’s ready. I tried to cut corners one day and added the cream too soon. The sugar had not quite caramelized yet, even though it was bubbly and starting to brown, and I ended up with a milky simple syrup. Waiting that extra minute or two was the difference between (almost) disaster and perfection (I still used my concoction for sweetener in my coffee – no point in wasting sugar!)
I’ve been making peanut brittle for years and never bothered making caramel or caramel sauce, having read these two excellent recipes I will most certainly be giving them a go – would you mind if I posted my results on my blog?
So glad you liked them. We would love for you to post your results on your blog!
It is wonderful.
Thank you for this.
this looks easy an delicious. Can’t wait to try it!
This looks awesome! Great step by step instructions too 🙂
This looks so yummy and the step-by-step photos are so helpful!
This looks great. Pity I don’t have a candy thermometer but as soon as I get one, I’ll be making this!
Oh you don’t need one. Its certainly more precise with a candy-thermo, but not needed.
You can see whether the sugar has been properly caramelised by its colour, wich is a blood-like red.
oh my… how i love thee caramel! I really need to buy a candy thermometer ASAP!
yes you do 🙂
-joanne