
This homemade apple pie recipe has perfectly tender apples, the sauce is outrageously delicious, and the flaky crust is out of this world.
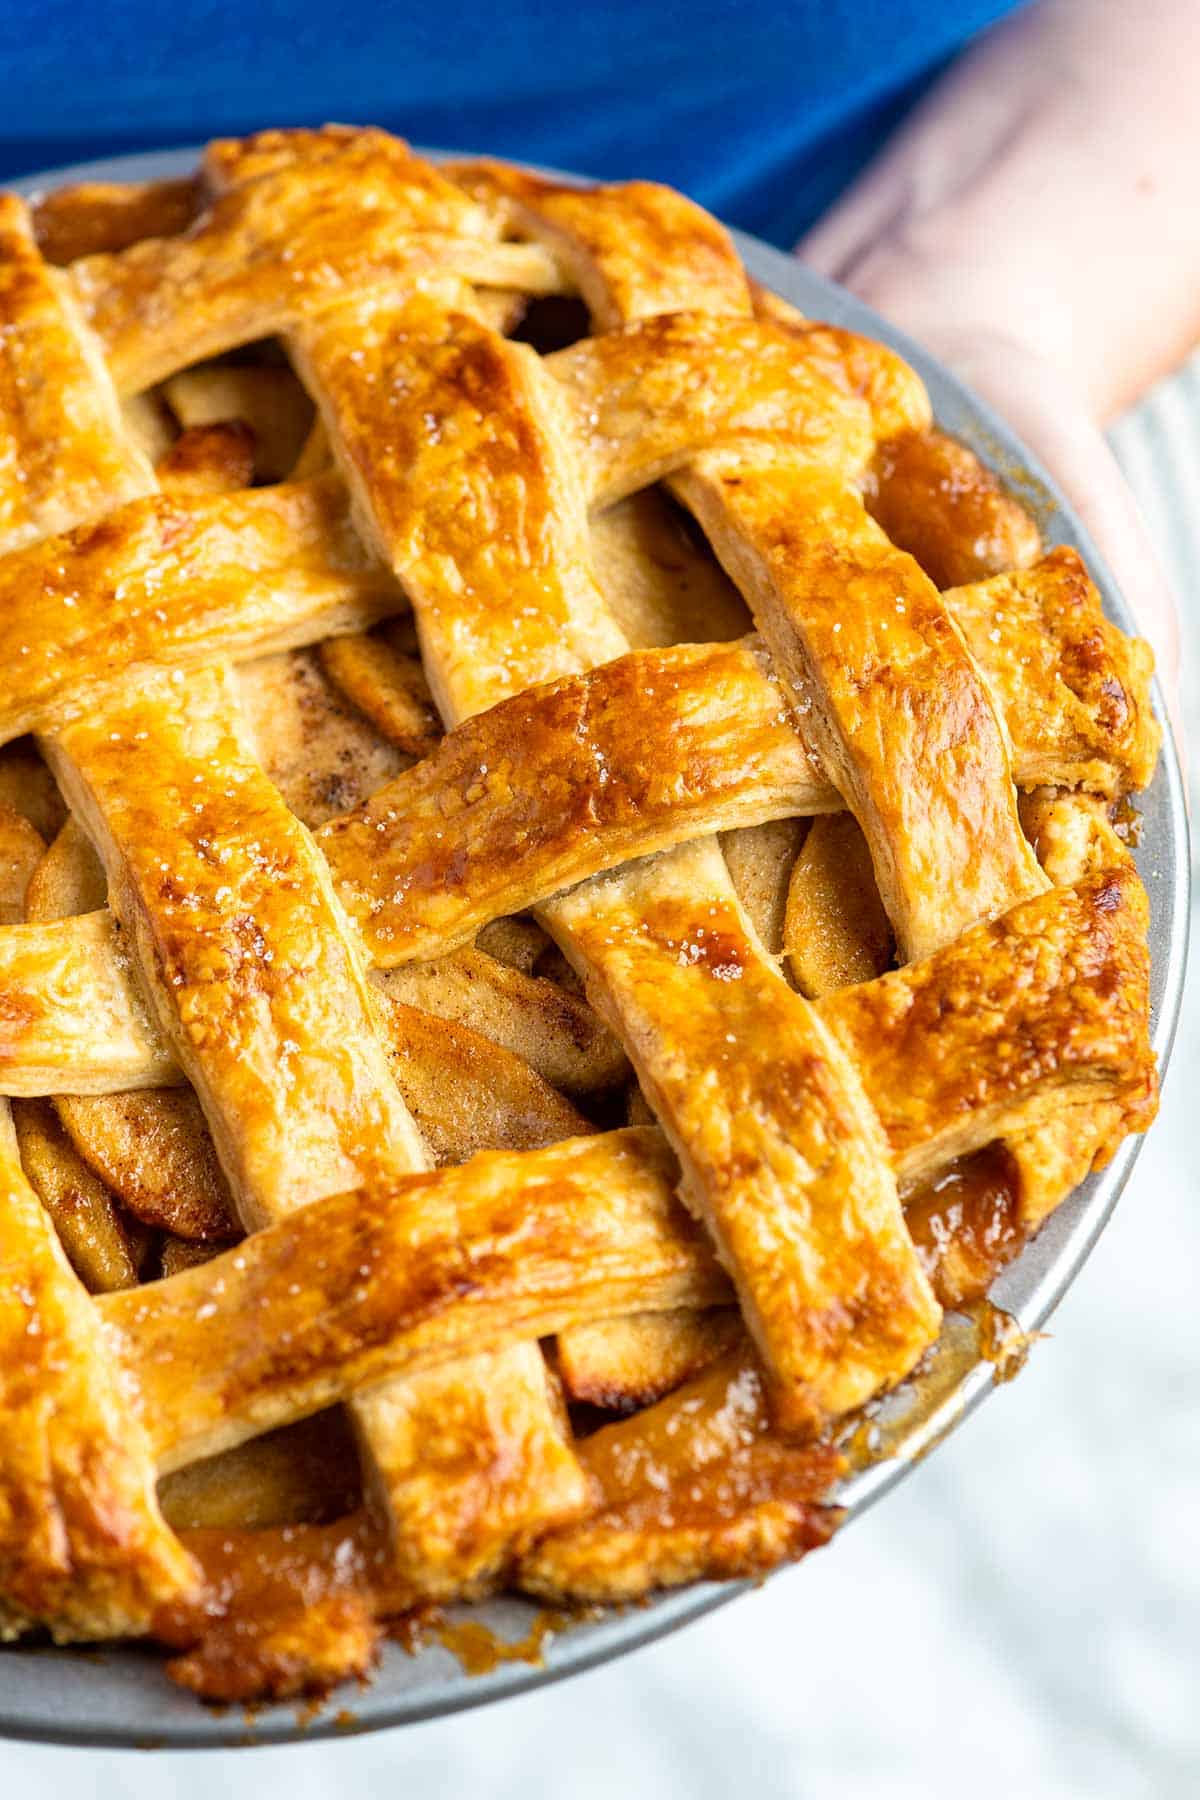
It took me a while to nail down my favorite apple pie recipe, but I’m happy to report that this is it, especially when you make it with our favorite flaky butter pie crust!
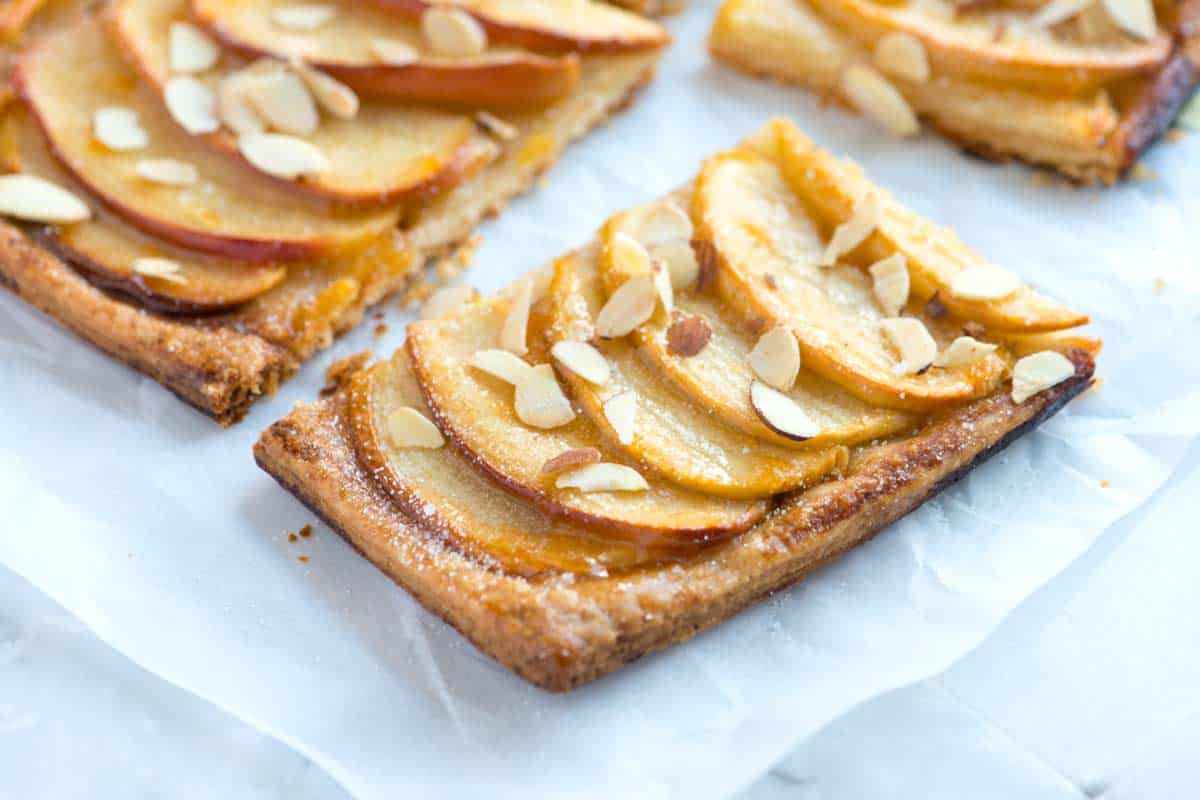
This pie is a guaranteed winner that will become a family favorite and end your search for the perfect apple pie. We’ve heard from countless readers who agree, with some even winning baking competitions with it! For more apple desserts, see our homemade apple cobbler or this easy apple tart.
Key Ingredients
- Pie Crust: You can use homemade or store-bought pie crust. I use my favorite homemade pie crust to make this apple pie. It’s made with butter and hasn’t failed me yet.
- Apples: For the best apple pie, use a lot of apples (we use over 4 pounds) and try using two varieties to add extra flavor and texture. I love Granny Smith, Honeycrisp, Pink Lady, Jonagold, and Golden Delicious.
- Sugar: I use brown sugar and granulated sugar in this pie. If you only have one or the other, use it. The pie will still taste great.
- Spices: I love a hint of spice in this pie, so I use cinnamon, ginger, cardamom, allspice, nutmeg, and salt.
- Cornstarch: We need cornstarch to thicken the pie filling. Below the recipe, I have included tips for using tapioca flour as a substitute.
- Butter: A tiny bit of butter makes the filling shiny and extra delicious.
- Egg Wash: I usually use egg yolk and cream for my egg wash, but this apple pie has a longer baking time. For this pie, I whisk an egg and a splash of water. This and the longer baking time create the lovely golden brown crust in our photos.
Find the full recipe with measurements below.
How to Make My Favorite Apple Pie
Tip 1: Use our favorite pie crust. You can’t have great pie without a great crust. Our easy pie crust recipe never fails and works so well with this apple pie. The secret to a truly flaky, golden crust is to keep your ingredients very cold. The pockets of cold butter will create steam in the oven, which separates the layers of dough and gives you that perfect, flaky texture.
Tip 2: Let the apples sit. I do not cook our apples for this pie. Instead, I toss peeled and sliced apples with sugar, salt, and spices in a large bowl, then set the bowl aside and let them sit for about an hour. As the apples sit, the sugar and salt help them release their delicious liquid, and they become slightly softened and floppy. You can see how much liquid the apples release in our photos and video. I also use this trick when making this apple bread.
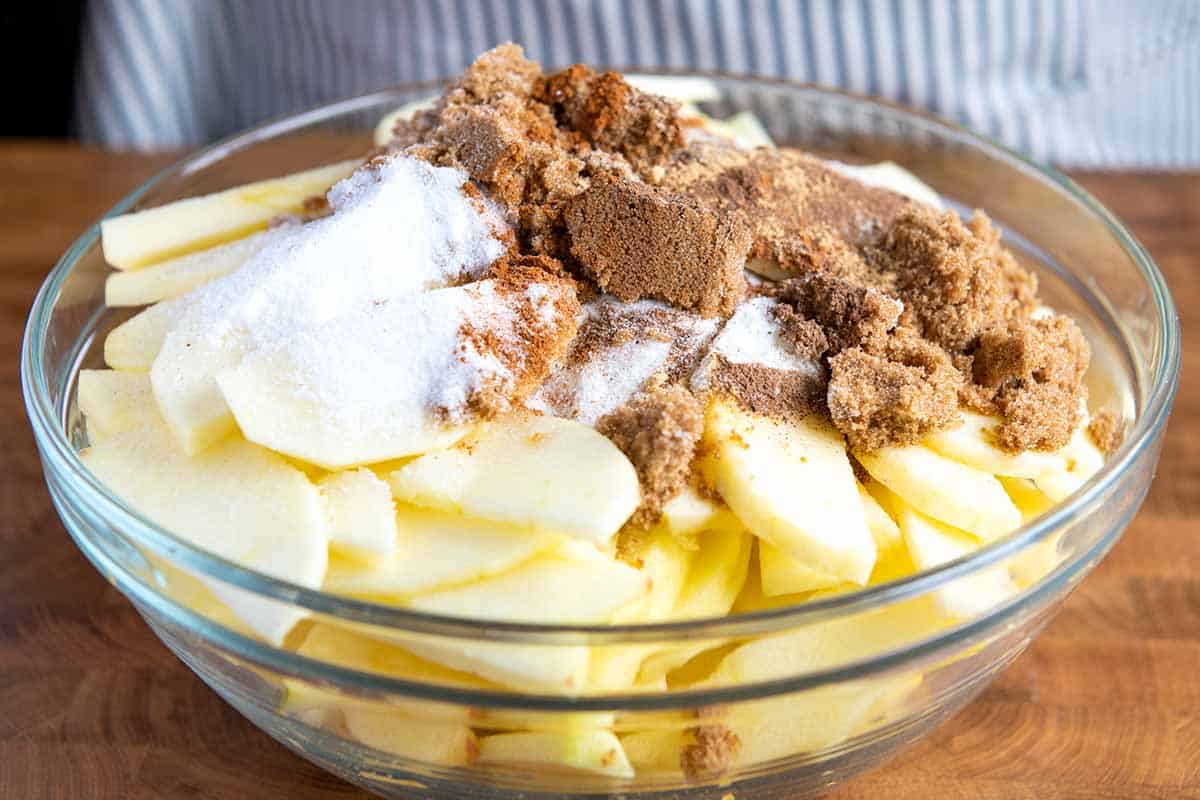
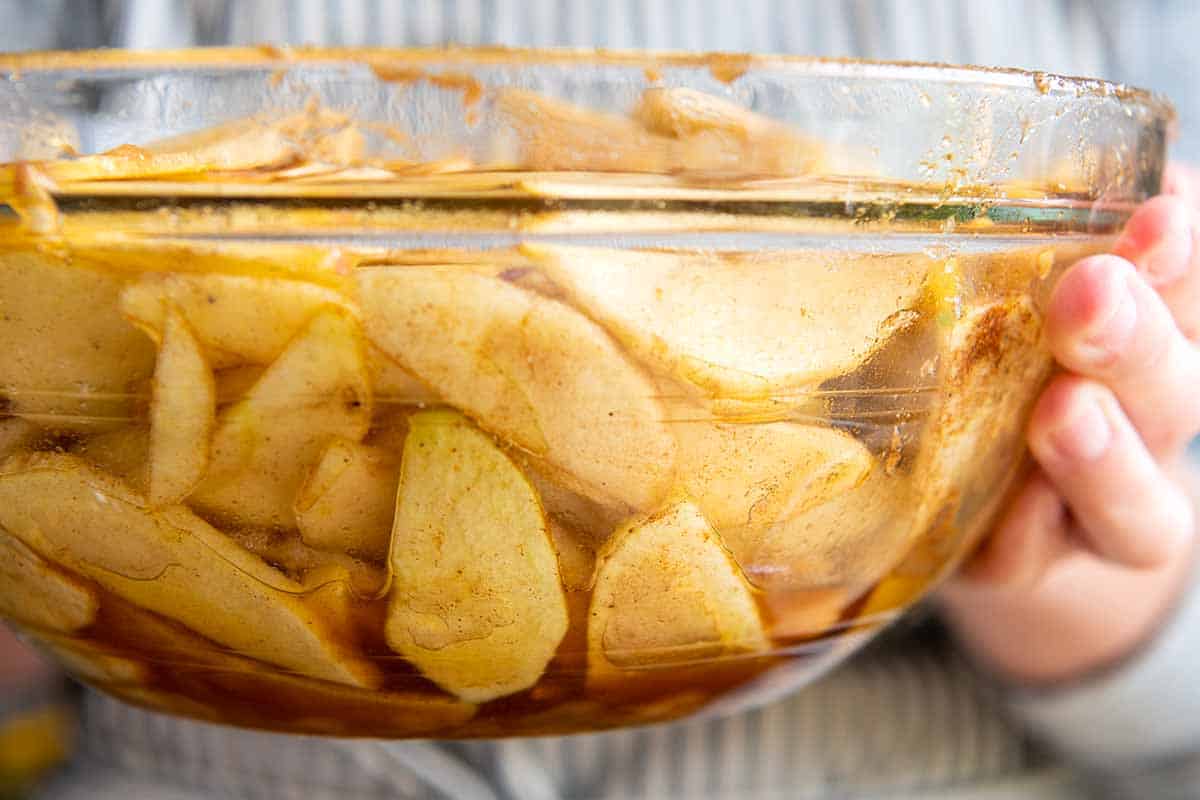
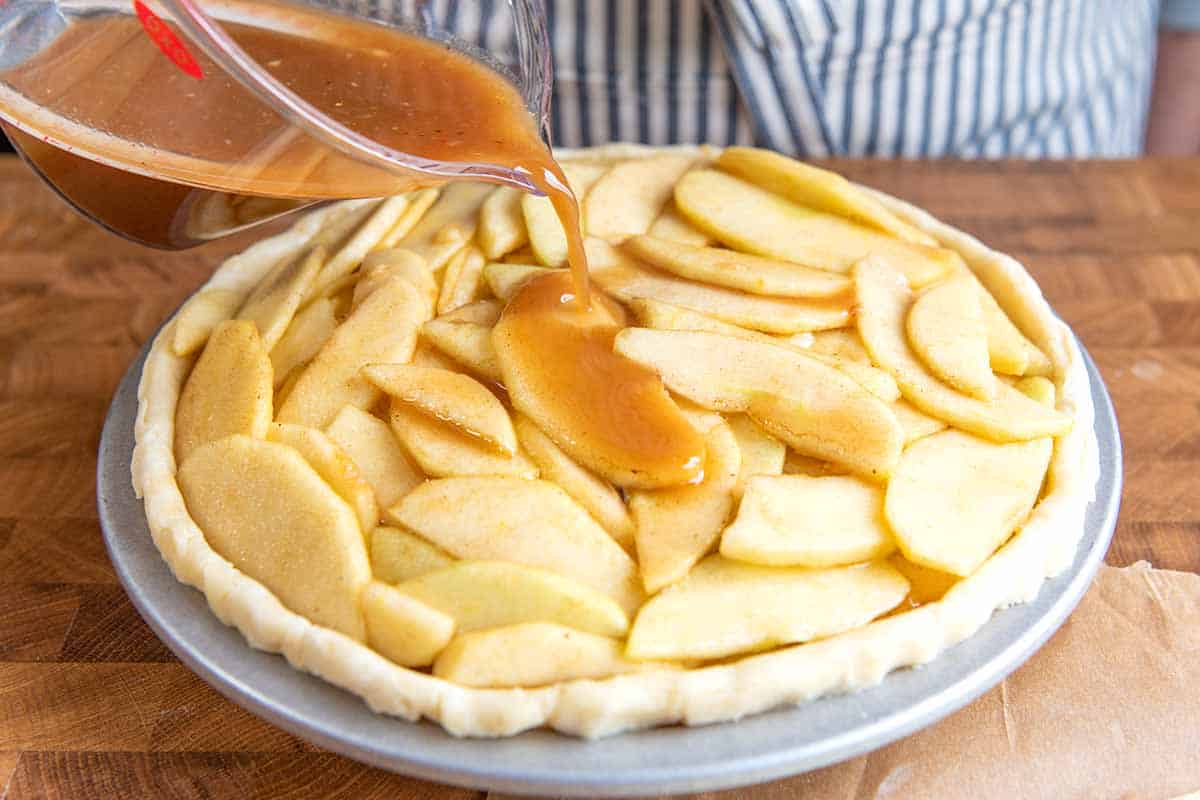
Tip 3: Keep the apple liquid. Some apple pie recipes ask you to throw away some or all of that delicious liquid before filling the pie, but there’s so much flavor there! With our recipe, you can use all of the liquid, which turns into a thick sauce with our slightly longer bake time. I consistently get about 3/4 cup of liquid in the bottom of my bowl (a little more or a little less is okay).
Tip 4: Bake longer for a thicker filling. One of the biggest complaints about apple pie is that the filling is too runny. This recipe for apple pie has a long baking time, guaranteeing that the liquid in the pie filling has enough time to simmer and thicken. I bake my pie in a 400°F oven for about 75 minutes. You can tell it is done when the filling is bubbling out of the crust and looks thick.
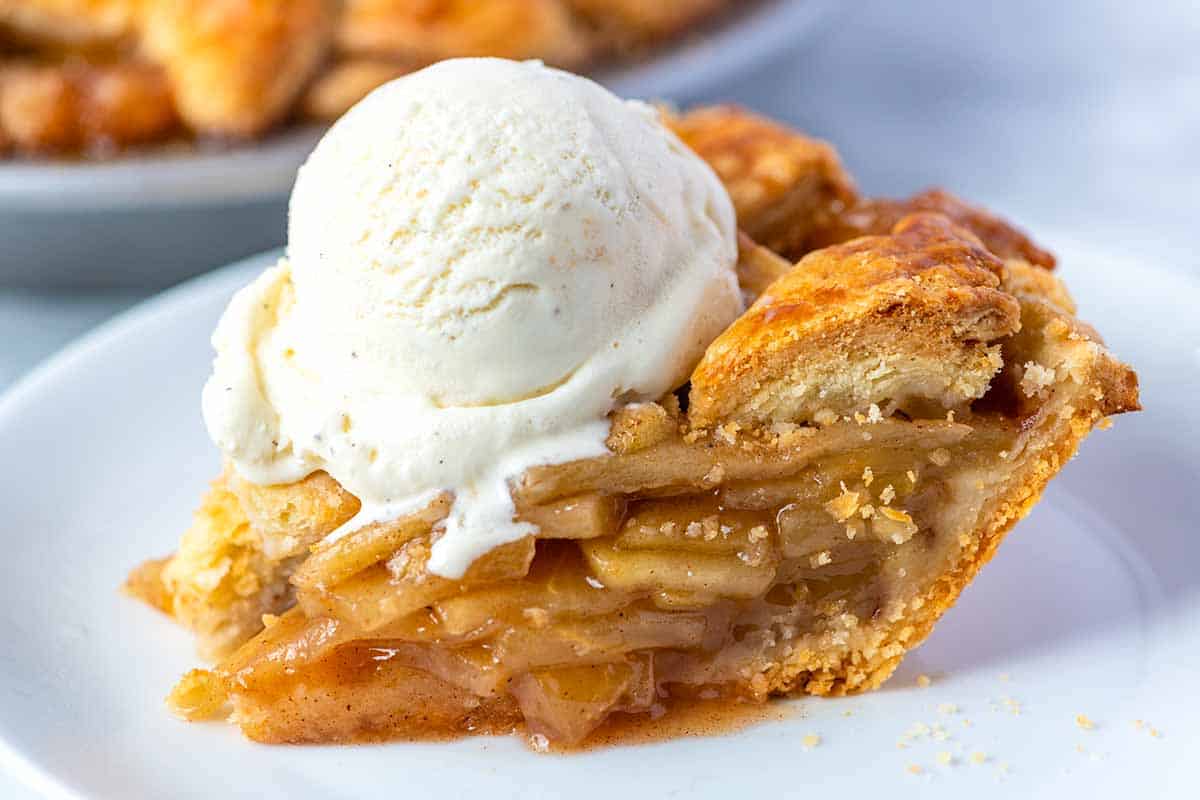
Tip 5: Let your baked pie rest. Before you cut into your pie, let it cool completely. I know this is hard, but the trick to the perfect not-too-runny, not-too-thick filling is letting it bubble in the oven, and then cool completely on the counter. If you want to serve your pie warm, I still recommend cooling it, then gently reheating it in a 200°F oven for serving.
More Pie Recipes
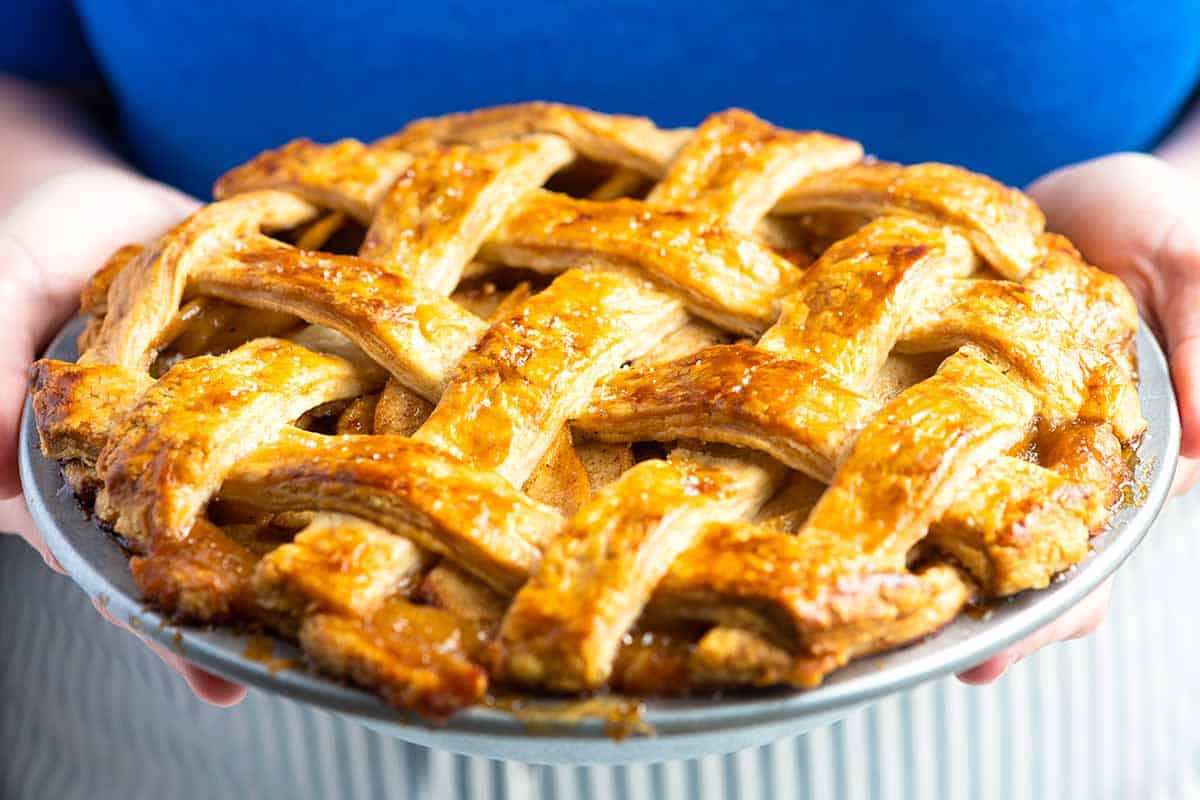
Best Apple Pie We've Ever Made
- PREP
- COOK
- TOTAL
I love apple pie, and this easy recipe is the best I’ve made. We do not precook our apples. Instead, we let them sit with sugar, salt, and spices to soften before adding them to our pie crust and baking. You can use any pie crust for this apple pie but, for the best results, we highly recommend our flaky pie crust.
Watch Us Make the Recipe
You Will Need
1 (9-inch) double crust homemade pie crust, our recipe makes 2 crusts (one for the top and one for the bottom)
4 ¼ pounds (1925g) baking apples, about 8 large apples
½ cup (100g) light or dark brown sugar
½ cup (100g) granulated sugar
¼ teaspoon fine sea salt
1 teaspoon ground cinnamon
¼ teaspoon ground ginger
¼ teaspoon ground cardamom
¼ teaspoon ground allspice
¼ teaspoon freshly grated nutmeg
2 tablespoons (16g) cornstarch
1 tablespoon (14g) butter
1 large egg
Directions
1Prepare the apples: Peel, quarter, and core the apples, then slice into ¼-inch slices. Place them into a very large bowl.
2Mix the pie filling: Scatter brown sugar, granulated sugar, salt, cinnamon, ginger, cardamom, allspice, and nutmeg over the apples. Toss well, then set aside on the counter for 1 hour.
3Roll out the bottom crust: Roll out half of the pie dough to fit a 9-inch pie dish. To prevent sticking, sprinkle flour on your work surface and rolling pin. Roll from the center outwards for even thickness, lifting and rotating the dough by a quarter turn as you go. Check the size by inverting the pie dish over the dough (it should be 1 ½ to 2 inches larger).
4Add the crust to the pie dish: Carefully place the dough into the pie dish without stretching it, and trim the edges to within 1 inch of the dish. Place in the refrigerator until needed.
5Roll out the top crust: Roll out the second half of the dough to a similar size as before and transfer it to a large parchment-lined baking sheet. Keep the second sheet of pie dough in the refrigerator until needed.
6Prepare the oven: Position an oven rack towards the center of the oven. Preheat the oven to 400°F (200°C). Set aside a baking sheet and line it with foil or parchment paper (you will bake the pie on this).
7Add the apples to the pie: Toss the cornstarch with the apples. Transfer most (if not all) of the apples into the prepared bottom crust, using your hands to really pack them down into the pie. Fill the pie until apples are mounded at the same height or a little higher than the edge of the pie crust, tucking in as many as you can. If you have too many apples, save them (see notes). See our video showing how high we pile the apples.
8Add the apple juices to the pie: Pour the juices accumulated at the bottom of the bowl over the apples. (If there’s more than ¾ to 1 cup of liquid, leave some behind, see notes below.)
9Dot apples with the butter: Cut a tablespoon of butter into 8 or so small pieces and dot them over the pie.
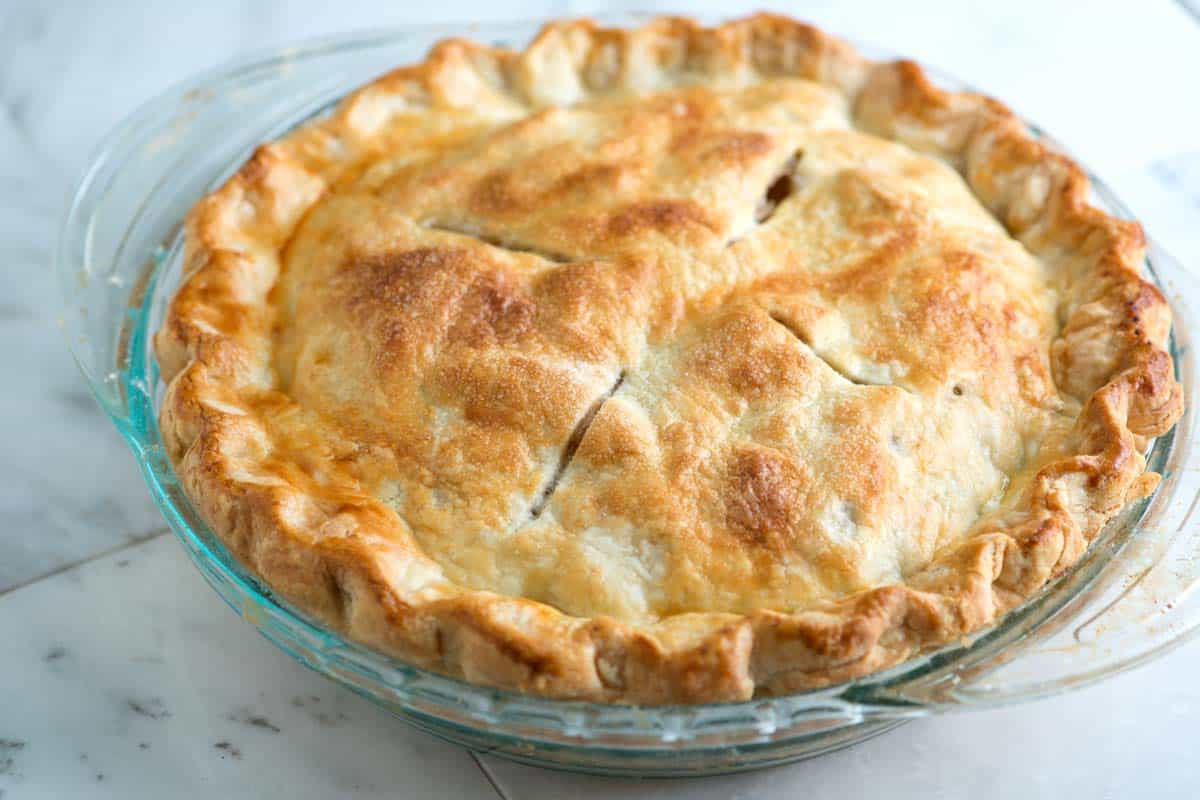
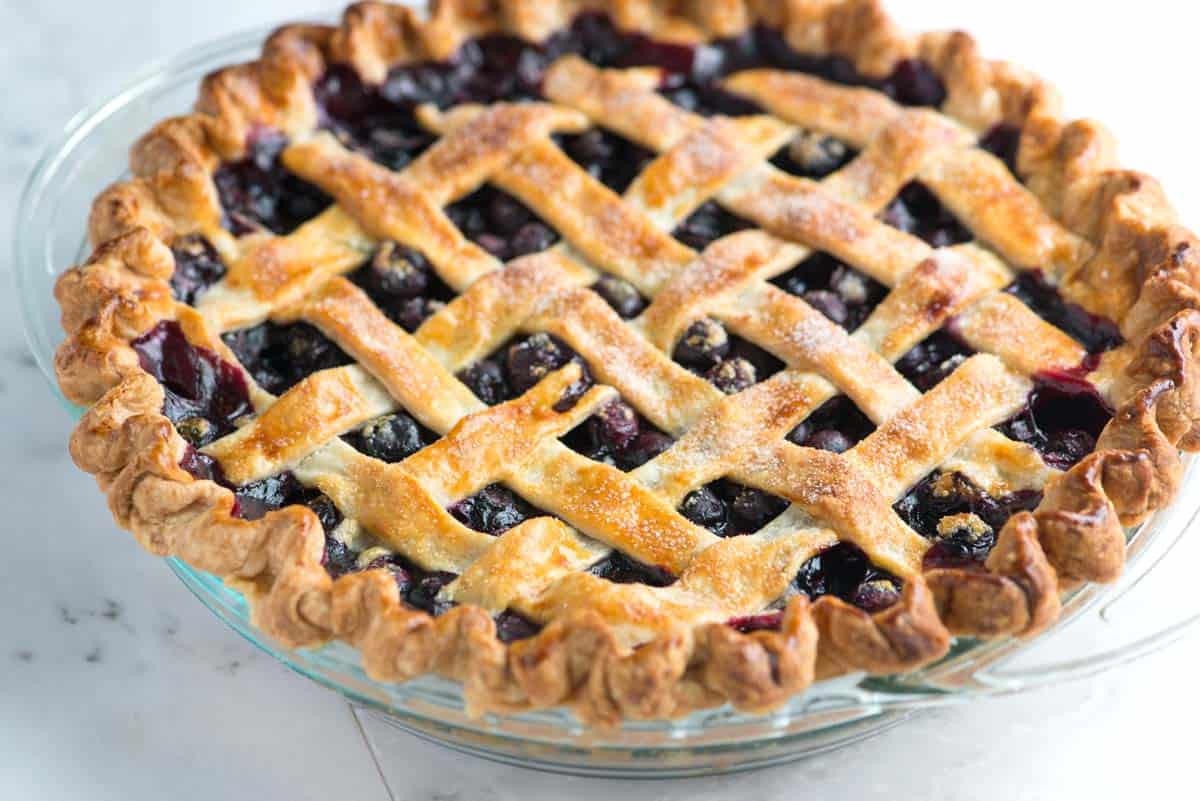
10Add the top crust: Place the second pie dough round over the filling, or cut it into strips and lattice the top (see our video in the article above, or read this tutorial for how to lattice a crust. If you are not adding a lattice crust and are adding the top crust in one piece, use a sharp knife to cut a few slits in the top of the crust to allow steam to vent.
11Crimp the edges: Trim excess dough from the top crust or lattice strips, then fold the overhang underneath, forming a thick rim. Press it together or crimp it with your fingers (or use a fork).
12Add the egg wash: Whisk the egg with a tablespoon of water, and then use it as an egg wash by lightly brushing the top crust. This egg wash adds shine and helps the crust brown.
13Bake the apple pie: Place the prepared pie on the baking sheet and bake for about 75 minutes, turning a few times for even browning. If you notice that the pie crust is browning too quickly, mold a large piece of foil over a bowl that’s been placed upside down to make a foil dome. Place the foil dome over the pie for the remaining bake time. This will slow the browning.
14Apple pie is done when the juices are bubbling through the vents of the top crust or lattice. If you do not see bubbles, the pie needs more time. Another way to check for doneness is to use an internal thermometer. Pierce the pie in the middle, then test the temperature. The pie is done when it reads 195°F. Piercing the pie is also an excellent indication of how soft the apples are. If they feel too crunchy, the pie needs more time.
15Cool the baked pie: Cool the pie without slicing it for at least 2 hours, preferably longer. Keep in mind that the pie filling does not fully thicken until it is completely cooled. Waiting to cut into the pie until it’s cool will prevent a soggy slice.
Adam and Joanne's Tips
- Storing: Leftover apple pie will keep at room temperature for 2 to 3 days or in the refrigerator for up to a week. Rewarm slices in a 350°F oven for 5 to 10 minutes before serving them.
- Freezing baked pie: To freeze baked apple pie, let it cool completely, wrap it in foil, and place it in freezer-safe bags for up to 2 months. Thaw in the fridge overnight, and reheat in a 350°F oven. You can freeze whole pies or individual slices.
- Freezing unbaked pie: To freeze unbaked apple pie, wrap the assembled unbaked pie in a few sheets of foil, then place it into a freezer-safe bag. Freeze for up to 2 months. Thaw the pie overnight in the fridge, then bake according to our recipe below.
- Best apples to use: I use 2 different types of apples for the best flavor. You can choose any baking apple. I also love Honeycrisp, Granny Smith, Pink Lady, and Golden Delicious.
- Cornstarch substitute: Use 4 tablespoons (30g) tapioca flour.
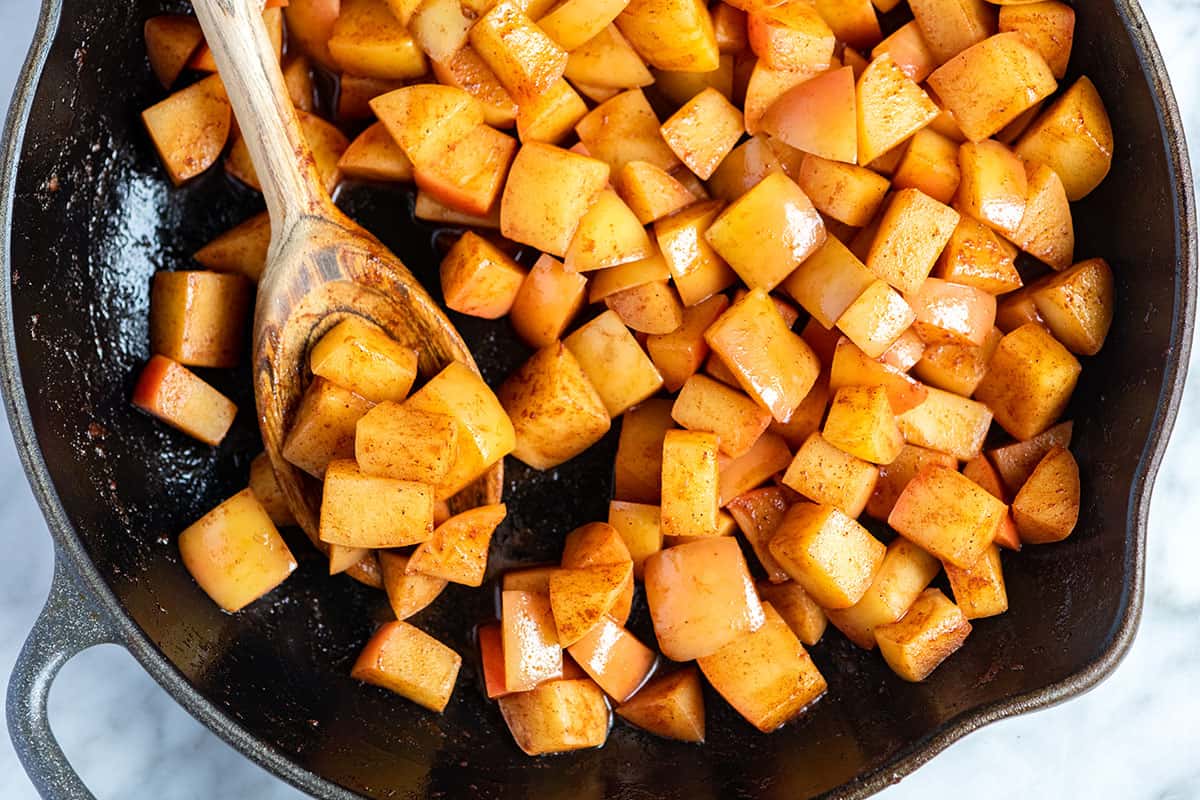
- Leftover apples: If you have too many apples for the filling, add them to a skillet with a splash of water and butter or coconut oil, and cook until softened. Serve over ice cream or oatmeal.
- Liquid amount: We consistently get about ¾ cup of liquid at the bottom of the bowl. A little more or a little less is fine, but if you find that your apples released much more, consider leaving a little behind.
- The recipe has been inspired and adapted by BraveTart’s apple pie.
- The nutrition facts provided below are estimates.








This recipe is definitely worth the hype. Using brown sugar, letting the apples rest and te ring the pie for most of the bake. Mine needed 20 more minutes. I did add an extra tablespoon of cornstarch. The flour also helps. Most recipes call for one or the other. I did an egg wash and sprinkled with turbinado sugar.
I just tried the apple pie and flaky crust recipe from you. It tasted great! The only issue was the bottom crust didn’t fully cook. Baking longer is probably the answer, part of the top crust was burnt on the crimped part. Baking longer would make it burn more. I didn’t check the temperature. Would an aluminum crust shield help protect the top while the bottom cooks longer? Thanks for any advice
Hi Jason, What oven rack did you place the pie on. Maybe lowering it would help so that the bottom crust gets a bit more heat. Crust shields or some foil carefully covering the edges will help any over browning on the top.
Made one of these a couple days ago for dessert after The Bird & stuff today. Looks AWESOME with the lattice crust I managed, been decades since the last one. Here’s hoping it tastes as good (or better!!) as it looks this morning, under the pie safe. Only comment: even in my 9″ glass pie plate the recommended volume of apples was a bit much. Mounded high before top was woven, I ended up with about two cups of sliced apples left over. Those got zip’d up & frozen, maybe for something later down the road? Waffles, perhaps….
I’ve made this pie several times and it’s absolutely delectable! It’s a crowd pleaser for sure. I’m wondering if there’s a way to prevent the filling from collapsing after I take it out of the oven to cool. I filled it with all the apples but it caved in underneath the crust/lattice work. Thank you so much and happy holidays!
Yeah, saw that happen too. I doubt there’s a way around, given that lattice crust becomes rigid enuf to support itself but the stuff underneath loses to gravity ’cause it’s become softer from the heat. Doubt it’ll affect the taste though!
Simply the best apple pie recipe!!! I sprinkle turbinado sugar on after the egg wash too, made a foil top to place on it hlf way through so it doesnt get too brown or semi burnt on the edges, hope that helps as a tip!!! You guys are the best!!
OMG this is the fourth time I’ve used your apple pie recipe and each time they turn out beautifully golden brown and after cooling the consistency is perfect. I can cut a piece, remove it and barely any excess juice flows out. Each piece holds it shape when placed on a plate and especially good with some french vanilla ice cream!!! Thanks for the recipe.
Yay! You are so welcome! 🙂
This is my go to pie crust recipe. I found it last summer when I had an abundance of berries. I’ve been baking for many years and have tried many crust recipies. I “had” my go to crust recipe but it has been replaced by yours. It’s flakey, flavorful and easy to make. Thanks for your recipe and I look forward to using more of yours.
This recipe was complex but simple at the same time my mom and i made this for the second time and it is one of the best pie recipes we have ever tried
Delicious pie. I ended up only baking for 50 minutes, so use a thermometer if your’e unsure. The spice combonation is amazing. I will absolutely be making this for Thanksgiving!
I wish I was able to leave a photo here because my pie came out award-worthy lol this has to be the most beautiful apple pie I’ve ever made and the most delicious thank you for this recipe I wanted to show you a picture of my pie but I don’t see an option to upload a photo but it came out stunning thank you
I had to make this recipe vegan since our son is vegan. I just replaced the butter in the crust and filling with vegan butter. The pie came out really delicious.I would have never even known it was vegan. I can only imagine what it would taste like with actual butter, even more delicious. A 10+ of a recipe.
Love your recipe but added about two tbsp of heavy cream after the butter. Yummmm!
I’m not sure if the apple weight posted was for after cleaned and sliced or before. I ended up a pound under and it filled my deep dish perfectly. I’ve never made pie crust before but the food processor made that very easy. I followed the recipes for both the pie and crust to the letter with the exception of my nutmeg was not freshly ground. The pie turned out beatuiful and I hit the 195 degrees on the money. Great recipes. Is the pie crust fat free? Kidding, that’s a lot of butter.
Hi Jim, So glad it turned out beautifully, and I love that you nailed the temperature! The apple weight is before peeling and slicing, so you did perfectly with your deep dish. And yes, that pie crust definitely isn’t fat-free, but all that butter is what makes it so flaky and good!
I love this recipe. Started using it last year but as some said my oven just cooked it too quickly at 400 degrees. Easy fix by lowering the temperature and also one thing I also use is fresh Ginger, yum.
Thanks for this recipe. It is my favorite
Baked this pie today and omg it is delicious. I made two different ones and my fiancé definitely took the wrong one home hahaha!! I won’t make my pies any other way than this recipe!!
I made this today and followed the directions. The pie came out runny, I’m thinking I should have used 4 tbsp of corn starch. The pie tasted great though
Hi Patricia, Glad to hear it still tasted great! If it was a bit runny, you’re right, adding an extra tablespoon of cornstarch can help next time, especially if the apples were extra juicy. Letting the pie cool completely before slicing also helps the filling thicken up nicely.
This was my very first pie that I ever made, and it came out beautifully! I made your pie crust as well, and it was a fun process and I want to make more pies in the future.
The apple pie was fantastic. I made it for my husband’s birthday and everyone loved it.
Wow. So Good. I was scared at first with the spices But; you nailed it!
Hi I was wondering two things. I want to assemble and cook the next day. Can I hold an uncooked pie in the fridge overnight beforè cooking? Also, I wanted to add blueberries. How would you suggest I alter the recipie for that please? Thanks so much, looking great to making this. Already made your butter crusty in anticipation to do this today! Thank you
Hi Joanna, That’s wonderful — we love that you’ve already made the butter crust! You can absolutely assemble the pie and refrigerate it overnight before baking. Just cover it well so the crust doesn’t dry out, and bake straight from the fridge (no need to bring it to room temperature). For blueberries, you can swap in about 1 to 1 ½ cups fresh or frozen berries and reduce the sliced apples slightly so the filling still fits in the pie. Blueberries add a little extra juice, so add an extra teaspoon of flour or cornstarch to help thicken it up.
I never leave reviews, but good lord the apple pie + the crust recipes are hands down the best I’ve tried. Subbed cornstarch for flour and a pinch of xanthum. Pie was divine, crust was flaky. This one is getting saved for life!
I made this apple pie – but with a twist, I made it vegan, for my family due to fasting. The apples, drowning in spices, creating an EXTREMELY appetizing filling, absolutely tremendous. The only changes I made were to the egg wash and dough, which was quite the mistake, as it was hard to cooperate with. However, I believe if I used this recipe with no twists, it would have been MUCH better than my vegan alternative- but I still cannot describe how delicious this pie was, despite my struggles. It got eaten – not even within 24 hours, that’s how succulent this pie was. Thank you for this recipe – both Adam and Joanne.
Like they said- this WAS the best apple pie recipe Ive ever had. I used utility apples from our winter storage and even with questionable fruit and a store bought crust- this recipe was a winner. The spice blend was perfection. Next time I will be sure to try your pie crust recipe also.
I’m a little confused, in your pie crust recipe who say to put the pie, after assembled, in the fridge for 20 minutes before baking, but in the apple pie recipe, using the pie crust recipe, it is not mentioned?
Can you clarify?
The instructions for the crust are more generic since I don’t know the exact pie recipe you plan to use (so think of them as a guide). If you have a pie recipe (like our apple pie), then I recommend following the directions for that specific pie.
This was my first time ever making a crust from scratch, I have made many a pie before but always used a store bought crust because I thought making one from scratch would be too much work! Well, I was totally wrong, this was super easy to make and it turned out great, I will never buy a store bought crust again! Seeing the video made it even more easier. 😃
I made this pie for desert for our Thanksgiving dinner. Perfectly named because it was literally THE BEST APPLE PIE WE HAVE EVER HAD. Next up is to make your homemade pie crust. Thank you for this amazing pie recipe.
This is the second apple pie i ever made. The first was a disaster. This one- orgasmic! I love the crust. And the apples are delicious with variatinons in texture with soft &slightly crunchy (i threw in ever apple varitety i found). Next time i want to try it with just cinnamon lemon zest and ginger. Will that work flavorewise?
I followed the recipe exactly how it was written and it was delicious! Thank you for the clear explanation and video. This was the first time I made apple pie. I’m so glad I used your flaky pie crust too. It was a big hit! This recipe is a keeper.
Best pie ever. Thank you for the recipe.
I’ve made this twice with your amazing crust recipe and it was amazing!!!
I wish I could post a photo of how beautiful my very first applie pie turned out to be. I received rave reviews at Thanksgiving. It was delicious. We will make again. And I seen where someone made apple turnovers with this – great idea!
Before finding this recipe I have never made any kind of pie. This is my second year making this recipe and it is delicious and so easy to make. I have kept it just as written and everyone loves it! And I love the dough as well.
Question: could I make the dough with lard(shortening) and what would be the measurements? Thanks!
Hi Wanda, You should not need any adjustments. Use the same amount of lard as butter called in the recipe.
I was a Thanksgiving dessert rockstar thx to you and this recipie. Made the flaky butter pie crust (excellent) for this apple pie. Did a traditional top crust with slits, followed the foil dome tip and in the end, my pie looked like something on the cover of a cooking mag. It tasted fantastic! This recipie is a keeper. Thank you
Delicious receipe.
Great pie
The pie is in the oven and smells great. But the temperature is way off and almost burned the crust. I think 375 is about right. I’ve covered the pie with foil while it finishes to stop the browning.
Oh no! I’m sorry to hear the pie is baking too quickly. It sounds like your oven might be running hot. Lowering the temperature to 375°F is a good idea, and covering the pie with foil will definitely help prevent the crust from burning further. Keep a close eye on it as it finishes baking, and maybe even check it a little earlier than the recipe suggests, just to be safe. Hopefully, with the foil and lower temperature, it will turn out perfectly! For next time, consider an oven thermometer for your oven (they are around $15).