
These chocolate covered caramels are the ultimate treat! Thanks to homemade caramel and a little salt on top, they taste incredible. Perfect for gifting!
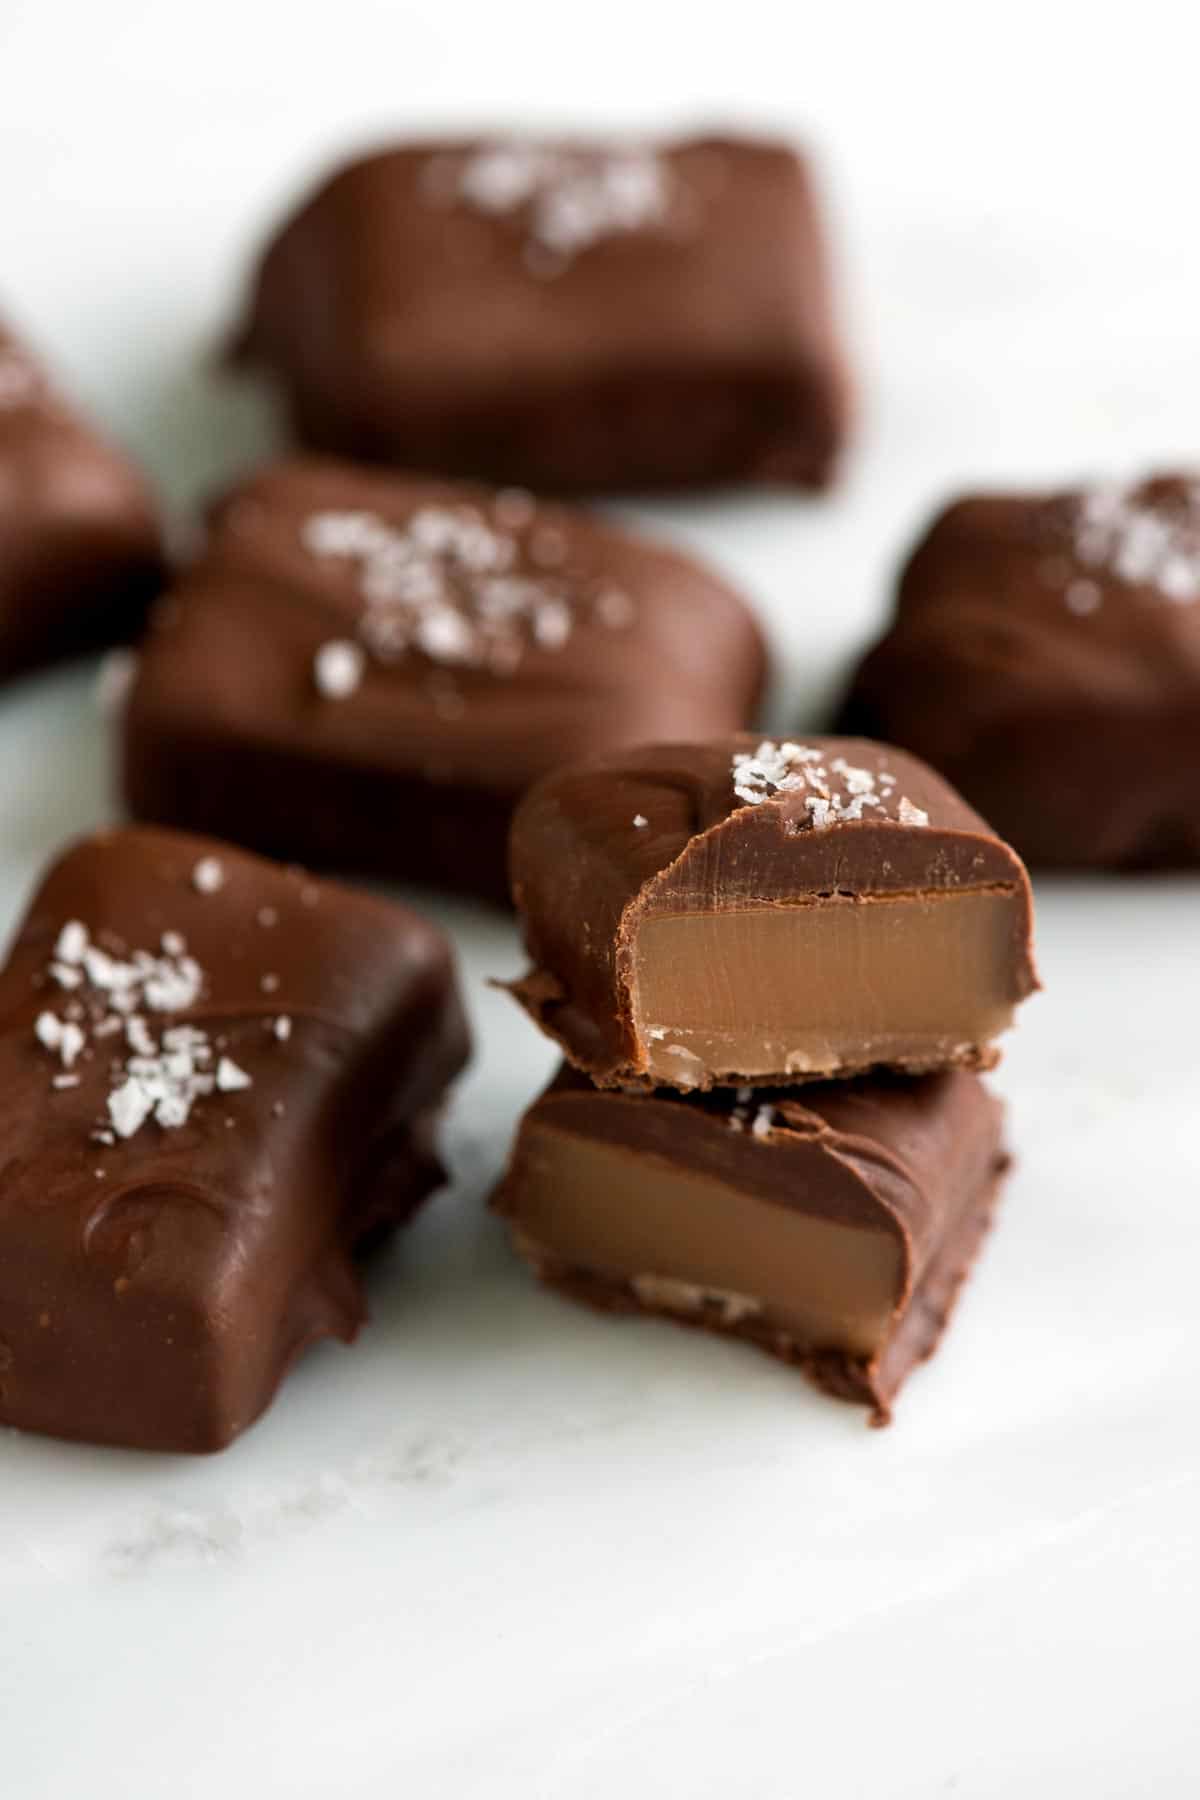
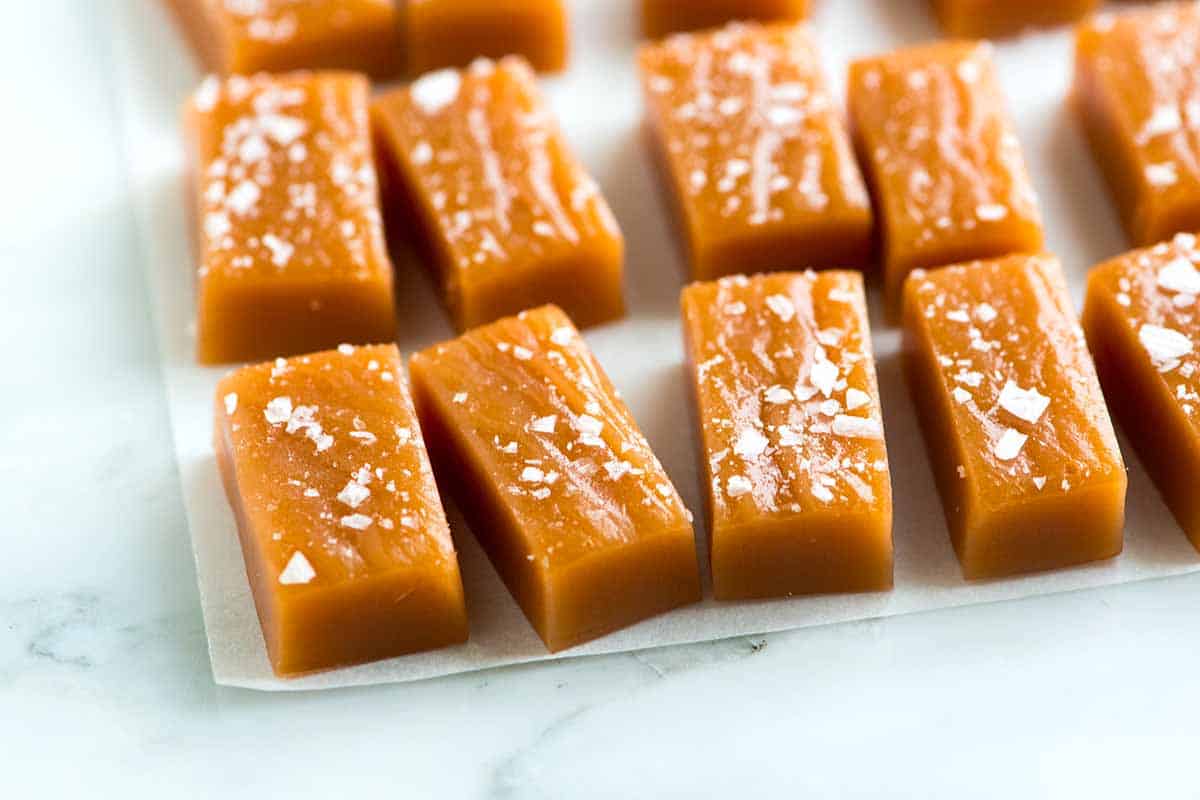
We dip soft, buttery caramels into creamy chocolate for this recipe and top them with sea salt. They are almost irresistible! I’m using my recipe for homemade caramels, which hundreds of home cooks have used and loved.
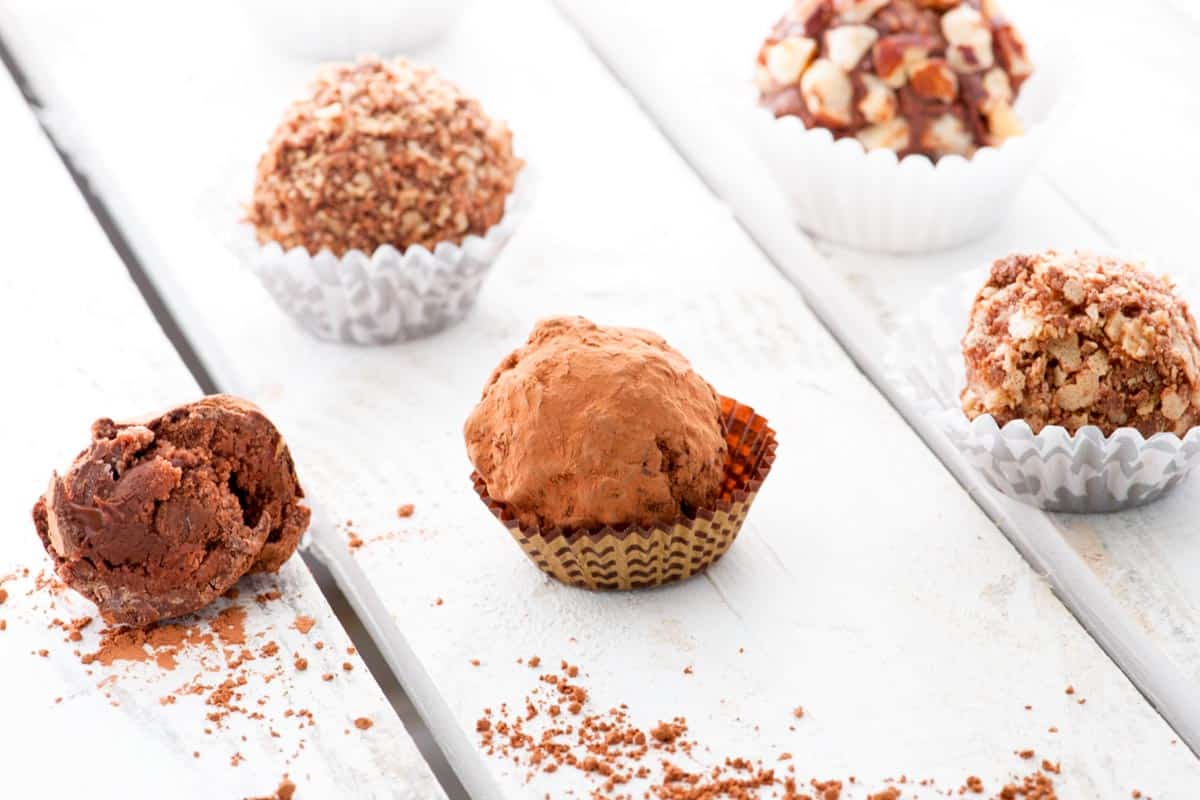
These chocolate covered caramels are soft, chewy, and perfectly melt in your mouth. For another caramel recipe, see my homemade caramel sauce. Or, for another giftable treat, these chocolate truffles.
Key Ingredients and Equipment
- Chocolate: I recommend using good quality chocolate for the best results, whether you choose milk, dark, or white. Some brands I personally love are Ghirardelli, Callebaut, and Scharffen Berger.
- Sugar: Plain granulated sugar is the way to go for this recipe.
- Light Corn Syrup: While I don’t often use it in other recipes, it is key to achieving the best, most consistent caramel texture. However, if you’re in a pinch, I have successfully used pure honey or golden syrup as substitutes.
- Butter: I use salted butter to enhance the flavor of these caramels. If you only have unsalted butter, add 1/4 teaspoon of fine salt to the butter and cream mixture.
- Heavy Cream: For soft and chewy caramels, choose higher-fat cream like “heavy cream” or “heavy whipping cream.” If you’re in the UK or Australia, double cream or thickened cream with at least 35% fat content will work beautifully.
- Salt: To create salted chocolate covered caramels, sprinkle a finishing touch of flaked or grey sea salt over them while they’re still warm. Smoked salt is nice, too!
- Equipment: For this recipe, you’ll need a candy thermometer for precise cooking, a small, heavy-bottomed saucepan to prevent scorching, and a standard 9×5-inch loaf pan to cool the caramel. I love using my 2-quart All-Clad saucepan for this smaller batch.
Find the full recipe with measurements below.
How to Make Chocolate Covered Caramels
Before making caramels at home, read through the recipe a few times, have all the equipment ready, and measure out the ingredients. Candy making can go by quickly, and if you’re not ready, things can go from good to bad fast.
Don’t try this recipe without a candy thermometer. The temperatures matter. Our recipe is a two-part process. First, we cook the sugar syrup (sugar, corn syrup, and water) and then add a mixture of cream and butter. For more details, I recommend watching our video or hopping over to this caramels recipe, where I share extra tips.
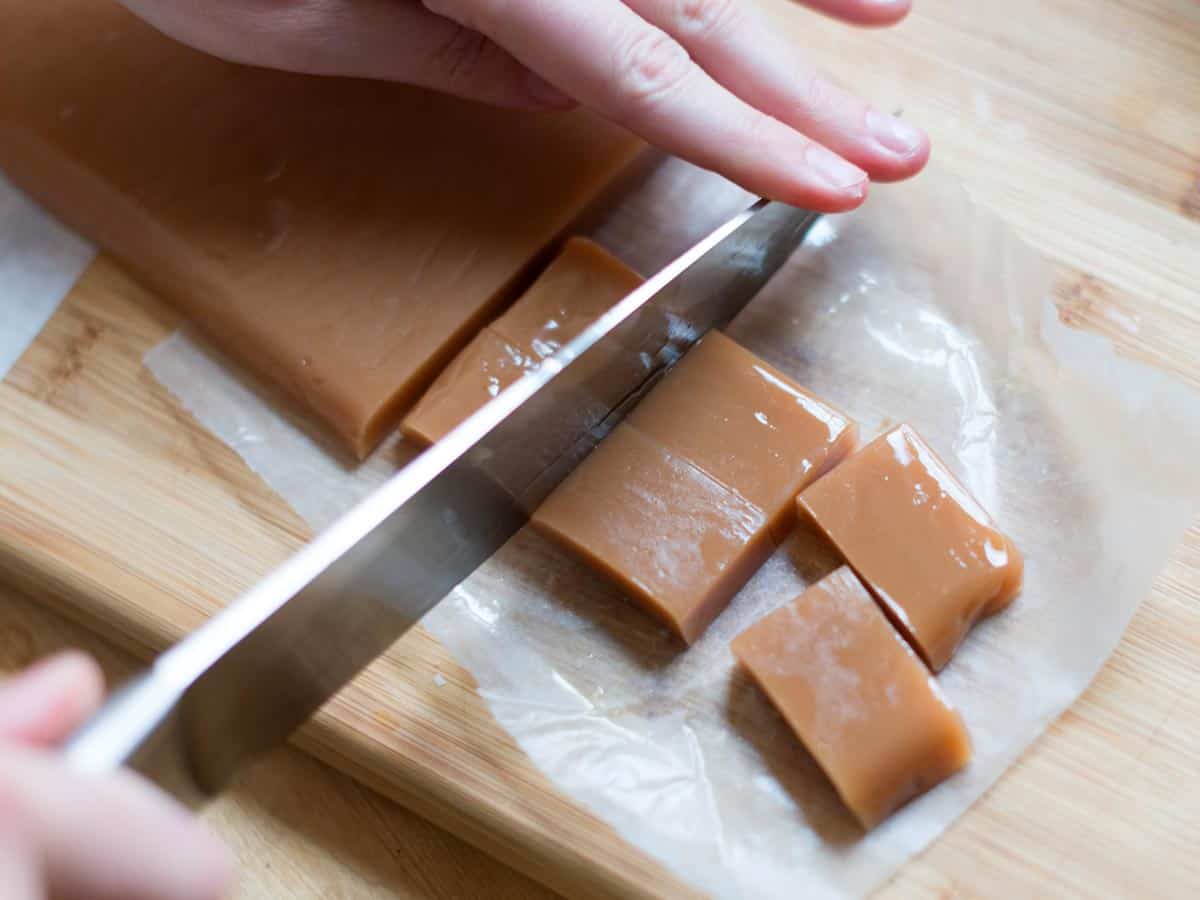
You’ll pour the caramel mixture into a lined loaf pan and let it cool for a few hours before cutting it into caramels. Then, you can dip them into melted chocolate.
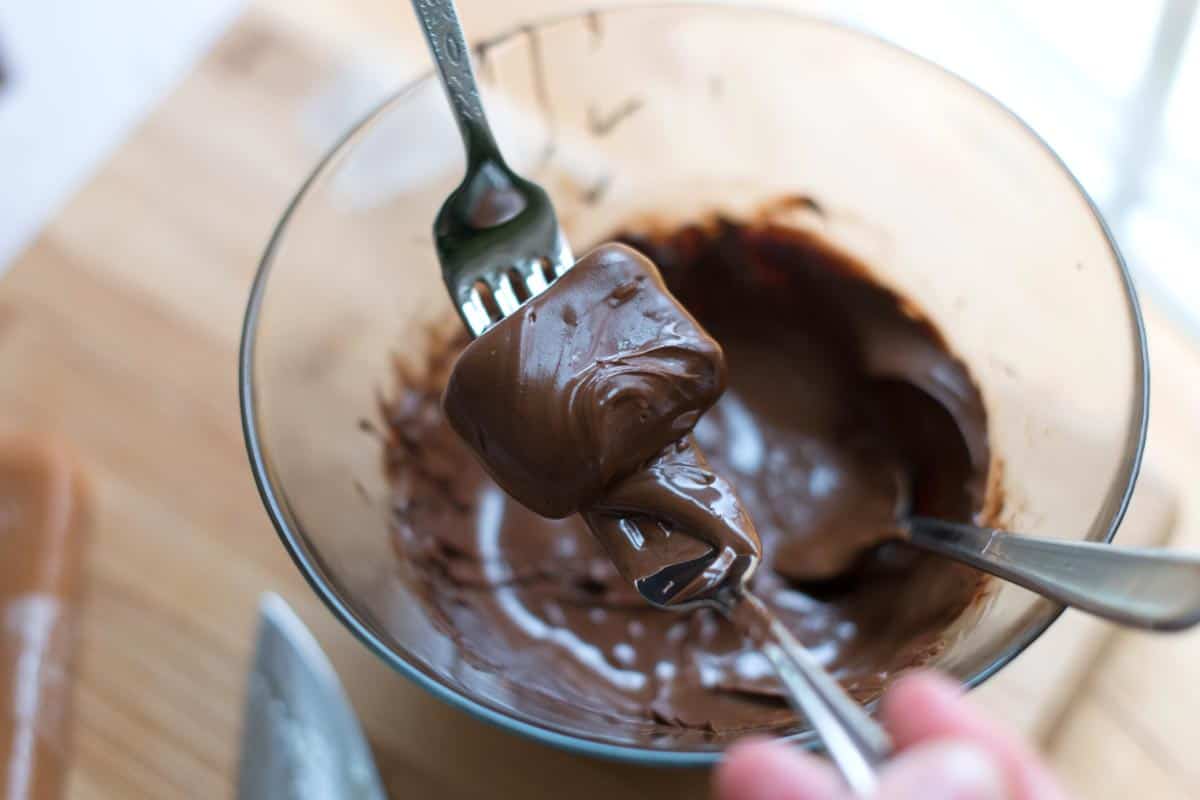
I melt the chocolate in the microwave, but you can use a double boiler. Then, we dunk each caramel into the chocolate (a messy, but delicious process!).
And finally, to make them really special, we add a sprinkle of sea salt on top.
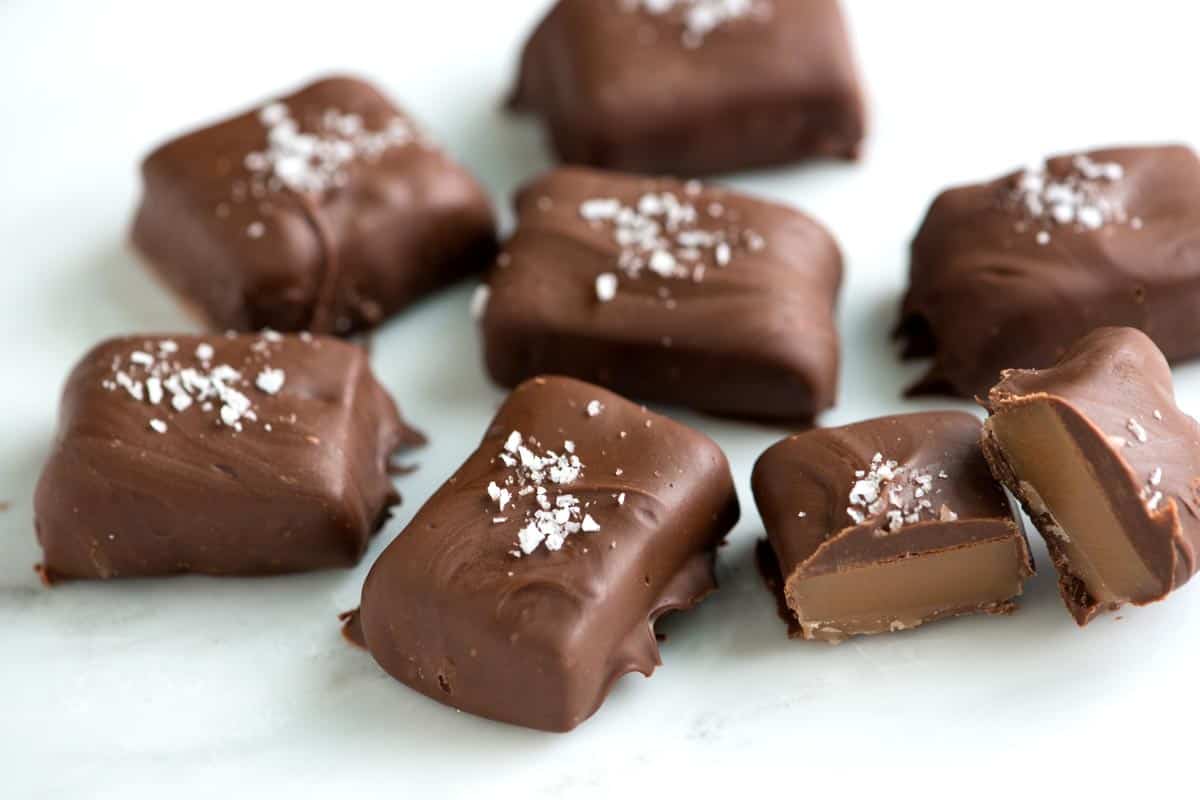
Salted Chocolate Covered Caramels
- PREP
- COOK
- TOTAL
I love these chocolate-covered caramels, which are soft, chewy, and perfectly melt in your mouth. Before making these, get all the equipment ready and measure the ingredients. I love dark chocolate, but milk or white chocolate is lovely, too.
Watch Us Make the Recipe
You Will Need
Homemade Caramels½ cup (113g) butter
½ cup (120ml) heavy cream or heavy whipping cream (36 to 40% butterfat content)
3 tablespoons (44ml) water
¼ cup (60ml) light corn syrup
1 cup (200g) sugar
Chocolate Coating1 pound (450g) high-quality chocolate, milk, dark, or white
2 tablespoons (28g) butter
½ teaspoon flaked sea salt, or more as needed
Directions
- Make Caramels
1Start by lightly oiling a 9×5-inch loaf pan. Cut a piece of parchment paper to fit inside the pan with at least an inch overhang on the sides. Lightly oil the parchment paper, place it in the pan, and set aside.
2Cut the butter into 8 pieces, then add to a microwave-safe bowl. Add the heavy cream. Heat in the microwave for 1 to 2 minutes until the butter melts and the mixture is hot. Set this aside for later use.
3In a small saucepan, combine the water and corn syrup. Add the sugar, being careful not to splatter it on the sides of the pan. Gently stir the sugar into the water and corn syrup, just enough to moisten it.
4Heat the mixture over medium heat until the sugar boils. Cover with a lid for 1 minute to create steam, which helps any sugar stuck to the sides melt back into the mixture.
5Remove the lid and attach a candy thermometer to the side of the saucepan. Cook the sugar until it reaches 320°F (160°C) and turns a light amber color around the edges, 5 to 10 minutes.
6Carefully and slowly pour about a sixth of the butter and cream mixture into the sugar, stirring with the base of the thermometer to incorporate it.
7Repeat with the remaining cream and butter, adding it in small batches and stirring between each addition. The mixture will bubble vigorously, so proceed cautiously to prevent it from overflowing.
8The temperature will drop after you add the cream and butter. Continue cooking until the caramel reaches 240°F (115°C), 5 to 10 minutes.
9Once you reach 240°F (115°C), carefully pour the caramel into the prepared loaf pan. Let it cool completely (about 3 ½ hours).
10Unmold the caramel. If it’s too soft to handle, refrigerate it for 30 to 45 minutes to firm up. Use a large, sharp knife to cut the caramel into your desired shape. We cut into 1-inch by 1-inch squares.
- Dip Caramels in Chocolate
1Line a baking sheet with parchment paper.
2Chop your chocolate into small pieces using a sturdy knife. Reserve about ⅓ cup of these chocolate pieces and set them aside.
3Place the remaining chocolate in a microwave-safe bowl. Add the butter and microwave in 30 to 45 second intervals, stirring after each interval, until the chocolate is almost completely melted.
4Remove it from the microwave and stir in the reserved chocolate pieces. Continue stirring until the mixture is smooth and glossy.
5To coat the caramels, use two forks to dip each caramel into the melted chocolate. Allow any excess chocolate to drip off, and then place the dipped caramel onto the prepared baking sheet. Immediately sprinkle a pinch of salt on top of each caramel.
6Let the chocolate set completely at room temperature.
7Once set, wrap each caramel in plastic wrap or waxed paper to protect them. Enjoy them immediately, refrigerate them for up to two weeks, or freeze them for up to a month.
Adam and Joanne's Tips
- Equipment I use: I use a standard candy thermometer (a Taylor thermometer is shown in the video and photos) and a 1 ½ to 2-quart heavy, thick-bottomed saucepan (I love my All-Clad D5 2-quart).
- Salted butter: After years of making these, I prefer salted butter. If you have unsalted butter, add ¼ teaspoon of fine salt. You can also use unsalted butter, which we use in the video.
- Doubling the recipe: I generally don’t recommend doubling this caramels recipe. Doubling the recipe can make it difficult to control the temperature accurately, which is crucial for achieving the right texture and consistency in caramels. If you need a larger quantity, it’s best to make multiple batches. However, if you’re experienced with candy-making and have a large enough pot, you can try doubling the recipe. Just be extra vigilant about monitoring the temperature and adjusting cooking times.
- This recipe has been inspired and adapted from Jacques Pépin’s book, “Chez Jacques: Traditions and Rituals of a Cook.”
- The nutrition facts provided below are estimates. We included all of the chocolate in the calculations, which is unlikely as you will have some leftover.








Can you put the caramel into small molds like hearts for Valentine’s day? Will they stick?
Hi Anna, I have not tried this myself. I think you should be okay, but you would be experimenting on this one.
I initially made just the salted caramel recipe (which was so unexpectedly easy and turned out perfectly!) and then decided I wanted to coat them in chocolate and luckily you had a recipe for that too. They turned out better than any store bought chocolate covered caramel and I can’t wait to share them with my family at Christmas. Thanks for such a great and seamless recipe!
My Caramels melted when I dipped them in the chocolate.
What happened?
What a shame. Did you allow the caramels to cool completely? Also, make sure the chocolate is warm, not hot.
These caramels are amazing! My gf wanted chocolate and seas salt covered caramels – so we went to the store…and could not believe the price. So I decided to try and make candy for the first time ever. Your recipe is so well-written, and the video was very helpful too. I’ve made a few minor tweaks since I started making these a few weeks ago – and wanted to share: while making a double batch (which is how I make them now) I use 5 tablespoons of water, and a tablespoon of vanilla. The only other minor addition is to crush up candy cane and add it to the sea salt, since it’s the holiday season. Thank you so much for sharing these are the best caramels we’ve ever had!!!
Made these today… I used milk chocolate for the first batch and white chocolate for the second batch. Both were very good. Great recipe and easy to follow.
I was wondering if you stir at all after adding the butter/cream mixture? Or do u just leave it alone till it reaches 240°F?
Hi Jody, I briefly stir with the candy thermometer and then leave it.
These were absolutely delicious! I’ve never made any that were better. I put the salt on too early and some of it melted into the warm chocolate, but they were still delicious. Thank you!
Wow, what a lovely comment. Thank you, Sammy.
I plan to suprise my daughter after her back surgery with the salted chocolate covered caramels. She loves the variety of sea salt caramels I get from a store in Asheville. Do you have any suggestions on adding a touch of heat/spice to these?
Hi Pamela, If you have gochugaru (Korean chili powder), cayenne, or another interesting chili pepper powder, I’d add a pinch or more of that.
I have made your salted caramels several times with great success and love them! I’d like to make chocolate covered caramels and incorporate a pecan half in each for my turtle candy-loving dad. Any suggestion about how best to do this will be very much appreciated. Thanks, Joanne.
I add pecan halves by setting aside a few of the newly made caramels and microwave them just until they melt (maybe 15 seconds). then using a spoon, place enough of the melted caramel on the caramel squares and place the pecans on top. They will cool quickly and will be firmly attached. Chocolate dip them as usual.
I’ve made these three times by following the recipe exactly – and they came out successfully all three times. I used the caramel to make turtles the third time by pouring a Tbsp. or so over each mound of three or more pecans. I waited for a short time for the caramel to cool slightly but not too much. After they cooled, I spooned melted chocolate over each one, covering the caramel only on the top. They were great – almost too good!!!! Valentine’s Day Treat. I tried making caramels without using corn syrup from another recipe, and it was a total disaster, the sugar totally crystallized on first step. This recipe is reliable and good.
Can i substitte golden corn syrup?
Hi Rose, We have not tried this ourselves, but it might work for you. You will have to let us know how it goes.
Is that right when first boiling the water sugar and corn syrup, the temperature has to reach 320F ?
Yep.
This is delicious. a 300g bag of semi sweet chocolate chips was perfect and then I didn’t have to chop it. : )
My favorite caramels to make every year! I did the chocolate covered ones for the first time and I love them! Very easy recipe to follow. I’ve never ruined the caramels following your recipe. Thank you!!!
I would like to make some of the chocolate covered caramels and send to my parents in Maryland. I live in Texas. Will they travel? other websites say caramels last up to 6 months. Yours says 2 weeks. so can I mail? thank you so much and wonderful website.
Yes, you should be able to mail them. We would recommend wrapping them very well. (As long as the temperature during shipping doesn’t get too hot)
I’ve been making these delicious sweets for a few years now. Through trial and error I found that I had the heat up too high and the sugar syrup went too dark and hadn’t even reached the required temp. on the thermometer. I lowered the heat and everything was peachy !!
Can I use chocolate chips instead of chopping the chocolate?
Yes
Thank you!! This looks amazing!!
Joann, I want to complement you on your recommendation to read recipes thoroughly several times prior to starting. So many recipes are ruined because the cook isn’t prepared for the next step in a recipe. Another important part of cooking successfully is what we call mise en place. And what that consists of is having all the ingredients and tools readily available prior to starting a recipe. The preparation of your pan prior to making caramel is part of the mise en place for that recipe. These steps, reading and mise en place are so important for successful cooking!
Hi, for the 3 1/2 hours for the caramel to set, do you leave it on the counter or put it in the fridge?
We leave it on the counter.
I just made the caramels but they need to cool for 3 1/2 hours and I need to go to bed. Can I just put a plastic wrap over the loaf pan and leave them overnight on the counter until I can get to covering them with chocolate tomorrow mid day?
You absolutely can 🙂
Could I add cocoa powder to make these a chocolate caramel?
Hi Jen, You can. I’ve done this before. I think I added about a tablespoon of unsweetened cocoa powder.
They turned out perfect! I did have to add a tbsp and a half coconut oil to the chocolate to cover the caramels.
je vais les faire surment belle recette merci jet
I would like to know if I can make chocolate caramel ganache using chocolate covered caramels melted and pored on chocolate
To the folks who were disappointed that their caramel was too soft…I would love it that way! I make about 50+ lbs of homemade chocolates and ship it out to family & friends for Christmas every year. Nothing goes to waste, even the mistakes. You just have to get creative! Here’s one solution… Line paper candy cups with chocolate first, swirling chocolate to cover liners for a shell coating. Chill in fridge to harden, then, after the soft caramel has cooled down, add it into the cups with a teaspoon, leaving enough room at the top for a top layer of chocolate. Add the final layer of chocolate by spoonful to fill in the tops. Add flaky coarse sea salt to the tops before the chocolate hardens. Chill again to set the chocolate, then take out and bring to room temp and enjoy them! You should take a bite, and let the caramel flow into your mouth! Best to you all, and good luck! I love oooey, gooey, caramel with chocolate, so I’m making these! I will add the extra cream in the recipe to make them gooey enough! Yummo!
Hi Cat, I’m sorry the recipe did not turn out well for you. It’s possible that you need to calibrate your candy thermometer. A simple google search can help with that.
You mentioned that these keep well if refrigerated up to 2 weeks. I am wondering if they would be safe or work well if shipped as Christmas gifts?
Hi Jackie, The caramels can be shipped. I’d wrap them individually then store in an airtight container. You should be good to ship like that as long as the weather will not be warm/hot.
We followed the recipe to the letter, and the caramels were so runny, they never set.
Hi Neal, we are sorry the caramels didn’t turn out well for you. For the next time you make candy/caramels, you might consider checking that your candy thermometer is calibrated. These caramels should be soft, but they definitely should have set enough to cut them.
Hello from Bedwas, Caerphilly, South Wales ??
Stumbled across your site and I love it ; completely non faffy, straight forward instructions and video. You’ve made me brave enough to give these a go !
My saucepans are pretty crap though to be honest; D’you reckon they’ll do the job ??
Best wishes from Bedwas, Caerphilly ?
I didn’t have heavy cream, so I used 3/4 cup of salted butter and 1/4 cup of half and half. It worked just fine and is so delicious! I also don’t have a candy thermometer so I just eyeballed it until it was the same color as in the video. That also worked out for me. Amazing recipe. Thanks so much for sharing.
Hi Adam and Joanne,
Thanks for the recipe – I’m looking forward to making it.
I noticed that you mention using butter in the first step for the carmel and during the second step for the chocolate. Which step requires 1/2 cup and which requires 2 tablespoons?
Hi Zach, sorry about that. The 2 tablespoons are for the chocolate coating. I have corrected the recipe to be more clear.
So I made this without watching the video since you had detailed instructions and what I found out later (after I couldn’t figure out why mine had burned) is that your recipe indicates that you cook it to 340…not 240 degrees. After I watched the video it made much more sense. Might want to update your worded instructions to match your video 🙂 Thanks!
Hi Danielle, I do not see where we mentioned 340? Am I missing it? Since this recipe has two stages, there are two temperatures to look out for: 320 degrees F in the first stage and 240 degrees F in the second stage.
Can you make this recipe with chocolate chips?
Yes, chocolate chips will work well for the chocolate coating.
These caramels are divine. After my initial succes with the first batch, I decided that I’d make little boxes of chocolates for people for the holidays. I tried the recipe for the chocolate coating above, but maybe I used a hair too much butter. Ive let them harden for an hour, but the chocolate coating leaves fingerprints and is a little soft. It’s DELICIOUS but it’s hard to package for giving away without the individual candies sticking together or melting into one another. I’ll have to individually wrap those. I made another batch with ghirardelli dipping and candy wafers (without adding butter), and they’re a bit firmer and easier to handle. Maybe I’ll only add half the butter to the chocolate next time.
This is a fun recipe to play around with. I had some unbleached natural sugar that is slightly brown, and the caramel flavor with that batch is amazing. It took longer to come to temperature, though. I have had to make more batches for giving away, because my husband won’t leave them alone.
Try tempering the chocolate, look up how to do it. Tempering is a heating process that allows chocolate to harden properly when dipped. Hope this helps! 🙂
Thanks so much for this recipe! I doubled it and used canned evaporated milk and it turned out amazing!!!!