
I love making this cinnamon baked apples recipe. Adam and I both crave the brown sugar and oat crumble topping.
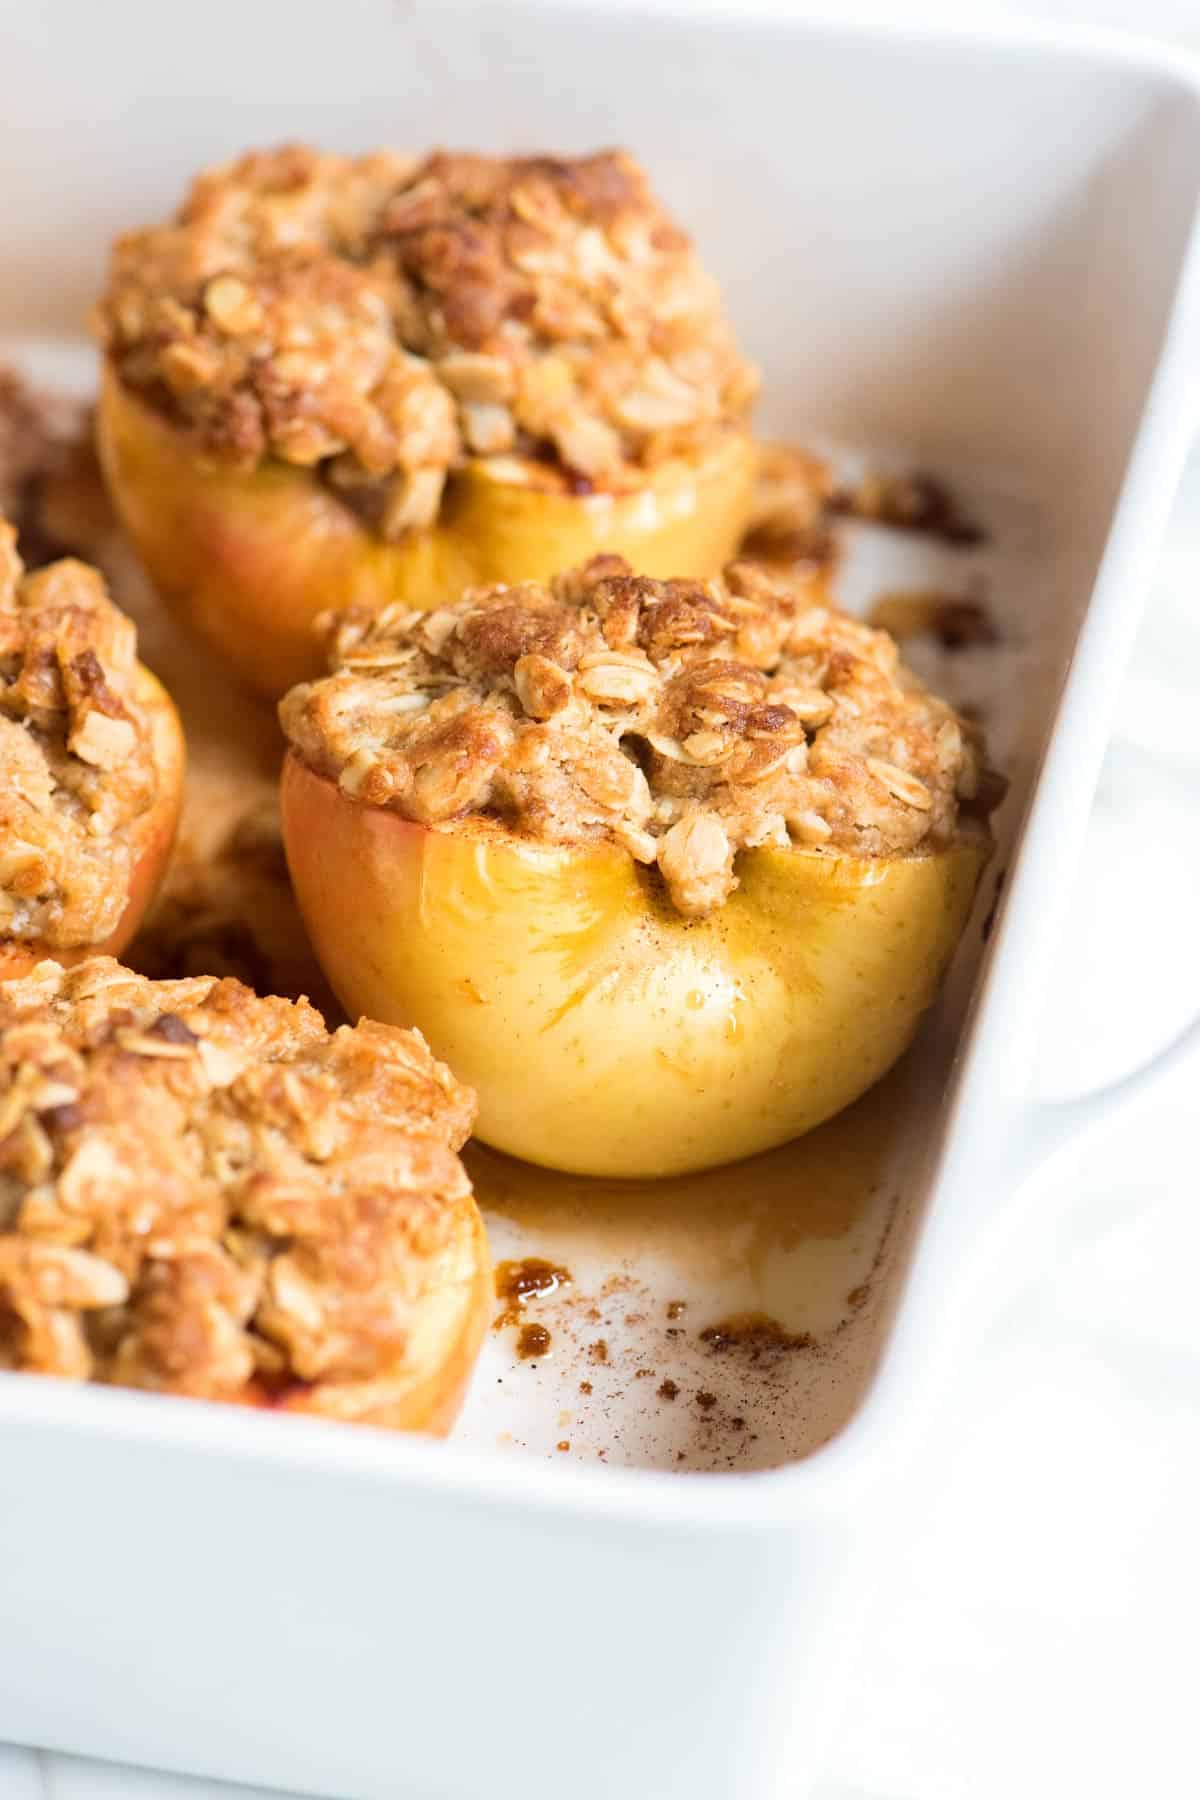
When fall hits, our family loves making baked apples. They are easier than apple pie but taste just as delicious! We like cutting the apples in half and adding our favorite oat crumble topping (like what we do when making our apple crisp!).
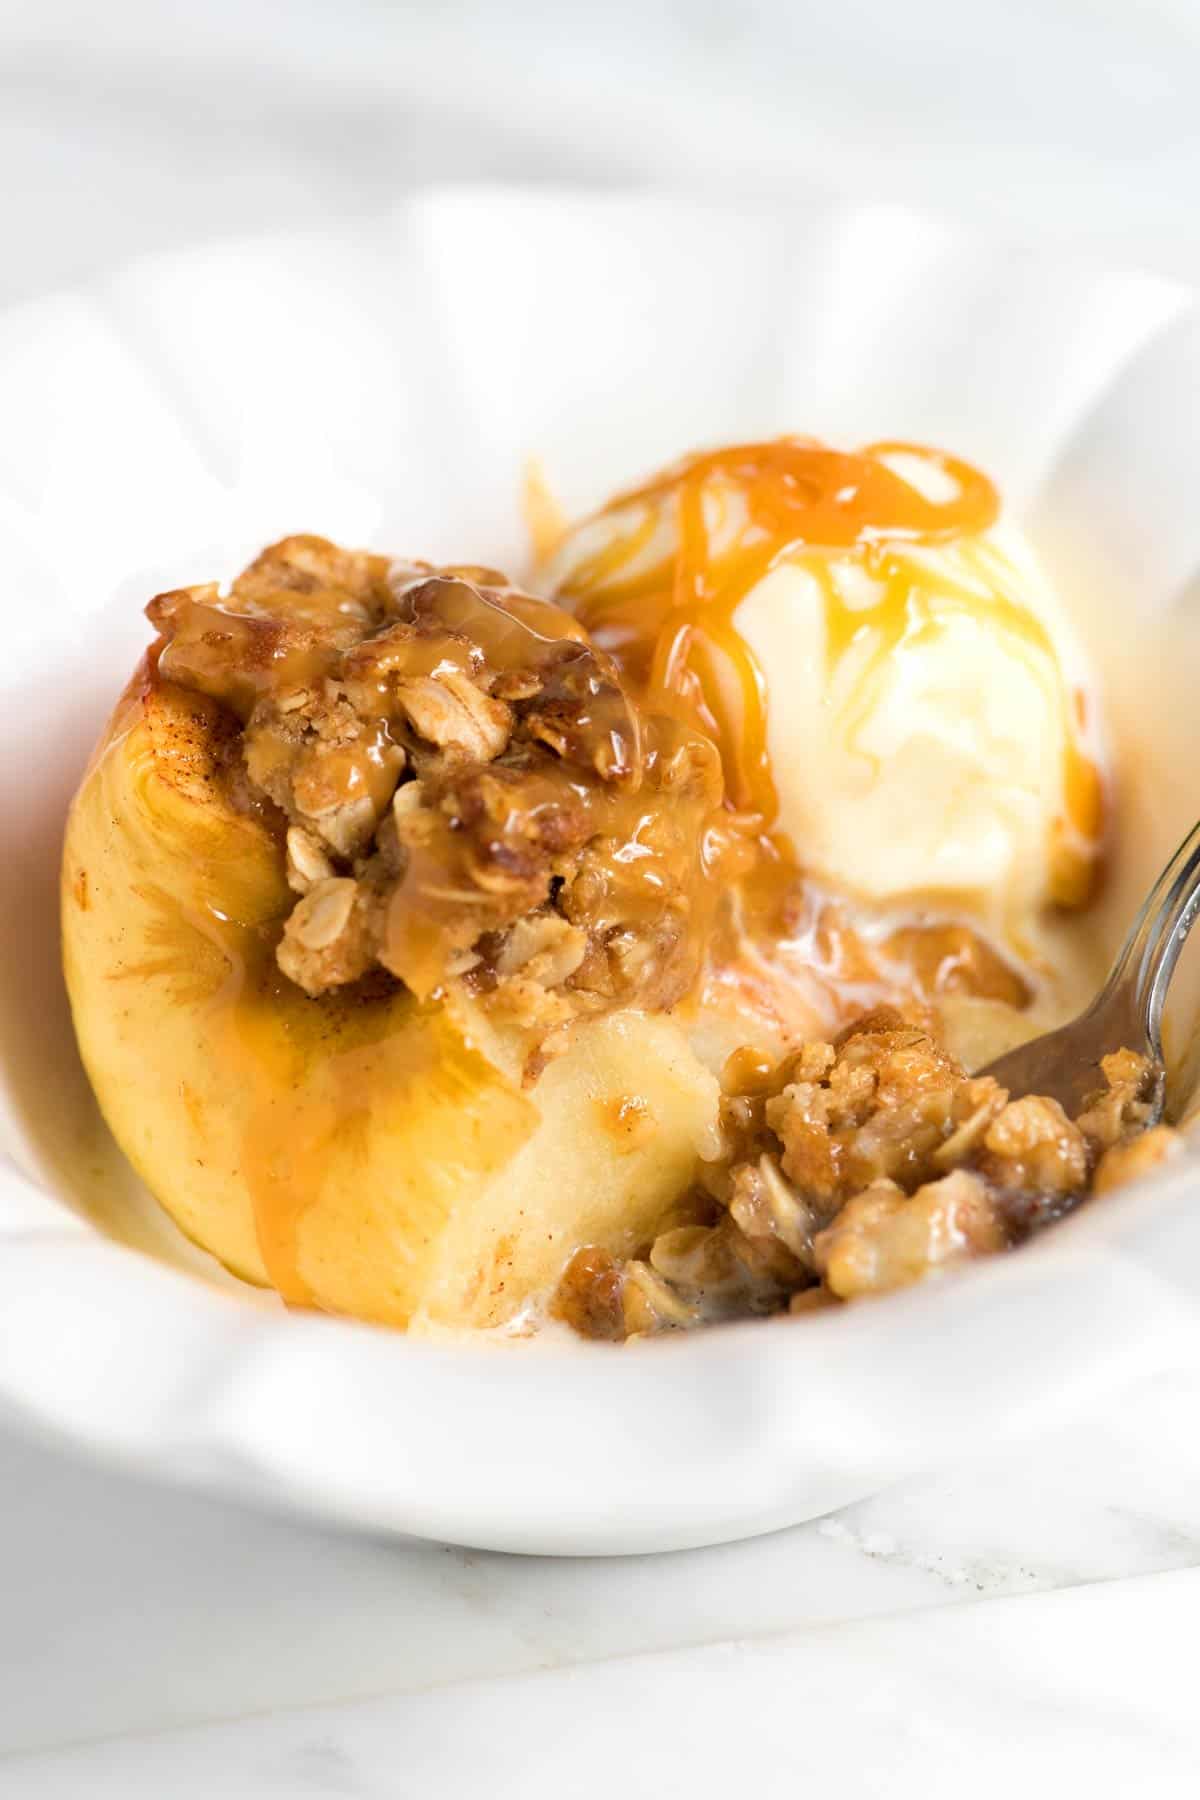
We love serving with a scoop of ice cream and a drizzle of homemade caramel sauce when I have it in the house.
Key Ingredients
- Apples: I love using firmer apples for baked apples, like Honeycrisp, Gala, or Fuji. These hold up well and keep their shape when baking.
- Cinnamon: Apples and cinnamon are a match made in heaven! I dust the cinnamon over the apples and add it to the oat topping for a double dose of cinnamon flavor.
- Brown Sugar: I love the rich flavor of brown sugar in this dessert. If you don’t have brown sugar, try substituting it with maple syrup or other sugars like coconut or granulated.
- Butter: I usually bake with unsalted butter, but salted butter is fine, too. If you use salted butter, omit the extra salt from the topping.
- Flour: We’ll combine all-purpose flour with oats and melted butter to create our crumble topping. If you need a gluten-free option, use an all-purpose gluten-free flour blend.
- Oats: I recommend rolled oats, but instant oats will work in a pinch. Avoid using steel-cut oats, as they won’t soften properly during baking.
Find the full recipe with measurements below.
How to Make the Best Baked Apples
Tip 1: Use our popular oat topping. My oat topping for these baked apples comes straight from our popular apple crisp recipe. It’s super simple: just flour, oats, brown sugar, cinnamon, and melted butter. Honestly, you could put this topping on anything, and it would taste amazing, but when you blanket apples with it, it’s so good!
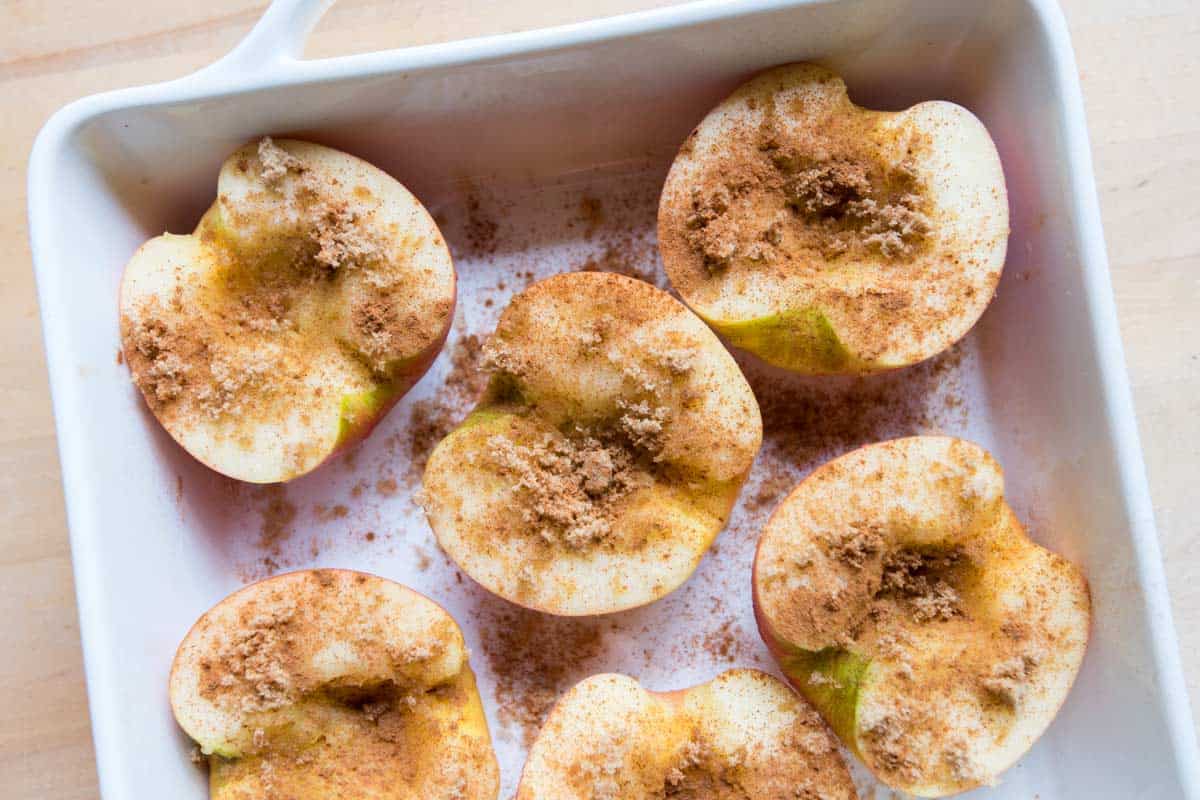
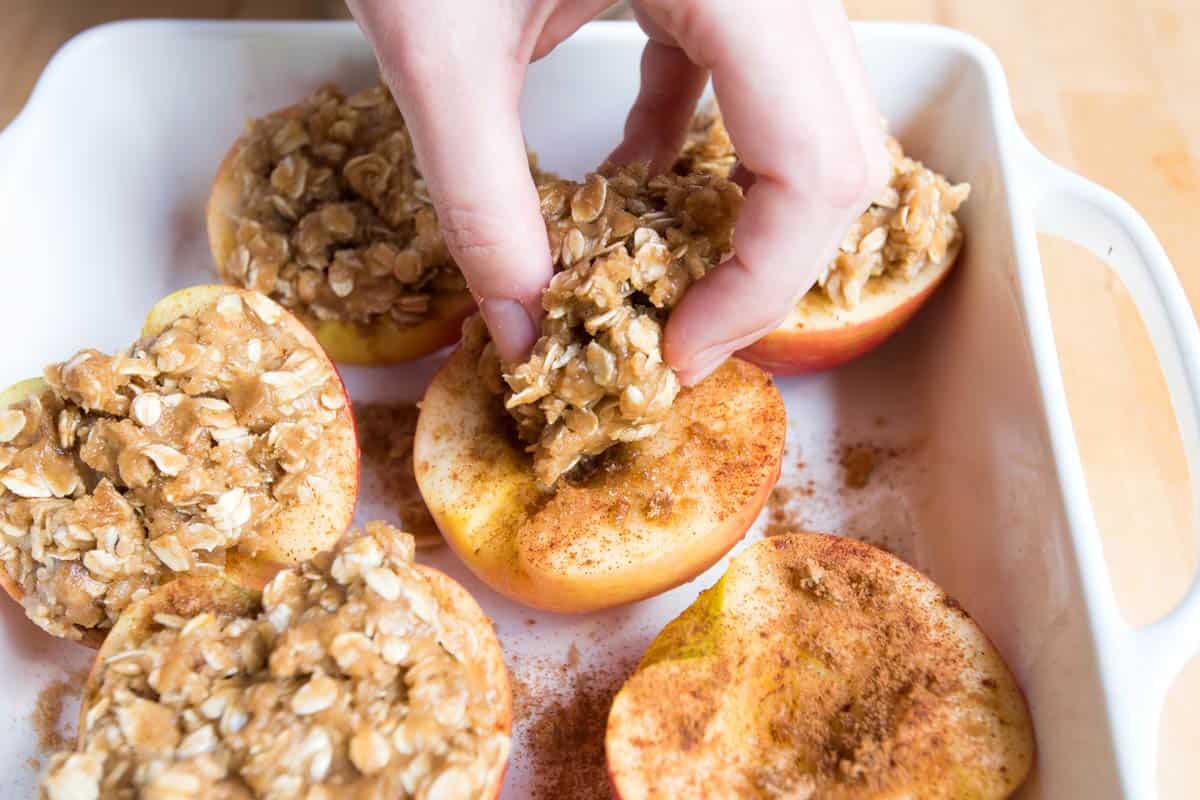
Tip 2: Cut apples in half. I like to bake my apples cut in half. You could stuff the topping down the middle of the apple, but by halving them, you can use more delicious topping. And trust me, we want a high topping-to-apple ratio here! Here’s how easy it is: Start by halving each apple (I used honey crisp, but any firm and sweet apple should work), then use a spoon to remove the core and seeds. Line the apple halves up in a baking dish and sprinkle a little brown sugar and cinnamon over them.
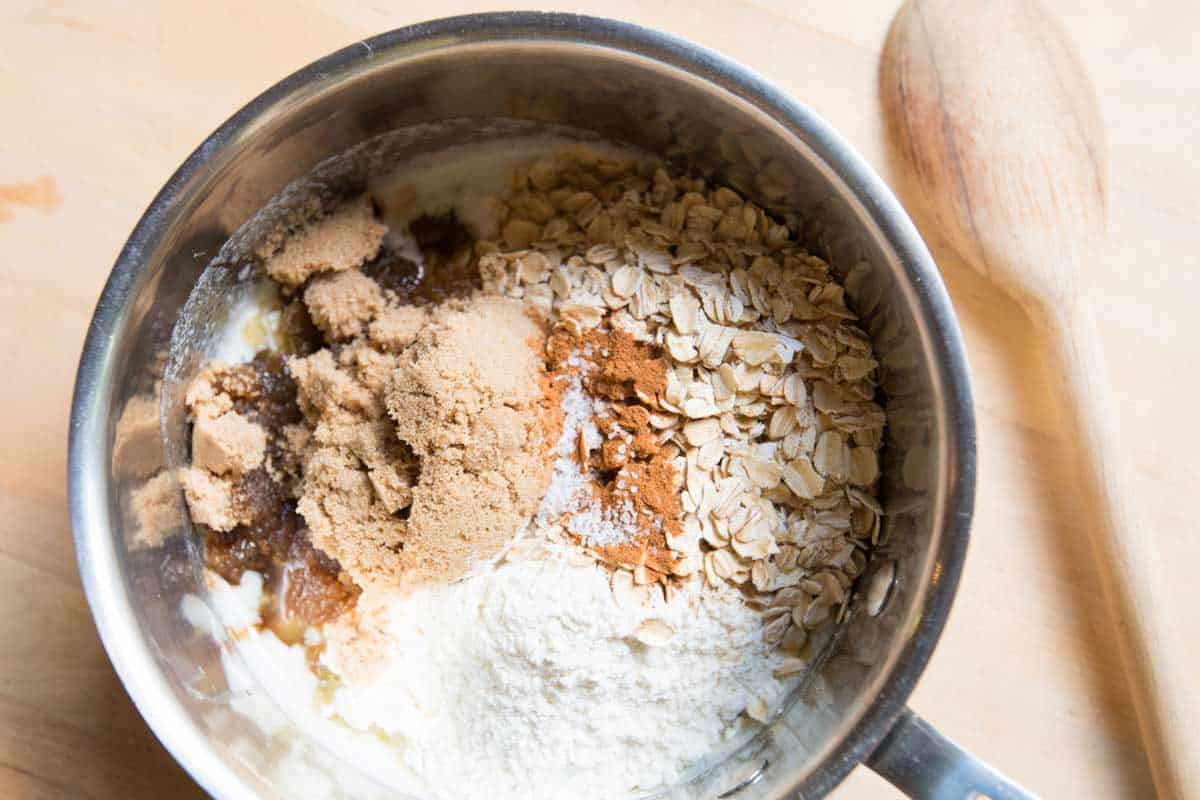
Tip 2: Use melted butter. For the best topping we recommend using melted butter. Melt your butter in a saucepan, then dump in flour, oats, brown sugar, cinnamon, and a pinch of salt (I do it all in the saucepan, so there are fewer dishes to wash!). Divide the topping between the apple halves, pressing down gently, and they’re ready to bake.
Tip 2: Serve with ice cream and caramel sauce. After they come out of the oven, grab your ice cream and maybe some salted caramel sauce. Your friends and family are going to love this recipe!
More Apple Recipes
- Perfect Apple Cobbler
- Perfect Cinnamon Apples
- Easy Apple Crisp
- Browse our collection of Apple Recipes
Easy Baked Apples
- PREP
- COOK
- TOTAL
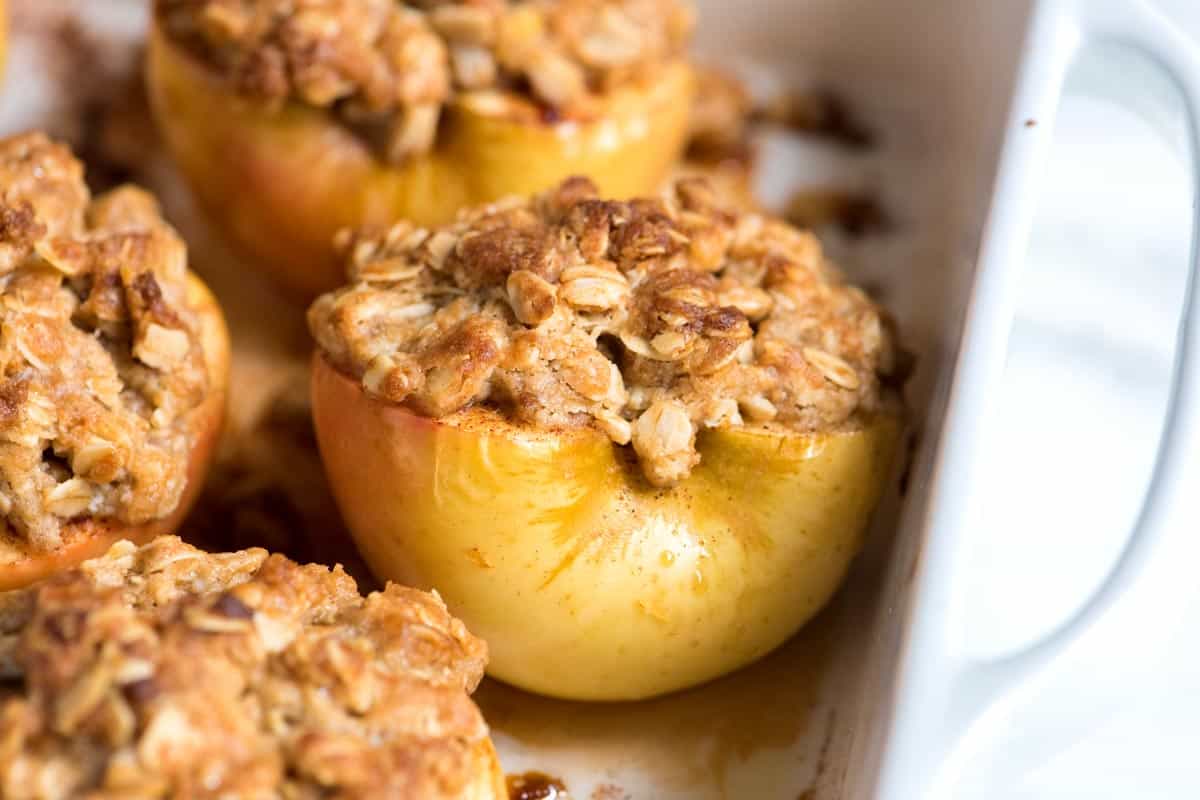
These cinnamon baked apples are so simple to make. They just might beat apple pie! We bake the apples after cutting them in half, which allows us to add more topping.
Watch Us Make the Recipe
You Will Need
3 medium firm, sweet apples, like Honeycrisp or Fuji
½ teaspoon ground cinnamon, divided
½ cup (100g) brown sugar, plus 1 tablespoon for apples
8 tablespoons (113g) unsalted butter
¾ cup (98g) all-purpose flour
¾ cup (84g) old-fashioned rolled oats
⅛ teaspoon fine sea salt
Vanilla ice cream and homemade caramel sauce, optional for serving
Directions
1Preheat the oven to 375°F (190°C). Butter or spray a baking dish large enough to fit 6 apple halves with non-stick cooking spray.
2Cut each apple in half from stem to end and use a spoon to scoop out the core, seeds, and stem.
3Arrange the apple halves in the baking dish with the flesh facing up.
4Scatter over 1 tablespoon of brown sugar and ¼ teaspoon of cinnamon over the apples.
5Make the topping. Melt the butter in a pan over medium heat. Remove the pan from the heat, then stir the flour, oats, brown sugar, remaining ¼ teaspoon of cinnamon, and salt into the melted butter. (Doing this directly in the saucepan reduces the number of dishes.)
6Divide the topping between the apples, lightly pressing it down onto the apples.
7Cover with aluminum foil and bake for 25 minutes. Uncover the apples, then bake for another 20 to 30 minutes until the apples are soft and the topping has browned.
8Serve with a scoop of ice cream, a drizzle of caramel sauce, or leave them plain.
Adam and Joanne's Tips
- Storing: The apples can be stored in an airtight container in the fridge for up to 5 days. They can be reheated in a warm oven or the microwave.
- Gluten-free: To make this gluten-free, substitute your favorite gluten-free flour mix or oat flour for the all-purpose flour called for in the recipe. Also, make sure the oats you use are labeled gluten-free.
- The nutrition facts provided below are estimates.









Have made this a couple of times now. Sometimes I just cut the apples into chunks so I don’t have to faff around with the seeds. I use a bit less sugar and a bit more oats. Delicious! 😋
Have made these many times now and they always come out great. Tried using my home grown pears and they were amazing in this recipe. Thank you for a new family favorite.
Can I put water in bottom of baking pan?
I’m afraid my pan will cracke otherwise.
Sure!
Can you eat these cold?
Definitely!
Have made these twice now over the holidays–great recipe!!
Such a nice ‘switch up’ in apple baking. The halved apples allows for more sauce coverage and the oatmeal added a crunchy touch….well liked by all and so novel. Overall nice presentation. Next time I will use a bit less flour to make the sauce a little more liquid.
Thanks for sharing, Kat! So happy you enjoyed them.
These are excellent! I added a little nutmeg (maybe a little too much) so I added a little more brown sugar to keep it from being overwhelming. I also only had steel cut oats so that’s what I used.I like the crunch, but can see how the rolled oats would be better.
Awesome recipe, I’ll never need to look for another. Simple and straightforward. It has a nice little crunch with the oatmeal and just the right amount of sweetness.
So delicious and easy to make!
I was traveling when my 7-yr old daughter told me over FaceTime that she would like to bake something. We have wonderful apples on the tree and so I looked up a recipe that she could do on her own. I coached her over the phone, and it was a huge success. The whole family loved it!! I got to try some leftovers after my return.
Maybe next time I would reduce the amount of butter a bit for health reasons.
Absolutely delicious! A go-to recipe.
Made these baked apples twice now. My family goes crazy for them. Easy to make. Delicious with a scoop of ice cream right out of the oven.
Thanks, for sharing
So happy your family enjoyed them so much!
I am new to cooking but I made these tonight using Granny Smith’s and the results were amazing. I thought at first that the topping was a little stiff to squeeze down into the cavity but the end result was fine. With a scoop of ice cream and a teaspoon everything was easy to eat and totally delicious. Remaining halves sealed up in the fridge.
These are delicious! The first time I made it the only thing I did differently was to use Granny Smith apples because that’s what I had. The topping cooked into a solid block rather than a crumbly crust, so now I just soften the butter to room temperature and go from there, and it works fine. But the Granny Smiths aren’t working at all; they cook down to almost a sauce-with-skins in the time given. I did not expect this and still have a bunch of Granny Smiths to use, but do you think it’s the Granny Smith apples themselves that are too soft for this recipe? I have always heard them described as baking apples so I thought I was all set.
Oh no. I wonder why? I’ glad they tasted great, anyway!
Wow – that’s a heck of a trick! You were able to answer my question 9 whole months before I asked it! LOL
These are delicious! I didn’t really follow the measurements, just threw the ingredients together, baked them and they turned out delicious. I cut back on the sugar and used oat flour, so its a very easy, pretty healthy dessert option! Looking forward to taking these to a potluck!
I made these little gems for the first time today and they did not disappoint. They were so delicious that I felt compelled to let you know. I used four smaller apples, but changed nothing in the oatmeal mixture. They cooked perfectly! The apples held up, yet were tender. The oatmeal crumble was sweet and buttery with a nuttiness that came from browning. Thanks for sharing this recipe! I’ll be making these again! 10/10
Have them in the oven now!
Can I peel the apples or will it affect the cooking and texture in any way? Making these tomorrow for sure!!
Hi Amanda, We’d keep the peel on for this recipe.
I really liked your video and the baked apples seems easy to make. You did not say in your video what oven temp to use. I had to go to the recipe for it. I did not get to make it yet. Soon.
I love love this recipe, quick and easy.
Thank you
Hi! I made the baked apples with Fuji apples & I made 8 instead of 6 so everyone could have one for dessert & maybe even have one for breakfast the next morning. And of course I adjusted the topping for the additional apples. Anyway the Baked Apples were a hit. They were enjoyed alone or with black walnut ice cream & caramel syrup. I’m so glad you shared this recipe. I’m cooking more again so I enjoy finding & making good recipes like yours. Sincerely, Debbie (cajunmama)
I like the taste of the recipe, however I thought the ratio of apple to filling was too high. I can’t blame them because it was one of the warnings but for reference I used 4 apples (2 small, 2 large) and I would probably cut the filling recipe in half or maybe 3/4. I always make adjustments which I will list below: (1) Used light smart balance instead of butter (this solved the dry factor others were reporting, however, I may reduce the amount next time as it was a little too moist (2) Used xylitol-based sweetener instead of sugar (with amount reduced accordingly) and drizzled a little maple syrup on apples (3) I eliminated salt from the topping as the smart balance has salt, did sprinkle a little on the apples just in case. (4) Used 1 1/4c oats and 1/2 cup soy flour
I have made this recipe several times, and find that I prefer it with the apples sliced like you would do in a crisp. I leave the skins on, and prepare the topping the same, but spread it out to cover the sliced apples completely. Tonight I added some chopped pecans, about 1/2 cup, to the topping for some added crunch. This is definitely my go to when I have extra apples on hand!
Great recipe – added more oats and a bit less flour, used some Rice Malt syrup.
Delicious – easily enough for 6 apples (so 12 halves)
Would definitely make again! Use more apples as topping was very ample. A delicious EASY fall treat with vanilla ice cream & caramel. Also, walnuts might be pretty tasty here. Compliments to the recipe writer.
Would be perfect if the oat topping wasn’t so dry. What would you recommend adding to moisten it just a touch?
Add a a tablespoon or two more butter! It’ll keep the topping from drying out
Hi Kimberly, If you found the topping to be dry, you can add a bit more butter.
Incredible!! I did adjust the recipe. Mainly because I was too lazy to wash my dirty pans, for the topping. ??. *Also I only made TWO apples* So what I did; 3 tablespoons Creamy peanut butter (mine has honey in it): melted in the microwave for 1minute. (Stirred every 15 seconds) Add:1/4 cup of quick cooking oats, a splash of real maple syrup, 1/8 cup of Brown Sugar, & heavy handed amount of cinnamon. Stir. Microwave for 1 minute. In this case (with the 2 apples) divide in half for each apple. Top evenly. Same oven temp but, only for 30 minutes. ?. My husband basically licked the microwave bowl clean, waiting for the apples. Haha.
Way too much topping for that many apples. Lots left over when packed as in your pics. Half of that is more than enough.
Assembled my apples.Placed in a pan that poured the starting ingredients of a caramel sauce in the bottom so when they came out. The apples soft, the oats crisp and the bottom of the pan a thick sticky caramel. Perfect every time. I haven’t made apples in ages and i came upon here and all the memories came back so I had to make them.
I only have quick oats. Will that make a difference?
If by quick oats, they are the instant oats (usually ground up), the texture of the topping will be slightly different. It should still work, though. If they are just the quick cooking kind (still the shape of rolled oats) then nothing will change.
The recipe was easy and the baked apples were delicious! Ate them all. Plan on taking a pan to Thanksgiving dinner and will do the ice cream and caramel for the family.
I tried this recipe and loved it. My family really enjoyed the delicious recipe. I have shared it with my friends. Thanks again!
I had a couple of apples left from some locally grown beauties that my husband and I recently purchased. The weather has just started to turn cool and I found myself in the mood for some baked apples. Thus began my search online for a good – yet simple – baked apple recipe. I landed at your site. This is an amazing recipe! Simple and delicious. As I mentioned, I had only two apples, but they were large. I initially considered halving the topping because of this, but decided to make it as the recipe instructed. The more the merrier, right? I liked the way the topping held together in such a way that it could be mounded on top of the apples without crumbling off into the pan. This would easily allow someone to use less topping if they desired, and I’m sure still end up with the same beautiful, tasty result. It’s so good though, you won’t want to. One last note: I decided to use a deep cast iron skillet as my baking dish, which made it even more comforting. If you decide to do the same, reduce the baking temperature by 25 degrees. I am so happy to have discovered your website! I anticipate trying more of your recipes.
Made these tonight! Very good! Question:Do leftovers need to be refrigerated?? Thanks!
Hi Amanda, I prefer to refrigerate the leftovers then rewarm in the oven or in the microwave.
So quick and easy to make and taste absolutely delicious. Definitely saving this recipe to make again. Thank you.
These were soooo good, and thanks for the video on how to make them. I was craving apple crisp and this was even better!!!
Hi, I just have to comment because I’ve never seen anyone else with their name spelled this way. You are the first Karenne I’ve seen written besides my own name 🙂