
This homemade pita bread recipe guarantees soft, fluffy pita that’s way better than anything you can buy at the store!
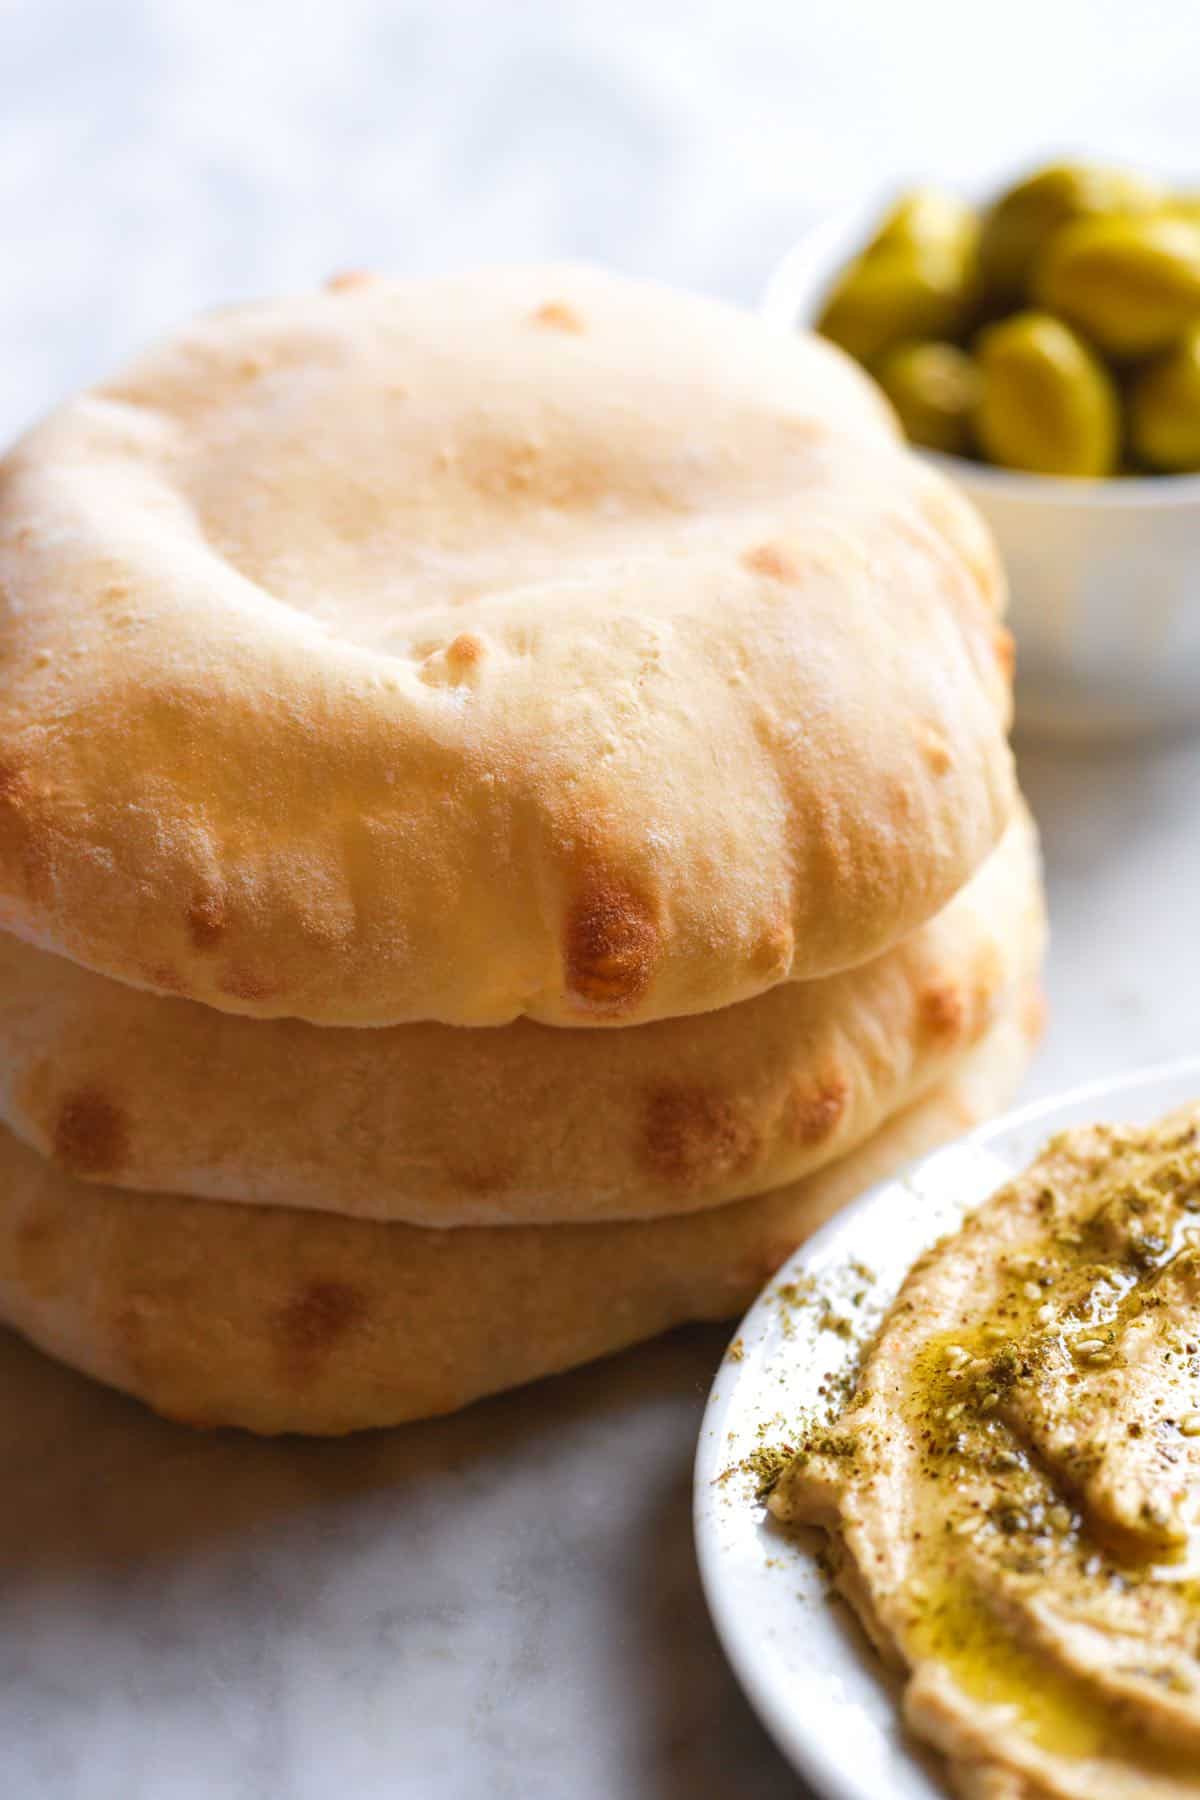
Since learning this pita bread recipe from Chef Richard, we’ve made it almost every weekend. No fancy equipment or kneading is required for this recipe. Your search for the perfect pita recipe has ended!
I’ll walk you through everything you need to make pita bread from scratch. For a quicker recipe without yeast, see our easy flatbread recipe, which calls for baking powder instead of yeast.
Key Ingredients
- Flour: I use bread flour to make this pita recipe, but all-purpose or whole wheat flour will work nicely. Bread flour makes them a little chewier.
- Instant yeast: I use instant yeast for all of my bread recipes. You can substitute active dry yeast if you have it in your kitchen. I also use instant yeast in our easy pizza dough.
- Sugar: A little bit of sugar makes these pitas taste amazing and encourages our yeast to start working.
- Salt: Makes our bread taste great.
Find the full recipe with measurements below.
How to Make Pita Bread
Tip 1: Activate your yeast. To start, you’ll activate the yeast with warm water and sugar. After 5 minutes, it will look frothy with lots of bubbles. Stir in your flour, then cover with a towel to rise for about an hour (or until it doubles).
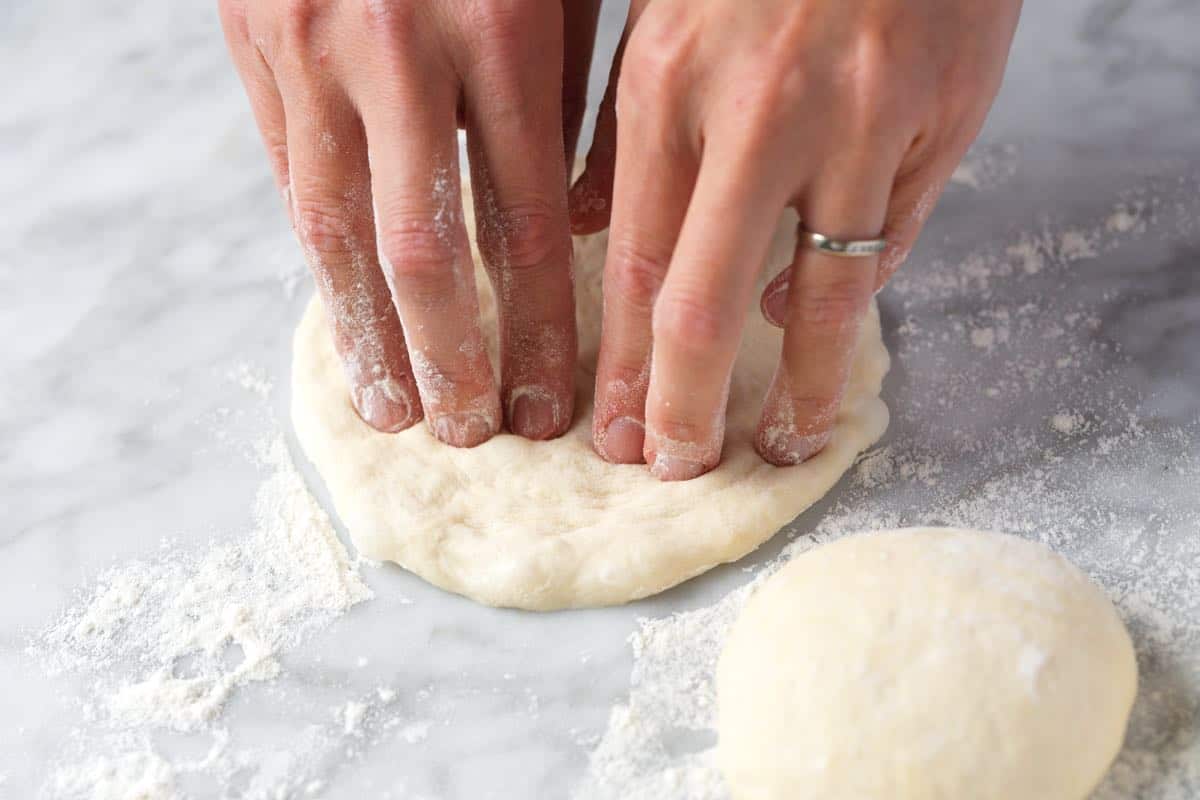
Tip 2: Use fingers to shape dough. Once your dough has doubled, divide it into six equally sized portions. Roll each into a smooth ball, then flatten into disks. I use my fingers to flatten the dough to preserve as many air bubbles as possible. Let the dough rest, and then you are ready to cook them.
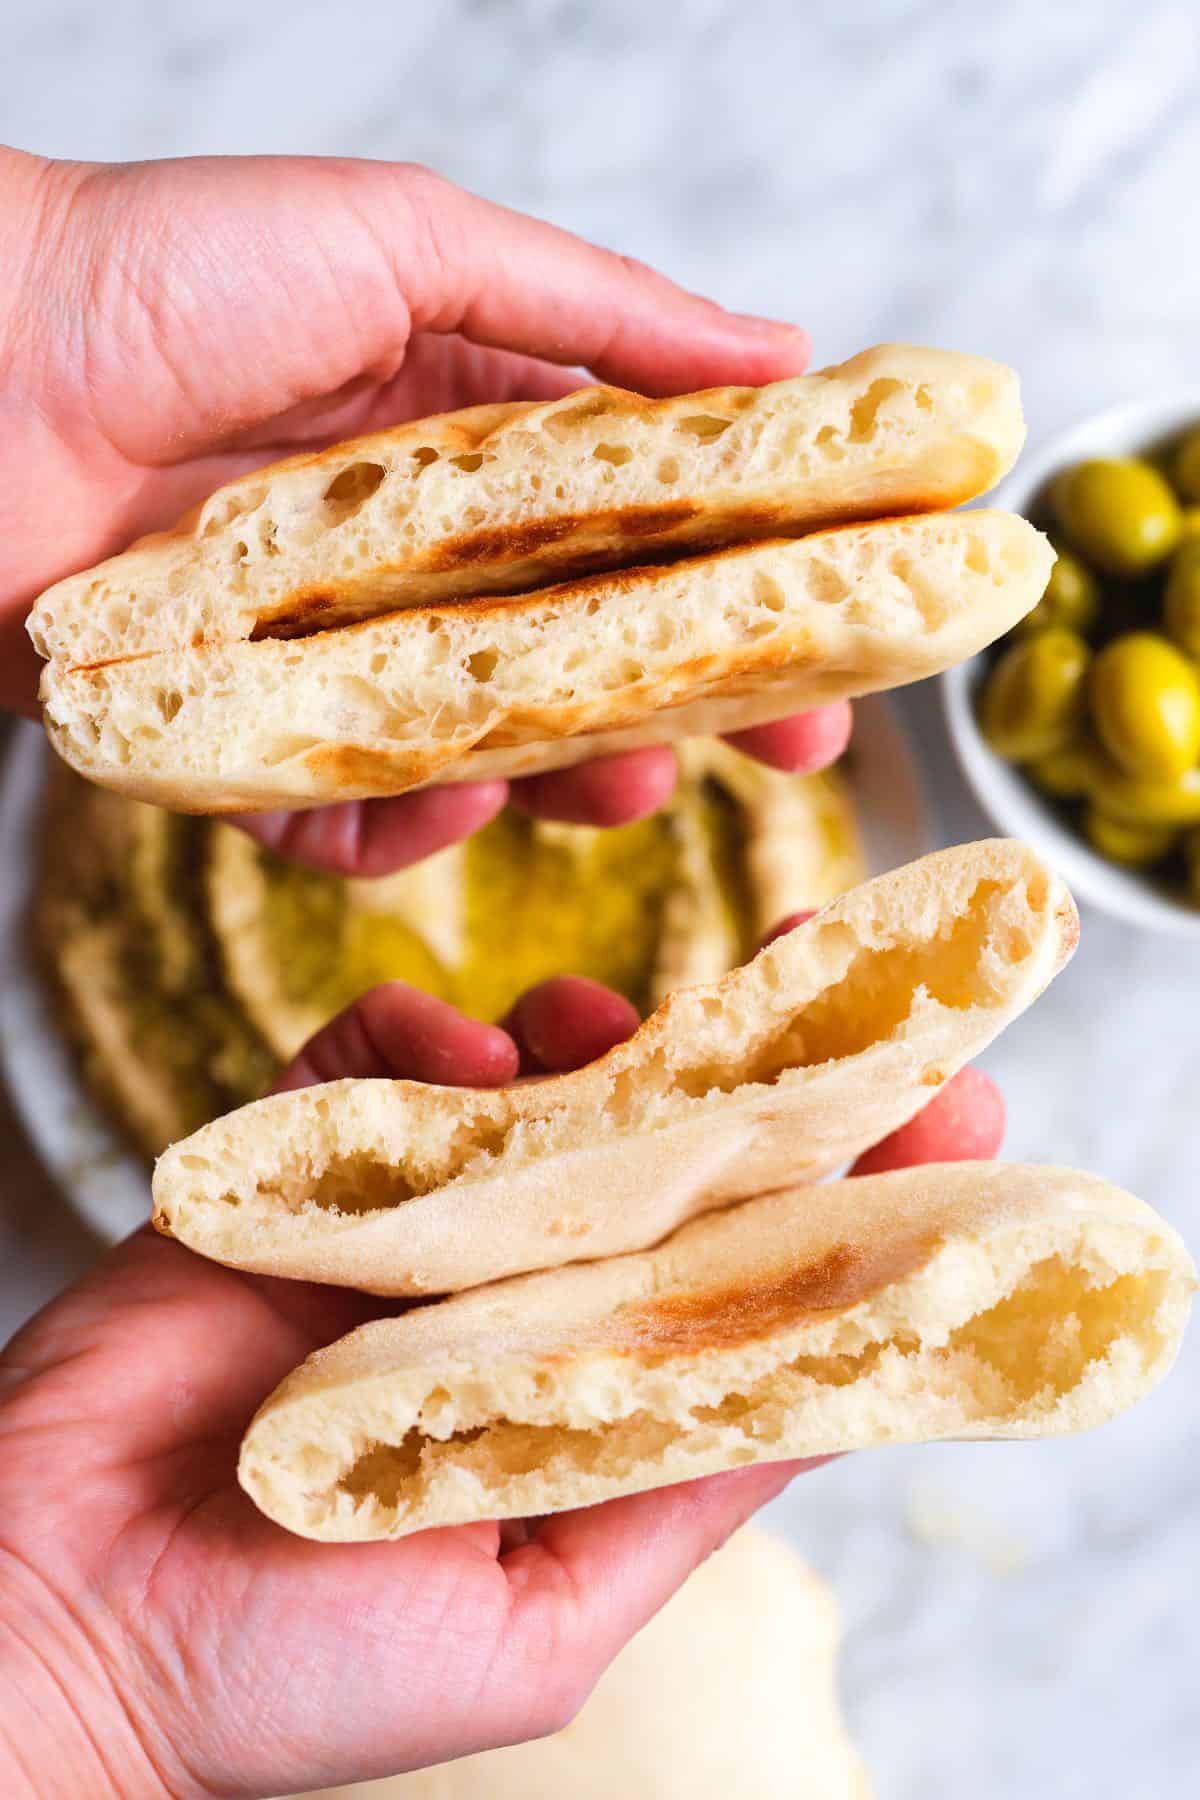
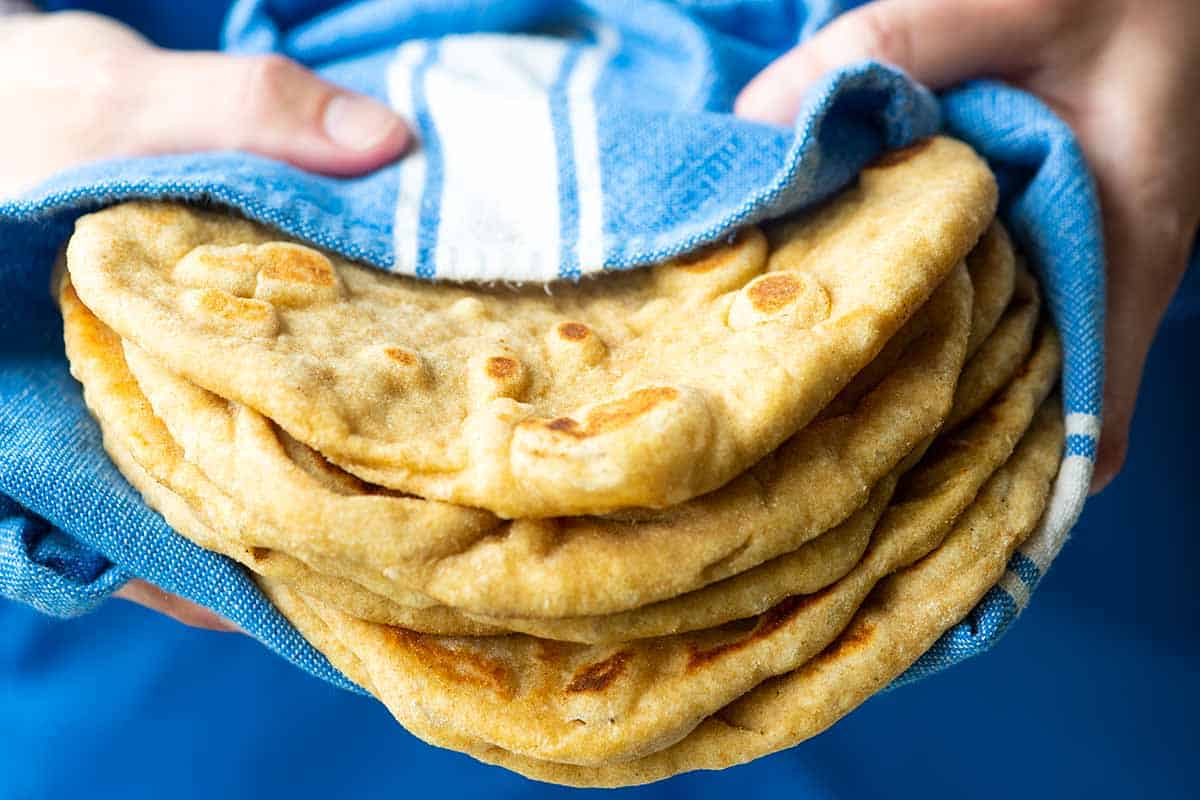
Tip 3: Choosing to cook in skillet vs baking. The photo below shows pita dough cooked in a skillet (top of the photo) and pita baked in the oven (bottom of the photo). The skillet pita is soft and fluffy, while the oven-baked pita has a pocket in the middle, perfect for making sandwiches. Both are delicious!
- Use a skillet for soft, fluffy flatbread.
- Bake in the oven for puffed pita pockets.
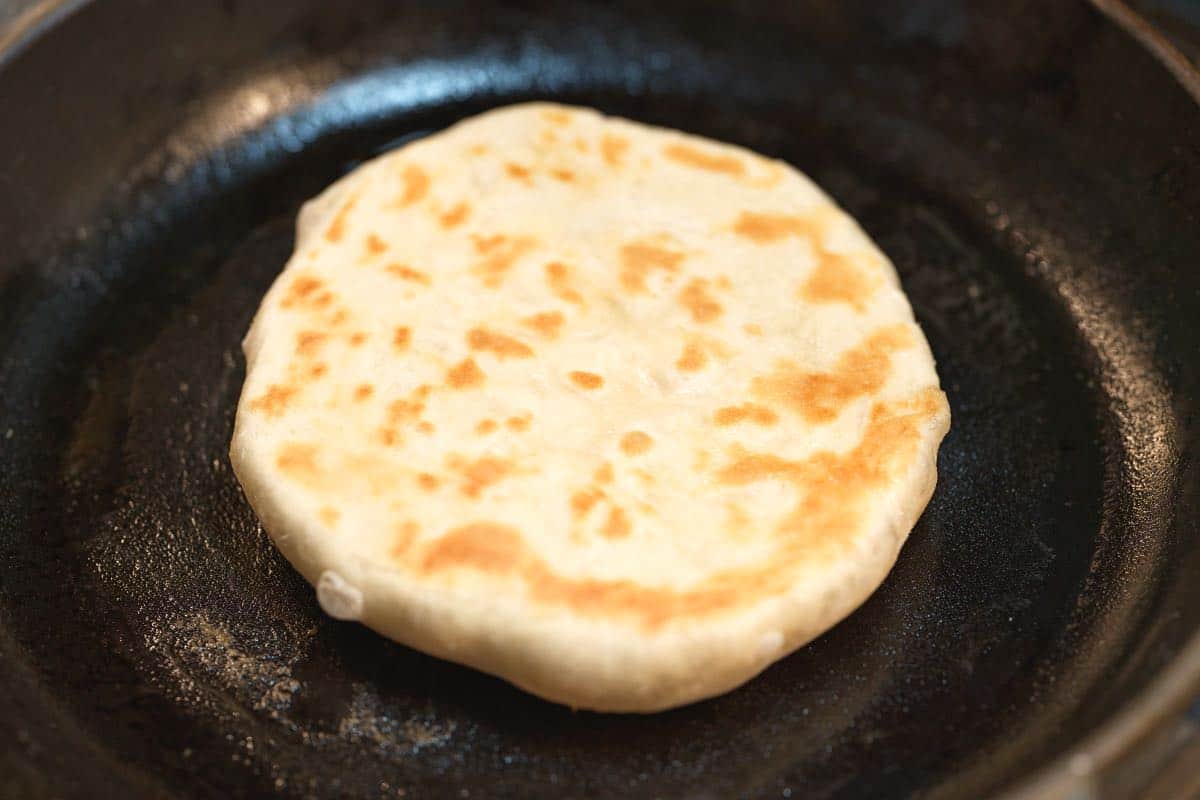
Tip 4: Using a skillet. To cook pita bread on the stovetop, heat a heavy-bottomed skillet over medium heat, add some oil (I love avocado oil for this), and then cook the pitas until blistered on both sides and cooked in the middle.
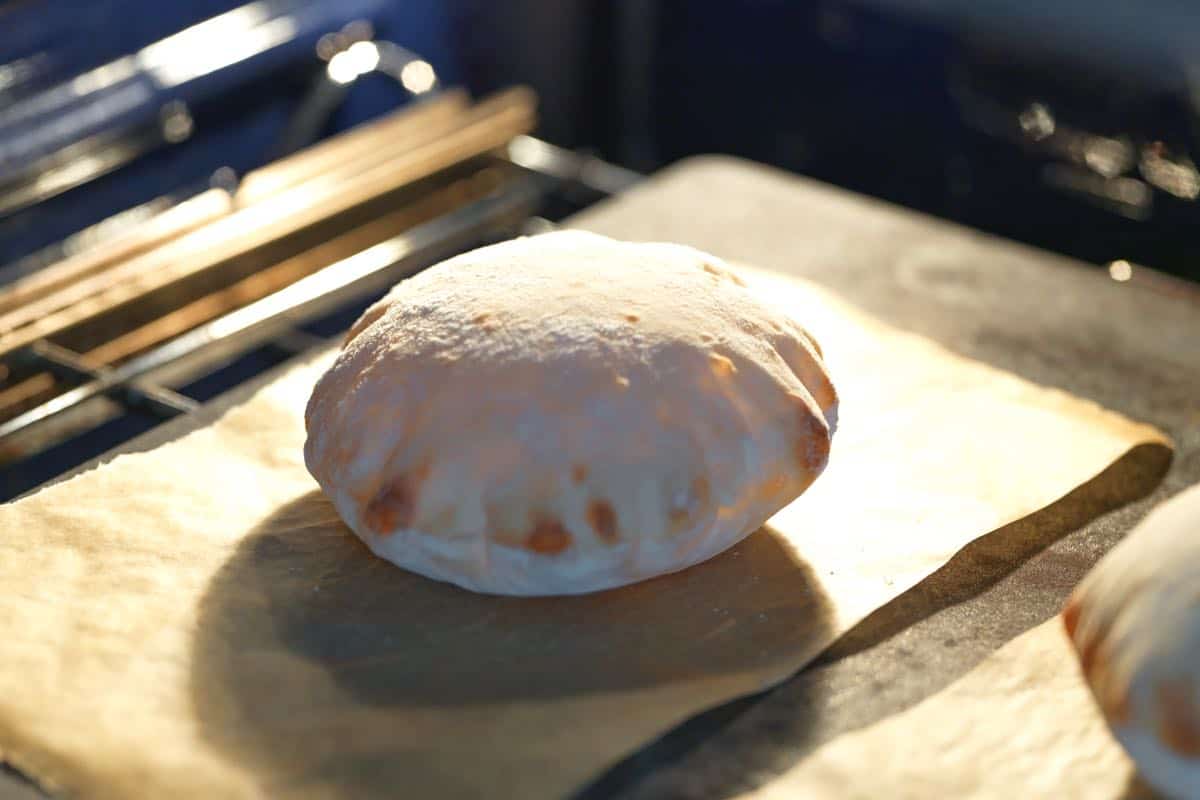
Tip 5: Using the oven. To cook pita bread in the oven, preheat your oven to 475°F (246°C). A hot oven is the secret to getting that pocket. I cook on my pizza steel, which promotes the pocket even more. If you do not have one, place a baking sheet into the oven while preheating to mimic the baking steel.
For baking pita, squares of parchment paper help move them to and from the oven. Lightly flour the squares of parchment paper and place the pita rounds onto them. When your oven is hot, transfer the pita on the parchment to the pizza steel or baking sheet, close the oven door, and bake until puffed and light brown around the edges.
Serving Suggestions
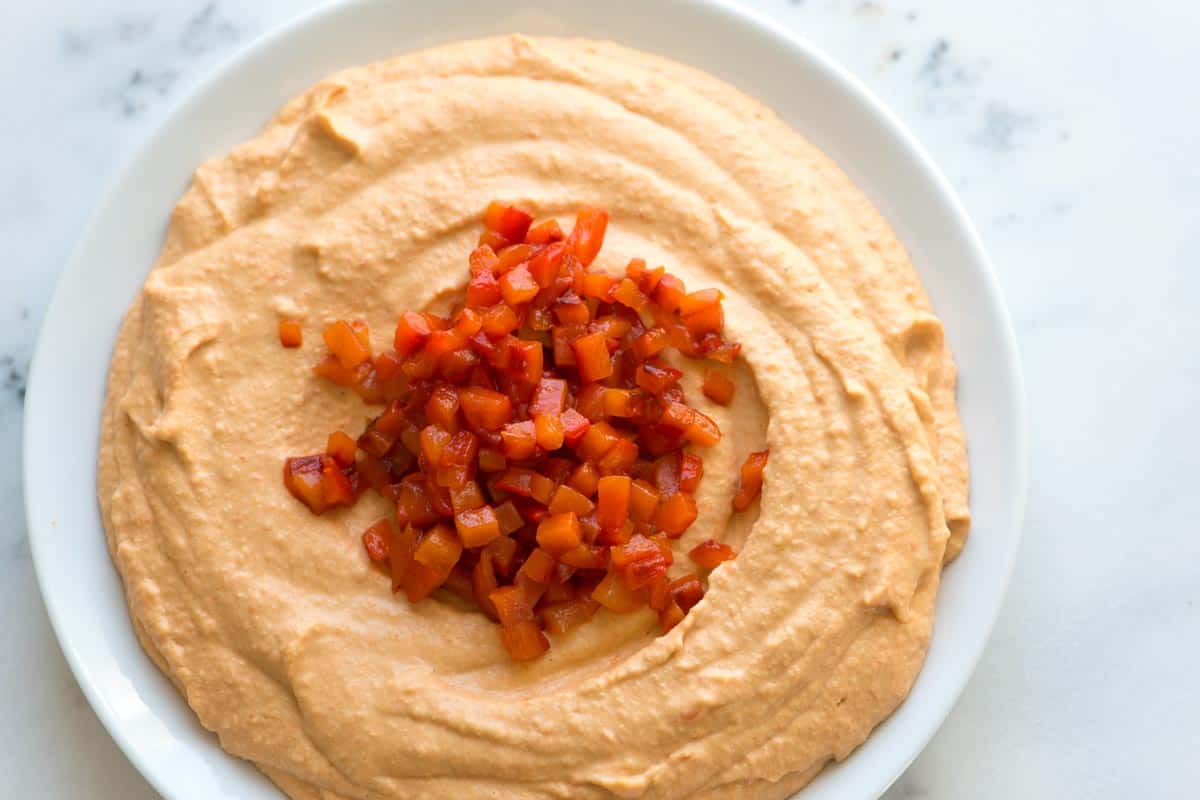
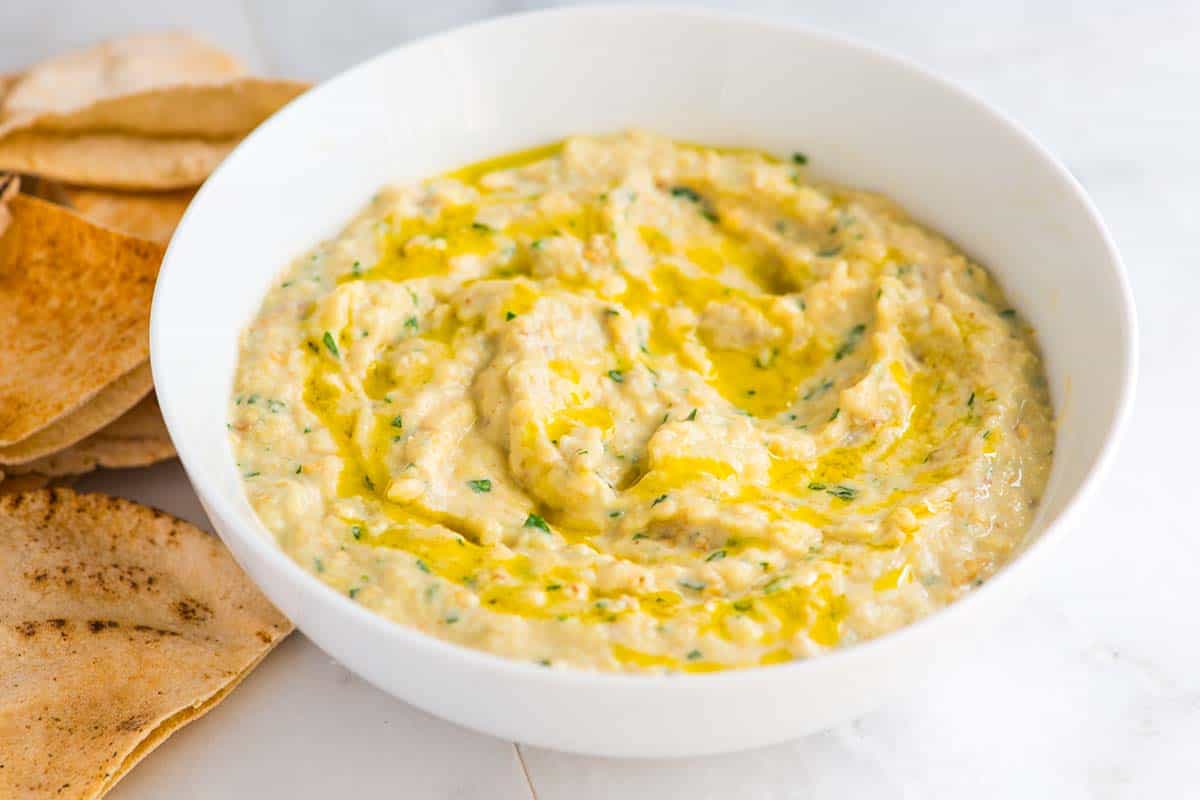
Pita bread is perfect for dipping. A few of my favorites include our roasted red pepper hummus, our baba ganoush, and homemade labneh (an incredibly delicious Middle Eastern strained yogurt cheese).
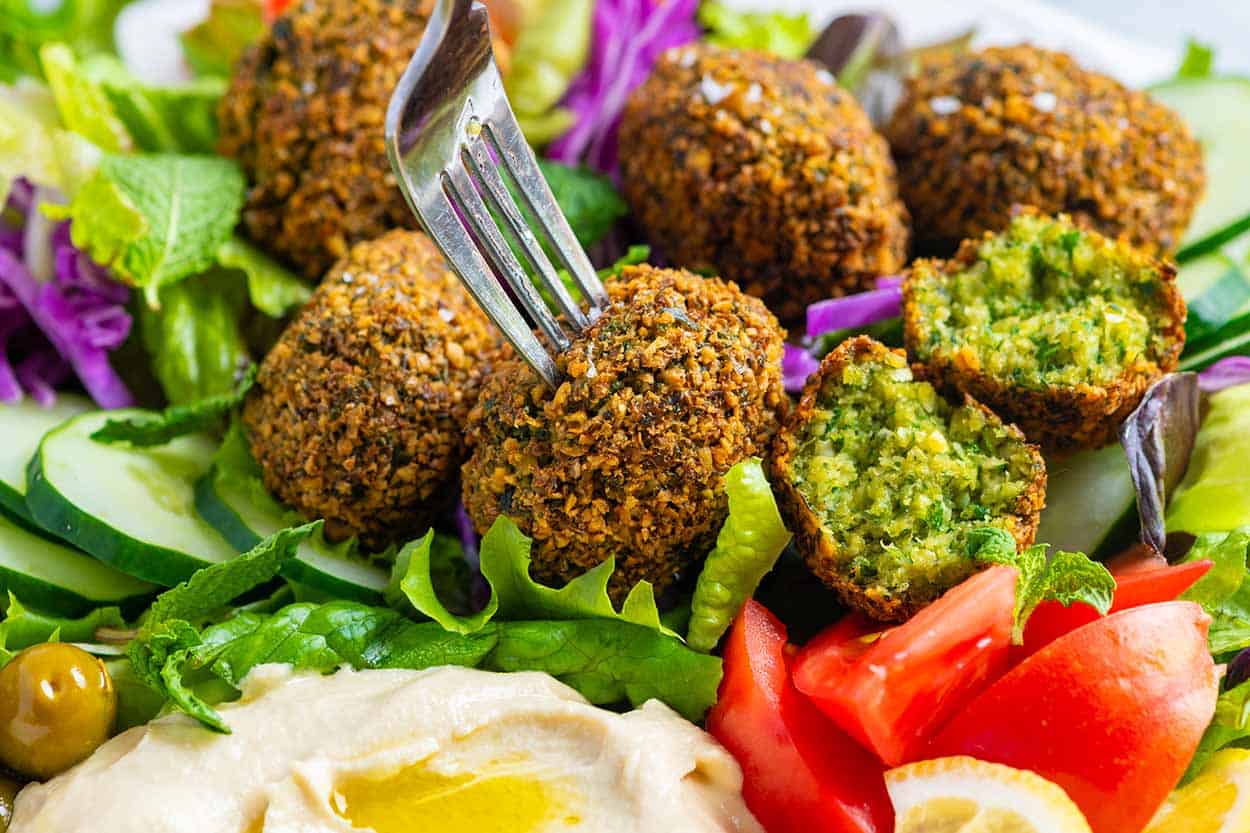
Thanks to that pita pocket, you can also stuff almost anything into your homemade pita. I love homemade falafel with my easy tahini sauce. Or for an easy lunch I stuff my pita with this smashed chickpea salad. Finally, serve your perfect pita with this authentic Greek salad, easy chickpea salad, or on the side of your favorite salads.
More Homemade Breads
- Focaccia
- Easy Flatbread (no yeast needed!)
- Easy Beer Bread
Easy Homemade Pita Bread
- PREP
- COOK
- TOTAL
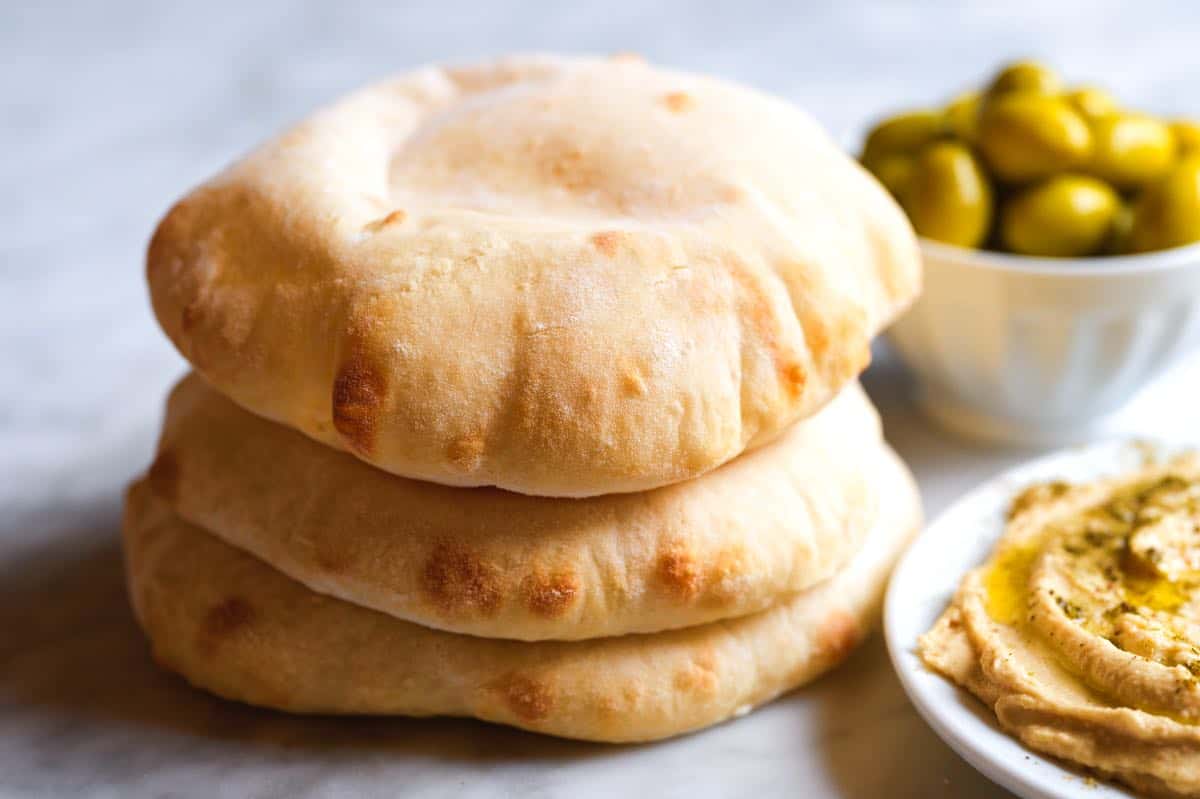
This pita bread beats anything you can buy at the store. It’s easy! Bake them for perfect pita pockets. Or, cook them in a skillet for soft and fluffy flatbread. Pita cooked in the skillet will not puff as well as when baked in the oven, but they turn out so soft and fluffy. If I’m looking for a pocket for stuffing falafel, grilled meats, and veggies, I bake them. I love using the skillet when serving with dips like hummus.
You Will Need
2 ¼ cups bread flour or all-purpose flour (295 g)
1 cup lukewarm water, 110°F to 115°F (236 ml)
1 teaspoon instant yeast (4 g)
1 teaspoon sugar (4 g)
½ teaspoon fine sea salt (3 g)
Avocado oil, optional for cooking in a skillet
Directions
- Make the Dough
1Activate the yeast: Add water, yeast, sugar, and salt to a large mixing bowl. Whisk to combine, then set aside until frothy (10 to 15 minutes).
2Make the dough: Add the flour and mix until a shaggy dough forms. Knead the dough several times inside the bowl until you can form a rough ball – it will be sticky. Cover the bowl with a clean dish towel. Place the bowl in a warm place and leave it alone until the dough has doubled, 45 minutes to 1 hour.
3Divide the dough: Flour your work surface, then carefully empty the proofed pita dough onto it. Cut the dough into 6 equal pieces, each roughly 85 grams. Roll each portion of dough into a ball, dust a bit more flour underneath and on top. Cover with the dish towel and rest for 10 minutes. If baking the pita, preheat your oven now so it reaches at least 30 minutes of preheat time before baking the pita (see temperature in the “Bake the Pita” section below).
4Form dough circles: Using your fingers, press each dough ball into a 6-inch circle, then cover them with a dish towel and let them rest for 10 to 15 minutes. If baking, place each circle on a sheet of parchment paper, then cover it with a dish towel and let it rest for 10 to 15 minutes.
- Bake the Pita (for Pockets)
1Prep the oven: Preheat the oven to 475°F (246°C) for at least 30 minutes before you plan to bake the pita bread. If you have a pizza stone or steel, place it into the bottom rack of your oven. If you do not have one, turn a baking sheet upside down and place it onto the bottom rack of your oven.
2Prepare parchment paper: Cut 6 squares of parchment paper, at least 6 inches on all sides.
3Bake: Transfer the pita circles onto their parchment paper and place them in the oven. I can fit two circles on my baking steel. Bake until puffed and golden in spots, 5 to 6 minutes. Use tongs to transfer the baked pita to a bowl covered with a clean dish towel. Repeat with the remaining pita circles.
- Cook Pita in a Skillet (for Soft Flatbread)
1Heat a heavy-bottomed pan, like cast iron, over medium heat. Add a drizzle of avocado oil, then place down a circle of pita dough. When the bottom has golden brown spots, carefully flip and cook the other side; the pita takes 2 to 3 minutes on each side. If they are over-browning and still doughy in the middle, finish them in a 350° F (176°C) oven for 5 minutes.
Adam and Joanne's Tips
- Storing: Store pita bread in an airtight container on the counter for up to 2 days. Freeze for up to 3 months.
- Make ahead: Make pita dough and complete the one-hour rise at room temperature. Rub the dough with olive oil and store it in an airtight bag or container for up to three days. Bring it to room temperature, then divide it into 6 equal portions. Continue the recipe as written. Freeze for 1 month, and thaw overnight in the fridge.
- Whole-wheat pita bread: Substitute 100% or half of the flour called for in the recipe with whole wheat flour. The result will be a slightly denser pita.
- Gluten-free pita bread: Traditionally, pita bread is not gluten-free. However, you can substitute the flour called for in our recipe below for a 1:1 all-purpose gluten-free flour blend, like the one from Bob’s Red Mill. It may not puff as well in the middle.
- Active dry yeast: I prefer instant yeast since it typically has more pep, but you can use active dry yeast in this recipe without any changes.
- Why I don’t use a rolling pin: When forming the dough circles, I use my fingers to press the dough thin. My fingers will not deflate the air bubbles in the dough as much as a rolling pin. If you use a rolling pin, take care to let the rolled dough rest for 10 to 15 minutes before cooking so it can recover a bit and puff up.
- Why won’t my pita puff? If you’re having trouble getting your bread to puff up in the middle, make sure you’re using yeast is alive and that your oven has preheated for at least 30 minutes before baking your pita according to the instructions above. Stovetop pita bread is delicious but less likely to puff in the middle. For the best chance of achieving a pita pocket, we recommend baking them in a preheated oven for at least 30 minutes.
- The nutrition facts provided below are estimates. We assumed baked pita bread.









no its too hard to describe soooooo gooooooood will recommend making
I am a former professional baker bit have never done pita before. This recipe and instructions are well written. Your baking tips are spot on. Even a beginner bread maker should be able to make these. I just made these in the oven on my large cast iron griddle and they turned out beautifully!
What a great review! We are so happy that you enjoyed the recipe. We love making this recipe because it is so much fun to make 🙂
You almost made me cry! I moved so far away from anywhere I can buy pita, yes, the nearest pita is a 5 hour drive! I finally have my pita back!! This was delicious, I made it in 2 batches and one was smashed flatter than the other. The flatter of the 2 puffed up way better. Wonderful thank you!
Yay! What an incredible review 🙂
this recipe is so easy and awesome. Never could get a pocket in my bread like this. Thanks a ton.
You are so welcome!
Made these for the first time today, and we cooked them on a stone on the grill. I sprayed the top with a mist of olive oil right before putting them on. Delishious, fluffy, pretty pockets, and a little smokey goodness! Thank you for this yummy recipe!!
Excellent recipe! I’ve used it several times.
I tried these today and they came out incredibly well. Thank you.
That’s amazing, Cynthia! Thank you for coming back!
Delicious fluffy and super easy!
That’s just what we are going for! Glad they worked well for you!
Is it possible to reduce the salt? My husband is on a very low sodium diet, but I know salt controls yeast.
Yes, you can reduce the salt in this recipe.
This looks so soft and fluffy, exactly how good pita should be! We’ve been on a bit of a pita-making kick lately. Yours looks amazing too; definitely adding it to our list to try! Do you have any tips for getting that perfect pocket every time?
Hello there! for the “place bowl in a warm place”, is room temp fine or do i need to place it in a warm oven? Thanks in advance!
Unless your kitchen is really cold, room temperature should be fine.
I made these pitas! They puffed up beautifully! Very tasty! I do feel like the recipe should have a little more salt. Also, I used my hands to press the dough, even though I got the separation they were still quite thick. I prefer a thinner pita. I will make again, use less dough and roll them out to be thinner, rest them to recoup some bubbles. I don’t have a stone so I used the back of a cookie sheet. Next time I’m going to try an inverted cast iron pan and cook them faster!
Love these. Made them over Christmas for my whole family. Thanks for the detailed recipe. It will be used at least once a week in my house. So much better than store bought.
Can I double the recipe? If I cook it on a skillet is olive oil for substitute, ok?
Hi there, You can absolutely double the recipe! And yes, olive oil is fine to use as a substitute. However, avocado oil has a higher smoke point, which means it can withstand higher temperatures before starting to smoke and burn. Since you’re cooking these in a skillet, it’s likely that the oil will get quite hot, so a higher heat oil like avocado oil might be a better choice to prevent any off-flavors. But if you only have olive oil on hand, it will definitely work in a pinch!
Thank you so much for this recipe! you have explained the difference in results for the different cooking methods. I am so grateful to know that info!!
/I’ve tasted fluffy pita in restaurants, but wasn’t sure how it was made?
Now I know. Thank You!
These are amazing!! Made in the oven on a pizza stone and puffed up. Will definitely use again and will probably be my go to – have never had pita puff as much as these. Thank you for sharing the recipe!!
You can put three per cookie sheet on parchment together..they rise and puff just fine, if you have three or four sheets you can easily get a double batch done very efficiently.
This recipe came out perfectly, and now I am using (the few) leftover pita for eating with your easy hummus recipe! Everything you two create is easy to follow along and make successfully and deliciously! Thank you!
These are so quick and easy to make and puff up beautifully. Tried making pita a few days ago with another recipe (sourdough) and it flopped but Inspired Taste always is a success!
Looks delicious looking forward to trying this recipe 🤤
You have made our day with this review! We are so happy you liked the recipe. These are really fun to make 🙂
This was SO much fun and very easy. Husband was impressed and loved it.
Wonderful! This recipe is a lot of fun to make 🙂
I’m confused. You say to bake the pita in a 475° oven for 2 to 3 minutes per side. Then in the section called.”why won’t my pita puff”, you say you should bake it at least 30 minutes. 30 minutes at 475 and they will be totally burned.
Hi Joyce, In the “Why won’t my pita puff” section, I say to bake your pita in an oven thats been preheated for at least 30 minutes. Once the oven has preheated for 30 minutes, you would add your pita dough and back for the 2-3 minutes per side. Hope that clears things up.
I was so excited to try this recipe as I’m a huge fan of yours. Followed the recipe to a tee and cooked in oven. They puffed up absolutely beautifully. The only change I would make the next time, probably tomorrow, is I would ensure each round was thinner before going into the oven. Love love love them. Already shared with a couple of other foodies and of course will try the skillet method when I make your hummus. Thank you
Hi Helen, We are thrilled that the pita recipe worked so well for you! Isn’t it fun when they puff? I always watch them through the oven window!
First off, picked up the nic name as a small child (baby) .
AKA as Debby but no one calls me that, just Punk!
I have baked the french toast twice, today I made the humus, absolutely as you described. way better then store bought, your recipe didnt disappoint! next recipe we will make our own tahini. Husband picked up a jar and paid $11 he didnt know that was expensive,was just following a list of ingredients for humus…anyways thanks for the awesome recipes….Ive tried several others ..and we will try several more!
Debby and Ray
Glad our recipes are working so well for you! Thanks for coming back and sharing.
Fantastic recipes, thanks for sharing
The recipe looks amazing. I have always wanted to try making a pita bread, this is my sign to do it
Hi Monica, you won’t regret it. These are delicious and fun to make 🙂