
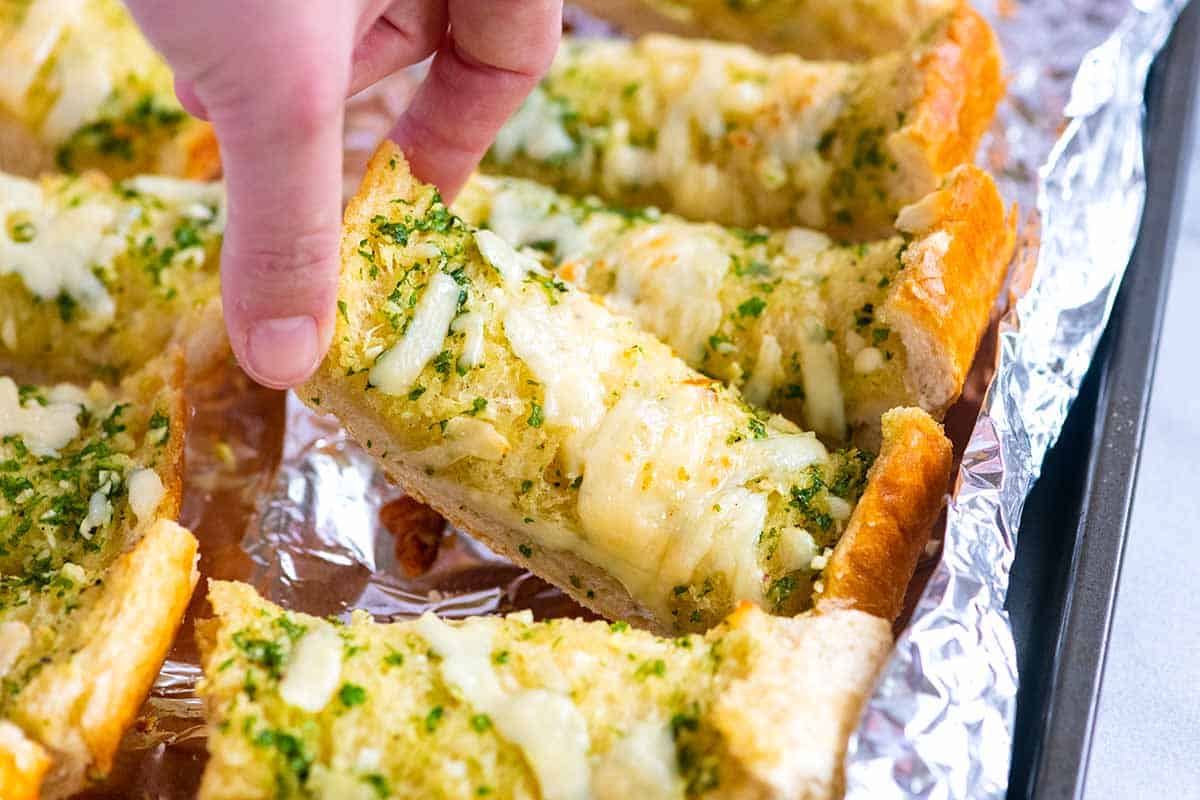
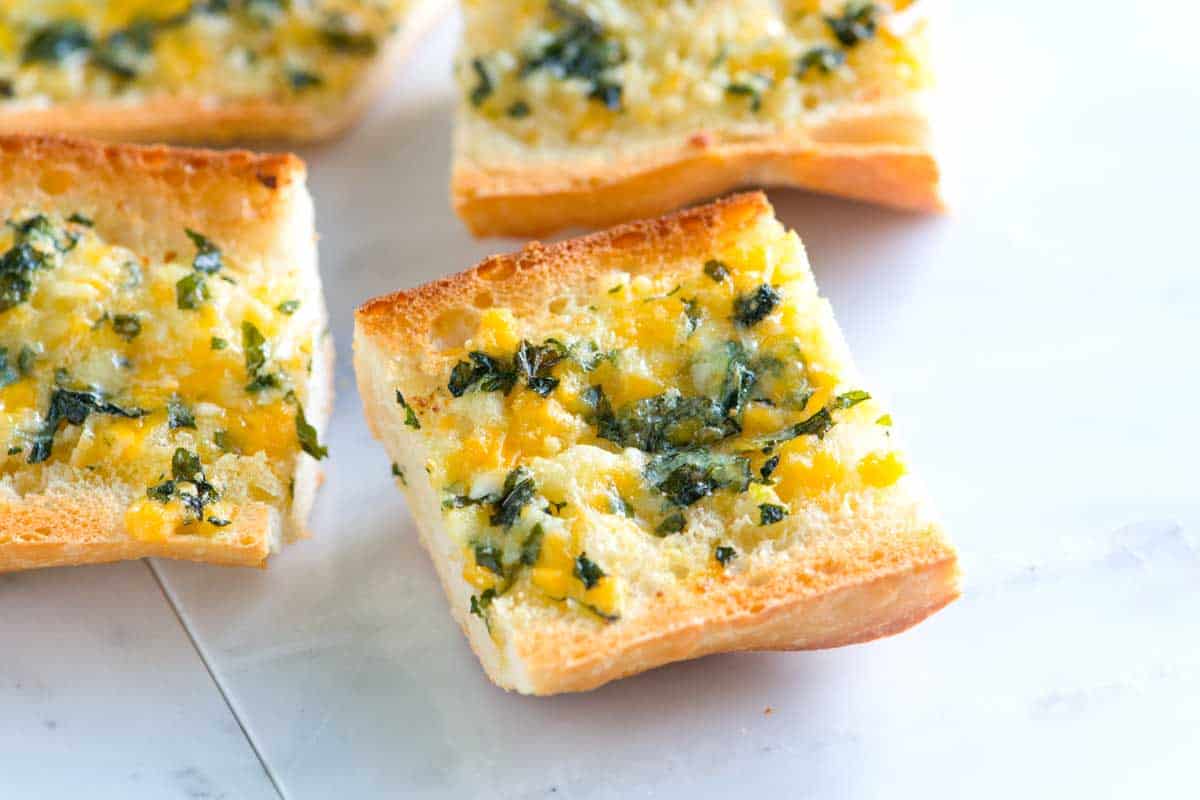
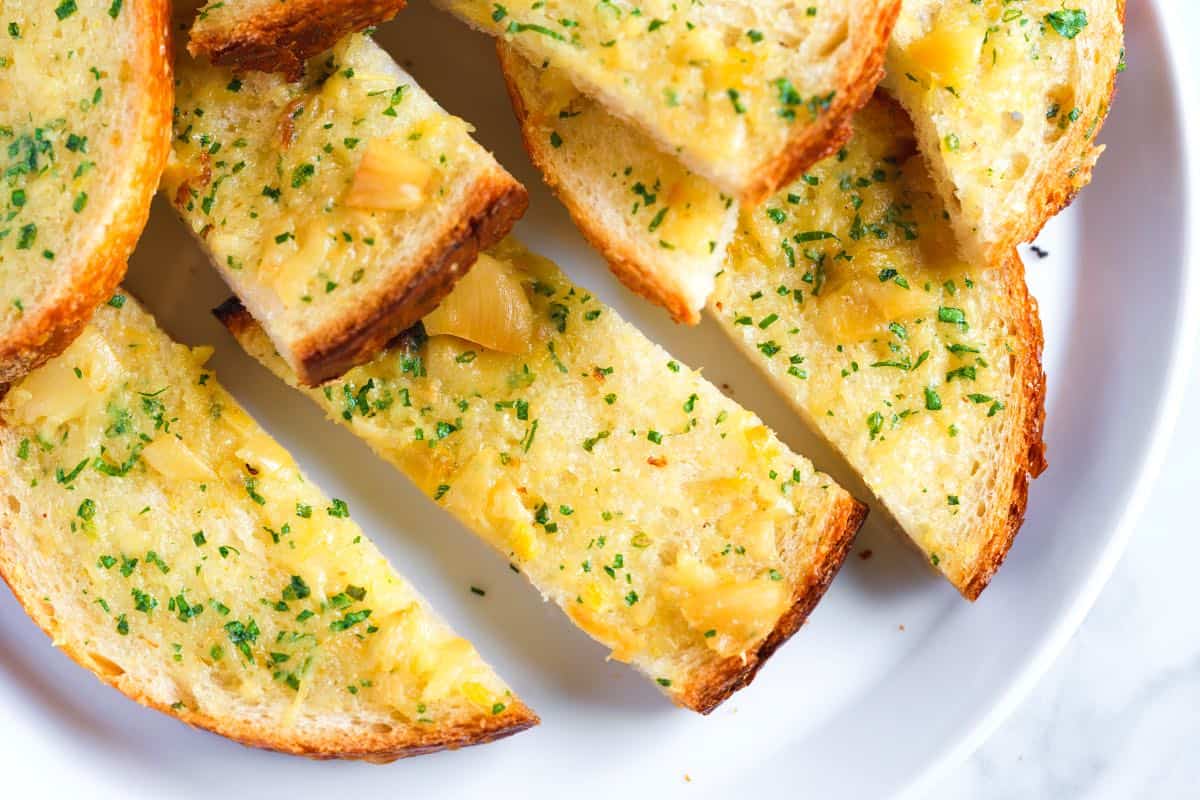
Our family’s favorite garlic bread recipe delivers crisp edges and a soft, buttery, garlicky center. It’s easy to make, and you can even prep it ahead of time.
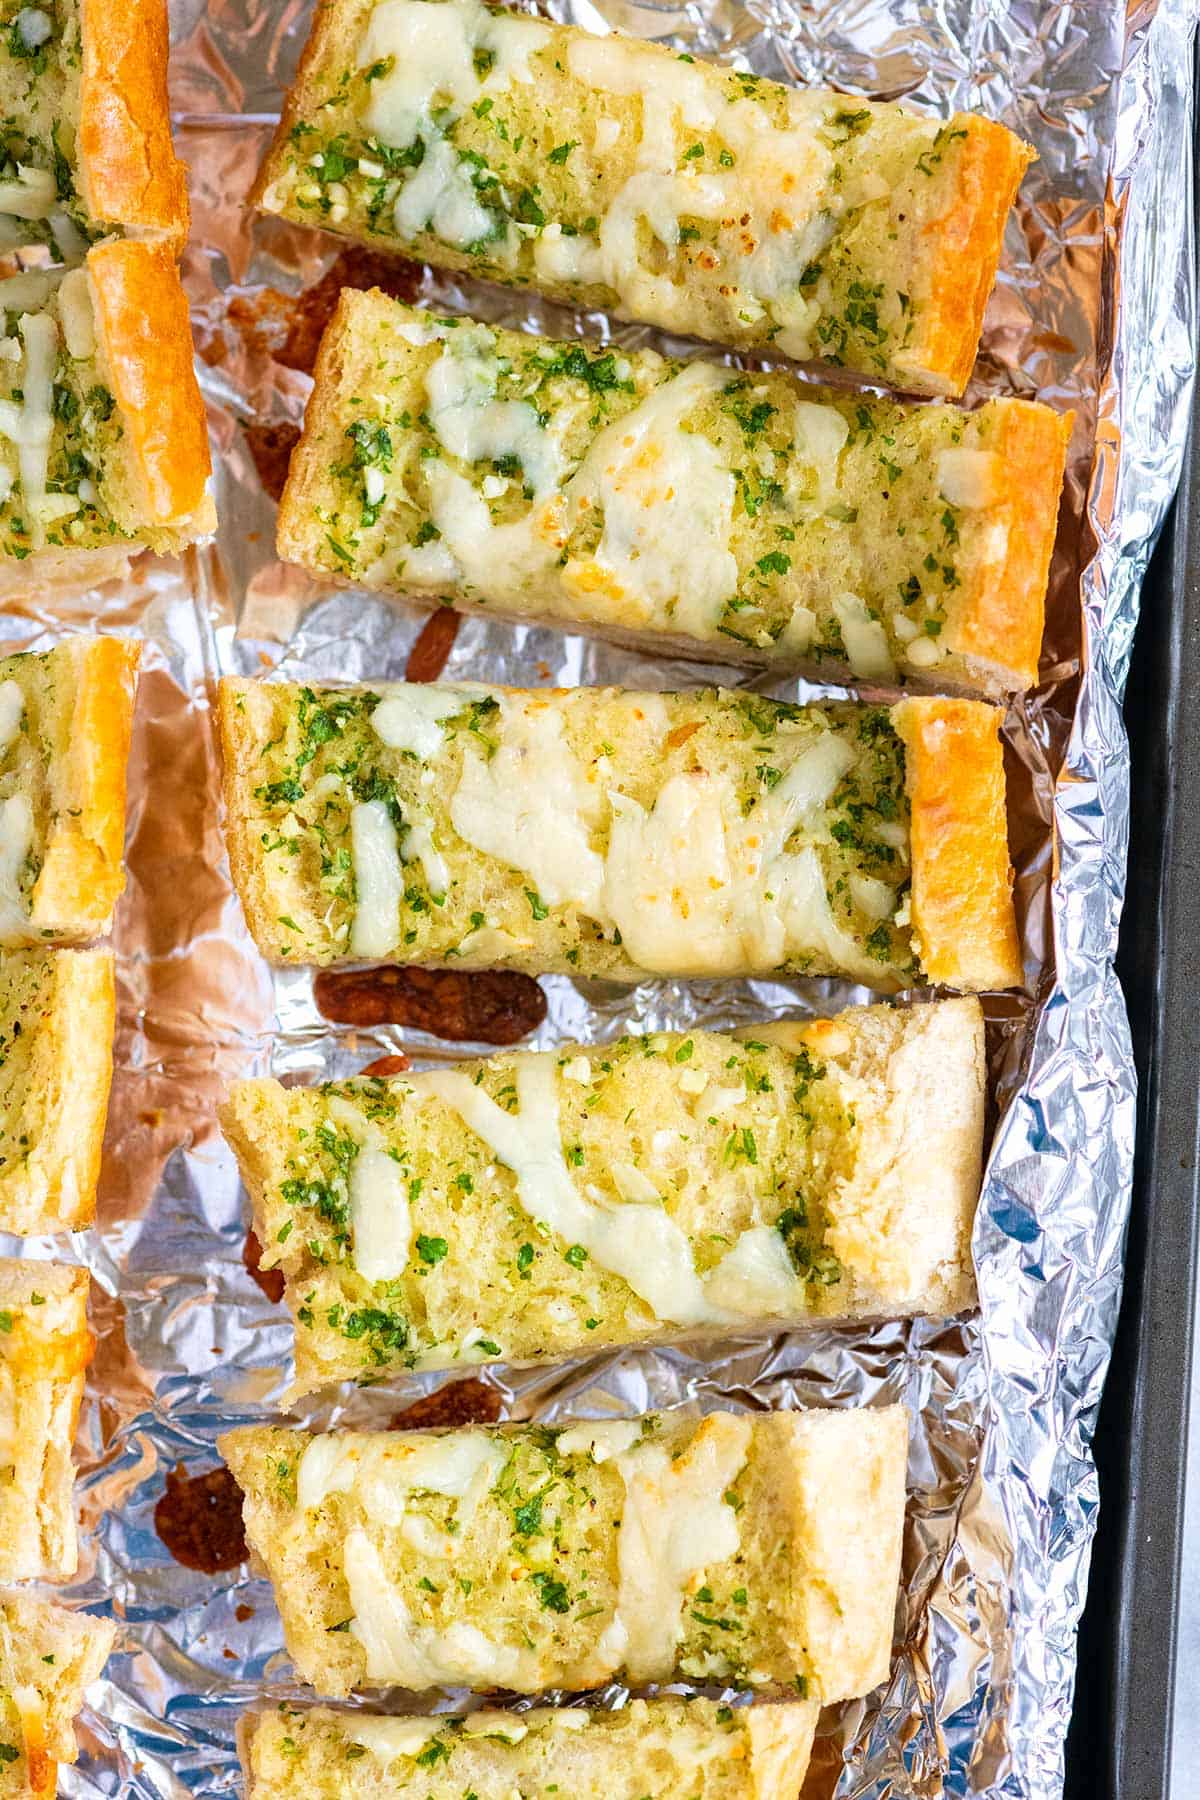
We’ve made this garlic bread more times than I can count. It’s always a hit at our table, and I have a feeling it’ll be a favorite at yours, too, once you see how easy it is. We love it next to spaghetti, lasagna, Italian meatballs, and more!
Stop buying store-bought garlic bread. Homemade is so much better. Ours is extra delicious thanks to one little trick: wrapping the bread in parchment or foil so you get that soft, warm, buttery center. If you’re looking for more, try our roasted garlic bread next.
Key Ingredients
- Bread: I prefer a French or Italian loaf for garlic bread. Look for it to be a little crusty on the outside with a soft center. Ciabatta, a country loaf, or even simple French bread are excellent choices.
- Butter: I use salted butter and add a pinch more salt, but unsalted butter works, too (I’ve included a tip for adding extra salt below the recipe). You’ll spread the garlic butter over the bread, so make sure it’s softened.
- Garlic: I’m generous with the fresh garlic in my garlic bread spread. Mince it finely, grate it on a microplane, or use a garlic press. You can also swap for roasted garlic if you prefer.
- Herbs: Add some color to the butter with fresh chopped parsley or basil. If you don’t have fresh herbs on hand, just leave them out.
- Cheese: This is entirely optional, but my family loves cheesy garlic bread. So, we usually sprinkle on some grated mozzarella and parmesan cheese.
Find the full recipe with measurements below.
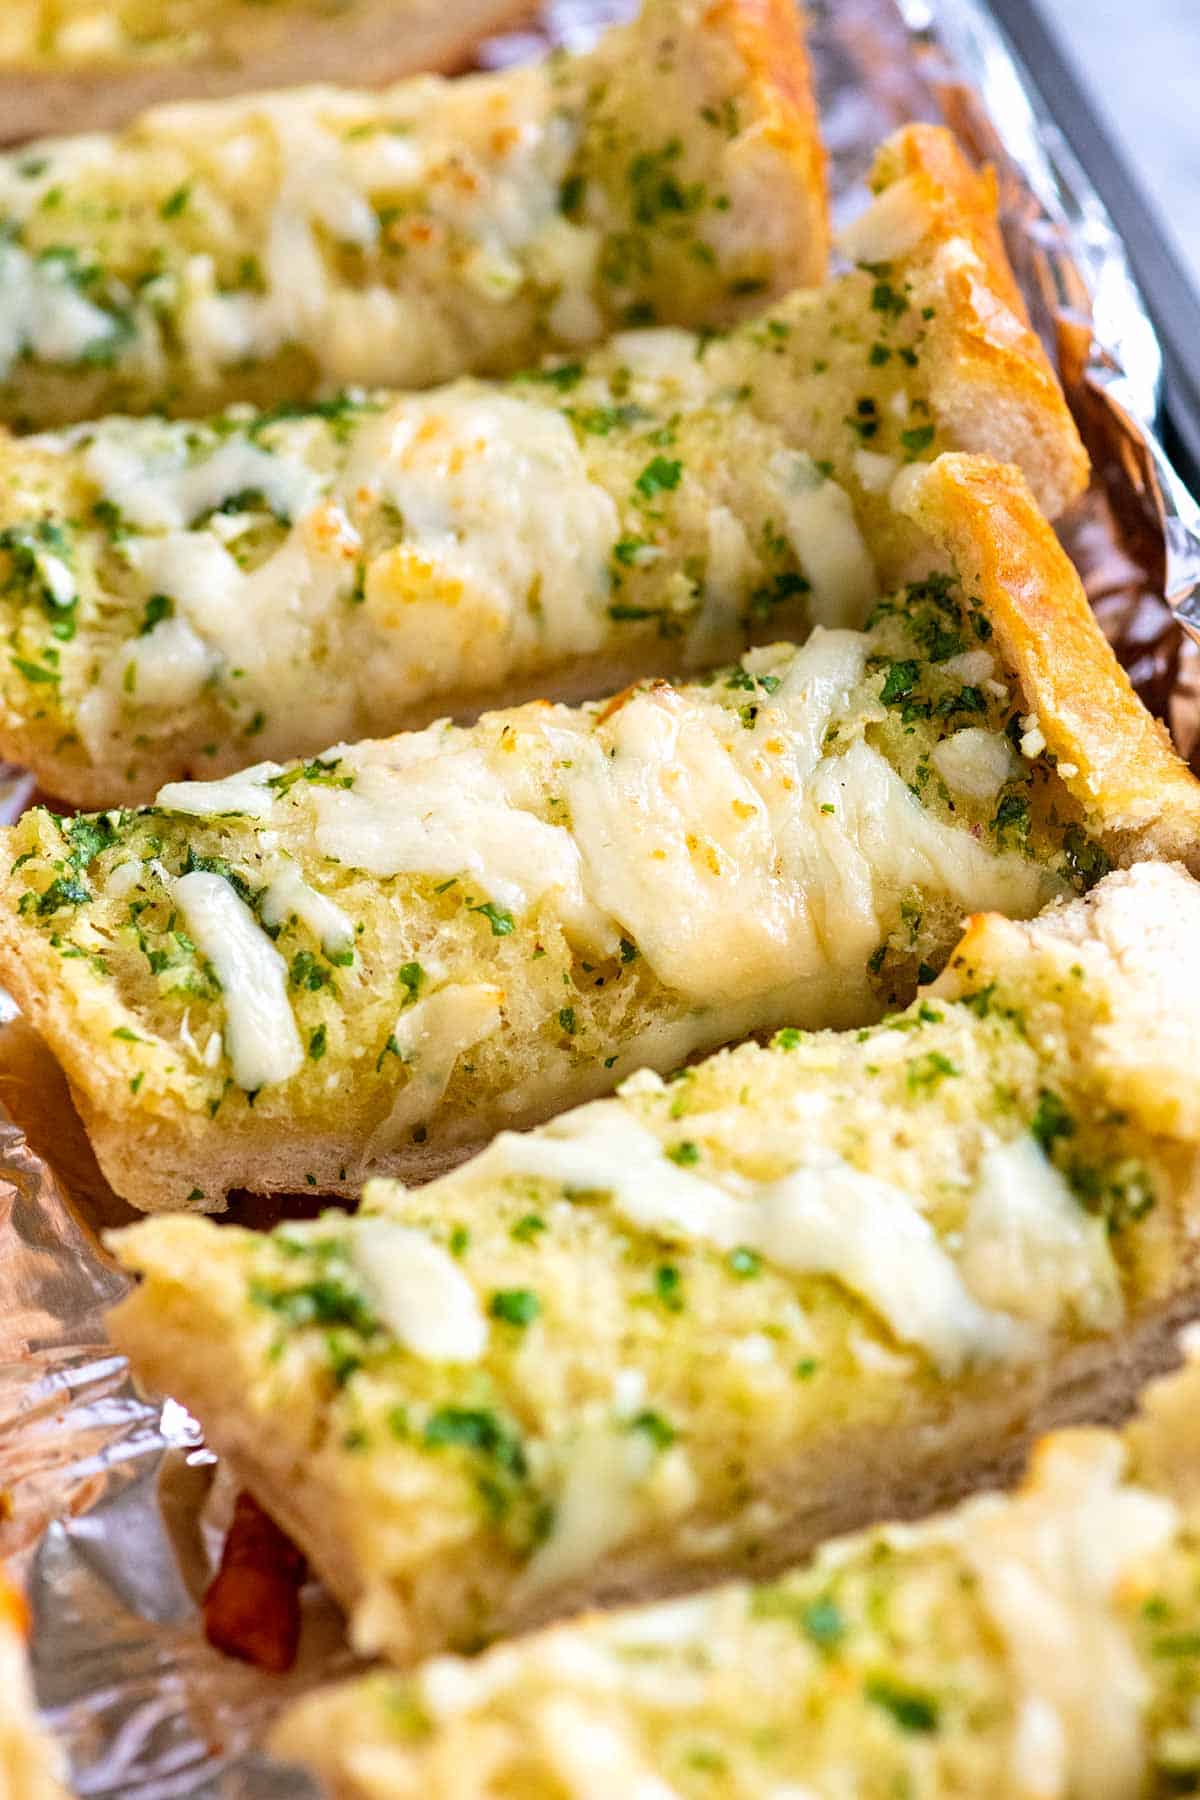
How to Make the Best Garlic Bread
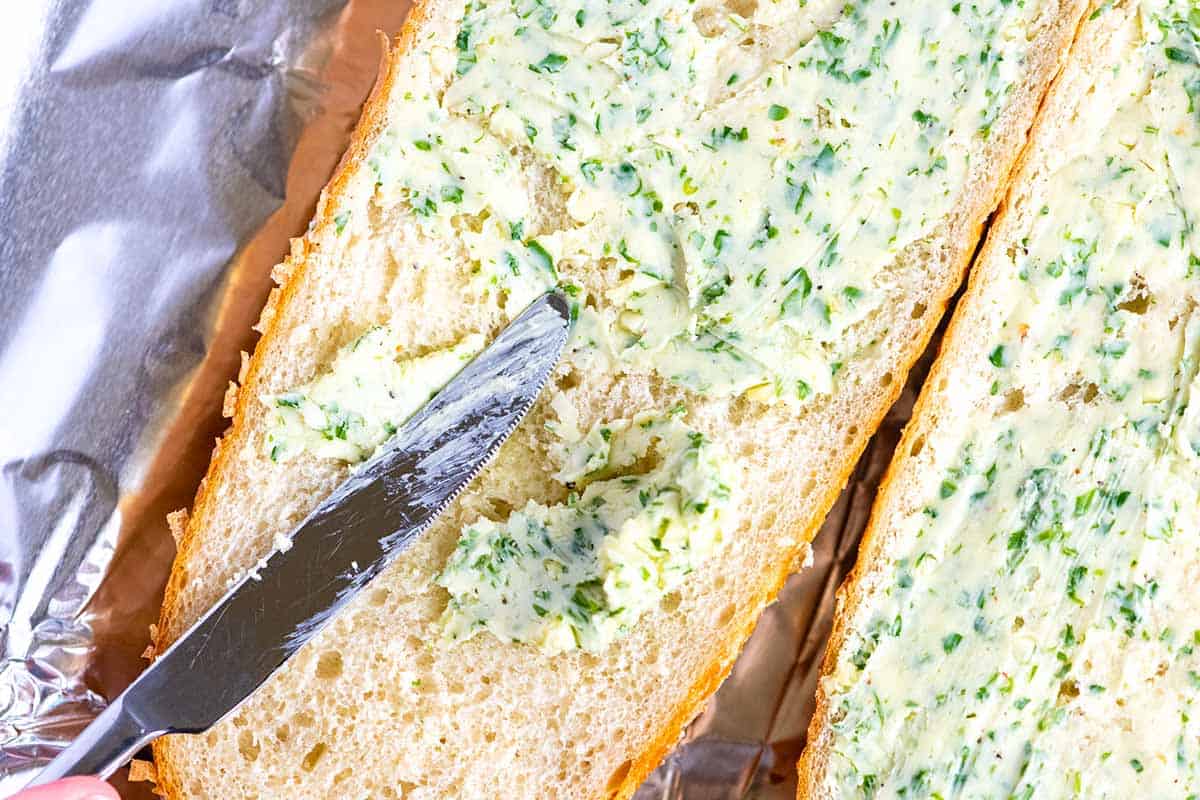
Tip 1: Make the garlic butter spread. Now remember, you’ll want to start with softened butter for this, so that it’s easy to stir the garlic and herbs into it. Add your butter, garlic, herbs, salt, and pepper to a bowl and stir really well. Taste it, then add a bit more salt if you think it needs it.
Tip 2: Slice the whole loaf lengthwise. Using a bread knife, slice the loaf in half to make two long pieces (like a big sandwich). Place each half cut-side up, then spread with the garlic butter. Really do your best to get the garlic butter all the way to the edges so every bit of the bread gets soaked in garlicky flavor.
Tip 3: Wrap the loaf. Put the two halves back together to make the loaf again, then wrap in foil or parchment paper. This is my best trick for garlic bread. Wrapping keeps the bread soft in the middle and crispy around the edges.
Tip 4: Bake wrapped until the butter melts. Place your wrapped loaf on a baking sheet and bake for 10 to 15 minutes, or until the butter melts throughout the bread. This also mellows and sweetens the garlic.
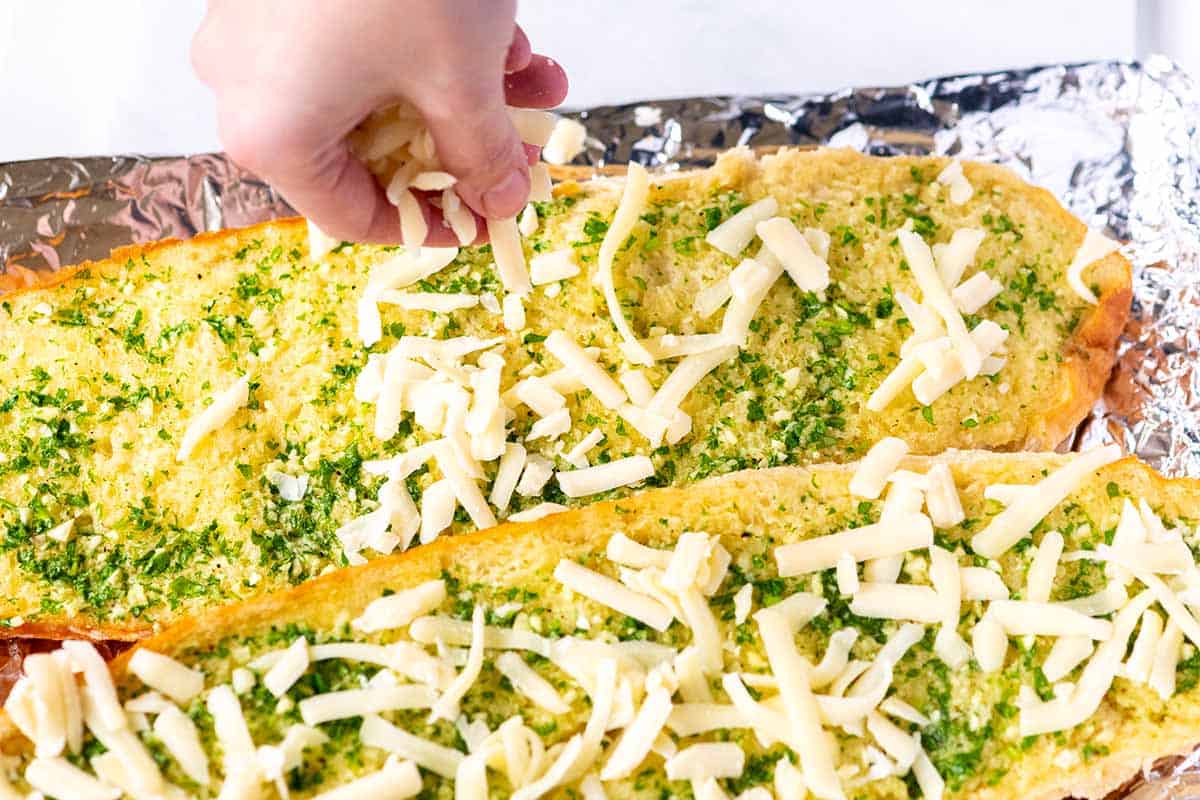
Tip 5: Unwrap and bake for 5 minutes. We want a little crispness, so unwrap and place the halves cut side up again. Add cheese (if you’d like to), then continue baking until the cheese melts and the edges of the bread take on a little crispness and color.
Serving Suggestions
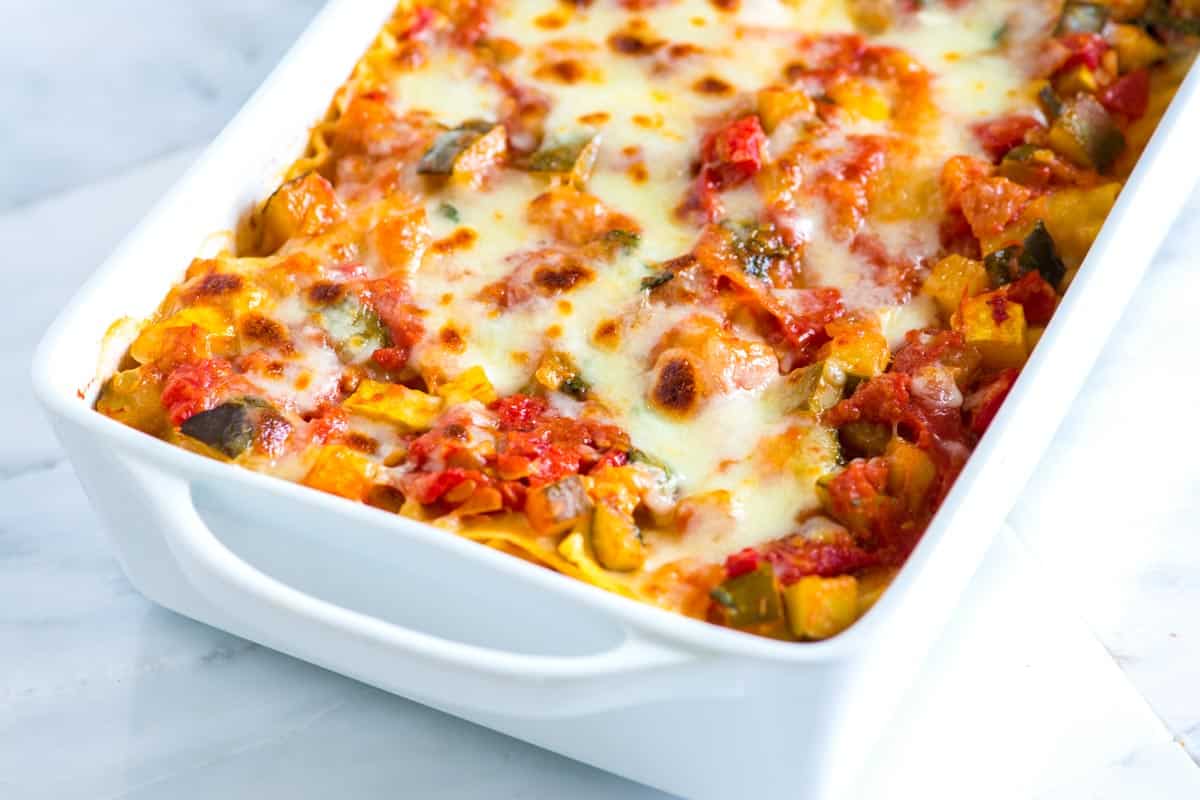
This homemade garlic bread is one of those things that just makes any meal better. We love it with all our favorite Italian-American dishes, like vegetable lasagna, turkey meatballs, spaghetti and meat sauce, spaghetti and meatballs, fettuccine Alfredo, shrimp scampi, and bolognese. It’s also amazing dipped into this homemade pasta sauce!
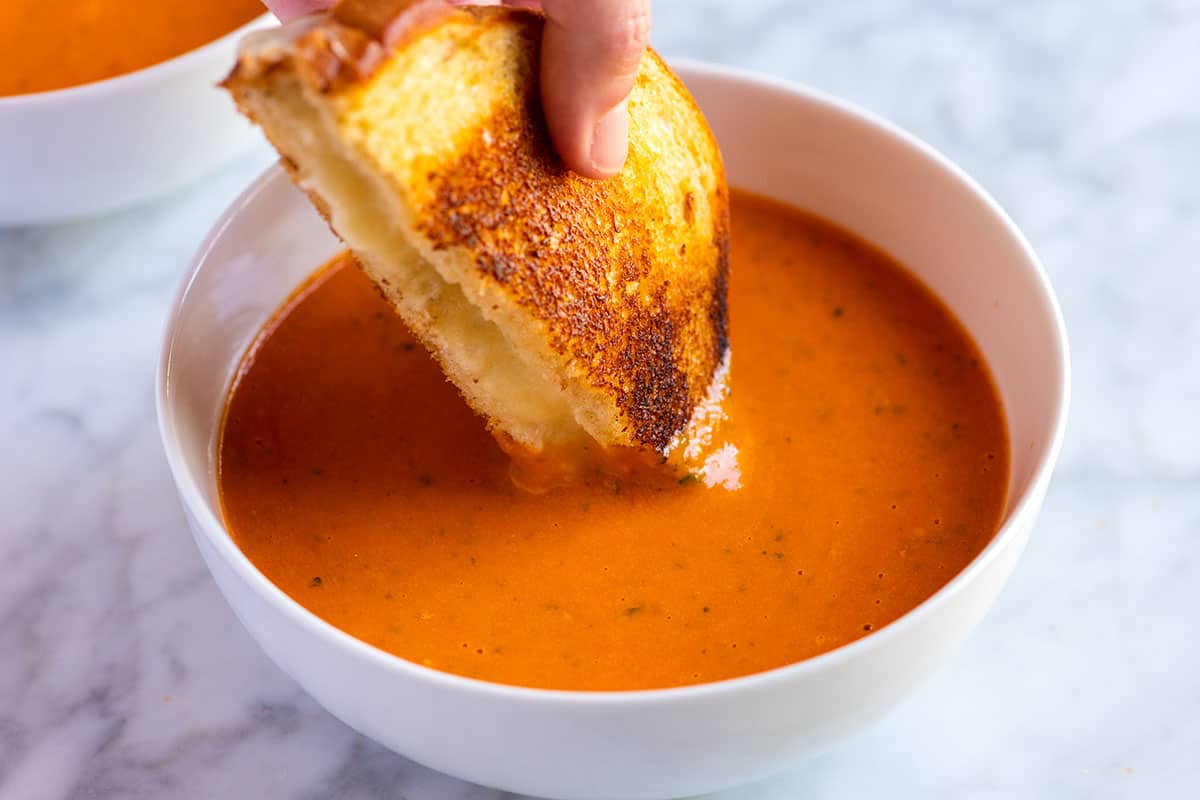
We also love serving it alongside soups and salads. It’s perfect with creamy vegetable soup, roasted tomato soup, or roasted butternut squash soup. And you really can’t go wrong with Caprese salad or Caesar salad.
Easy Garlic Bread
- PREP
- COOK
- TOTAL
The trick for the best soft, buttery garlic bread is to wrap your bread in foil or parchment paper. This way, the bread stays soft in the middle and becomes crispy around the edges. This garlic bread recipe creates a soft, warm, buttery center. It’s divine.
You Will Need
1 bread loaf, French or Italian bread, 1 pound loaf
8 tablespoons unsalted butter, softened (113 g)
4 garlic cloves, finely minced or grated
¼ cup fresh parsley or basil, finely chopped (15 g)
½ teaspoon fine sea salt
½ teaspoon fresh ground black pepper
1 cup grated mozzarella cheese, optional (4 ounces 113 g)
¼ cup finely grated parmesan cheese, optional (0.5 ounces or 14 g)
Directions
1Prep: Set the oven rack to the center position. Preheat the oven to 400°F (204°C). Set a large baking sheet aside.
2Make garlic butter: Stir the softened butter, garlic, herbs, salt, and pepper in a small bowl until well blended.
3Prepare the bread: Slice the loaf in half lengthwise. Place the bread halves, cut-side up, and divide the garlic butter mixture between them. Spread the butter into an even layer, making sure it reaches the edges. Put the bread halves back together, then wrap the reassembled loaf in foil.
4Bake: Place the wrapped loaf onto the baking sheet and bake for 10 minutes. Flip the bread on the baking sheet and bake another 5 to 10 minutes or until the butter has melted into the middle of the loaf. Unwrap the foil, then position the bread halves so the cut sides are facing up. Scatter the cheese over the bread, then bake, uncovered, until the cheese melts and the edges of the bread crisp slightly, about 5 minutes. (If you skip the cheese, leave it off and bake until the edges are crispy.)
5Serve: Slice and serve warm. You can also wrap the garlic bread in foil and keep it warm in a warm oven (170°F to 200°F).
Adam and Joanne's Tips
- Salted butter: Reduce the salt in the recipe to ¼ teaspoon.
- Make-ahead: You can spread the bread with garlic butter for up to 8 hours before baking. Wrap and refrigerate until 30 minutes before baking. You can also freeze it! Wrap well and freeze for up to 3 months. When ready to bake, thaw in the refrigerator overnight or for a few hours at room temperature. Then, bake as directed.
- Make-ahead garlic butter: You can prepare the garlic butter spread in advance and store it in the fridge for up to a week. Soften before using.
- Vegetarian tips: Look for vegetarian-friendly parmesan or substitute with a vegetarian-friendly alternative.
- The nutrition facts provided below are estimates.







Hi Can I use parchment paper for this garlic bread instead of the foil? Thanks!!
Yes.
This recipe makes the best garlic bread with crispy edges and a soft, buttery center. It’s so easy to make, and you can even prep it ahead of time, making it perfect for busy weeknights or when you’re hosting! Seriously, this one’s a keeper—you’ll want to make it over and over again!
Garlic bread was very good and easy to make.
Thanks 🙂
On the buttery garlic bread can the spread be made up and kept to use when you need it
That’s a great idea. The butter is best when used within 5 days or so.
I love your recipes, especially the one for focaccia and hummus. I will definitely try the one for garlic bread:) and all the tips, I really like the blog 🙂
Awww…thank you for the kind comment 🙂