How to Make Aquafaba (Ultimate Guide)
- PREP 10min
- TOTAL 10min
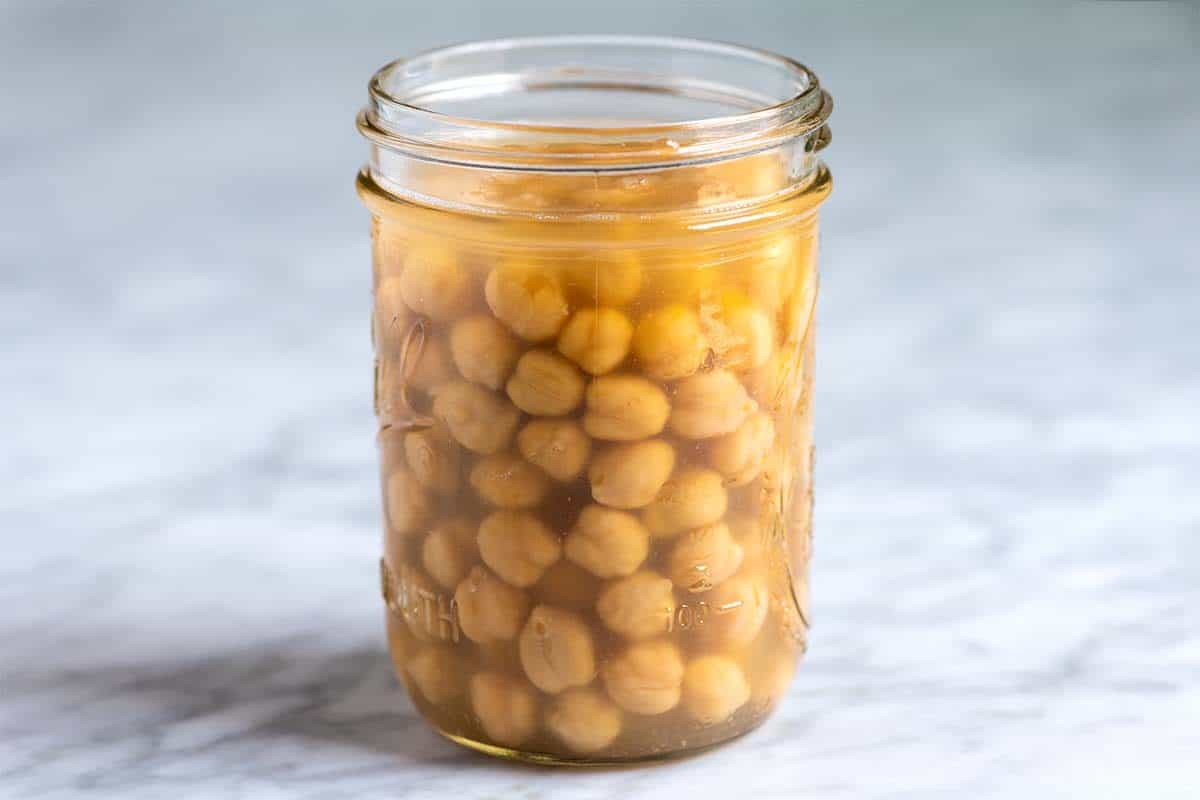
Aquafaba is simply the starchy liquid left over after cooking beans, or the liquid found straight inside a can of chickpeas. While it has countless culinary uses (detailed in the article above), we rely on it most often as a vegan egg replacer and for making hummus more creamy.
**For instructions on making it from scratch, see the article above.
You can prepare aquafaba as an egg substitute in three different ways: (1) lightly whisked by hand, (2) whipped to soft peaks using a hand or stand mixer, or (3) whipped to much firmer, stiff peaks for creating delicate meringues or vegan macarons. For most everyday baking, you will only need your aquafaba lightly whisked or whipped to soft peaks. While lightly whisked aquafaba does a fine job binding most batters, taking the time to whip it to soft peaks often yields significantly better, lighter results.
You Will Need
1 (15-ounce) can no-salt-added chickpeas (or ½ cup / 120 ml reduced chickpea cooking liquid; see tips)
¼ teaspoon cream of tartar (for whipped aquafaba)
Directions
1If using canned chickpeas, vigorously shake the unopened can, then open and drain the beans, reserving the liquid. If using homemade reduced cooking liquid, ensure it is completely cooled. (If there are small bits of bean in the liquid, pour it through a fine-mesh strainer to remove them.)
2Lightly whisk the reserved liquid to combine the starches, then measure out the exact amount of aquafaba you need for your recipe. Reminder: Use 3 tablespoons / 45 ml for one whole egg, or 2 tablespoons / 30 ml for one egg white.
3If your recipe calls for lightly whisked aquafaba, pour the measured liquid into a wide bowl. Beat vigorously by hand with a wire whisk until frothy, about 1 minute. (You do not need to add cream of tartar for this method.)
4If your recipe calls for whipped aquafaba, pour the measured liquid into the bowl of a stand mixer fitted with the whisk attachment. Add the cream of tartar, then whip on high speed until it reaches your desired fluffiness. This takes patience; we usually stop mixing after 4 to 5 minutes.
5To test for properly whipped peaks, remove the whisk attachment and turn it upside down. Soft peaks will hold their shape initially, then slowly droop back into themselves. Firm peaks will stand tall and look distinct, though the very tip may still slightly fold over. Watch closely once you reach soft peaks, as overwhipping can cause the structure to lose its airiness and deflate.
Adam and Joanne's Tips
- Making aquafaba from scratch: While canned chickpea liquid is the most foolproof option, you can use the liquid from cooking dried chickpeas. Remove the cooked beans, then simmer the remaining liquid until it thickens to the consistency of canned bean liquid. See the article above for detailed, step-by-step instructions on this method.
- A stand mixer fitted with a whisk attachment is by far the most reliable tool for whipping aquafaba. If you do not have one, an electric hand mixer or a food processor will work in a pinch, though it may take slightly longer to reach your desired peaks.
- The nutrition facts provided below are estimates. We used data from this website (all about aquafaba).